

Jakkehoop
Paid Member
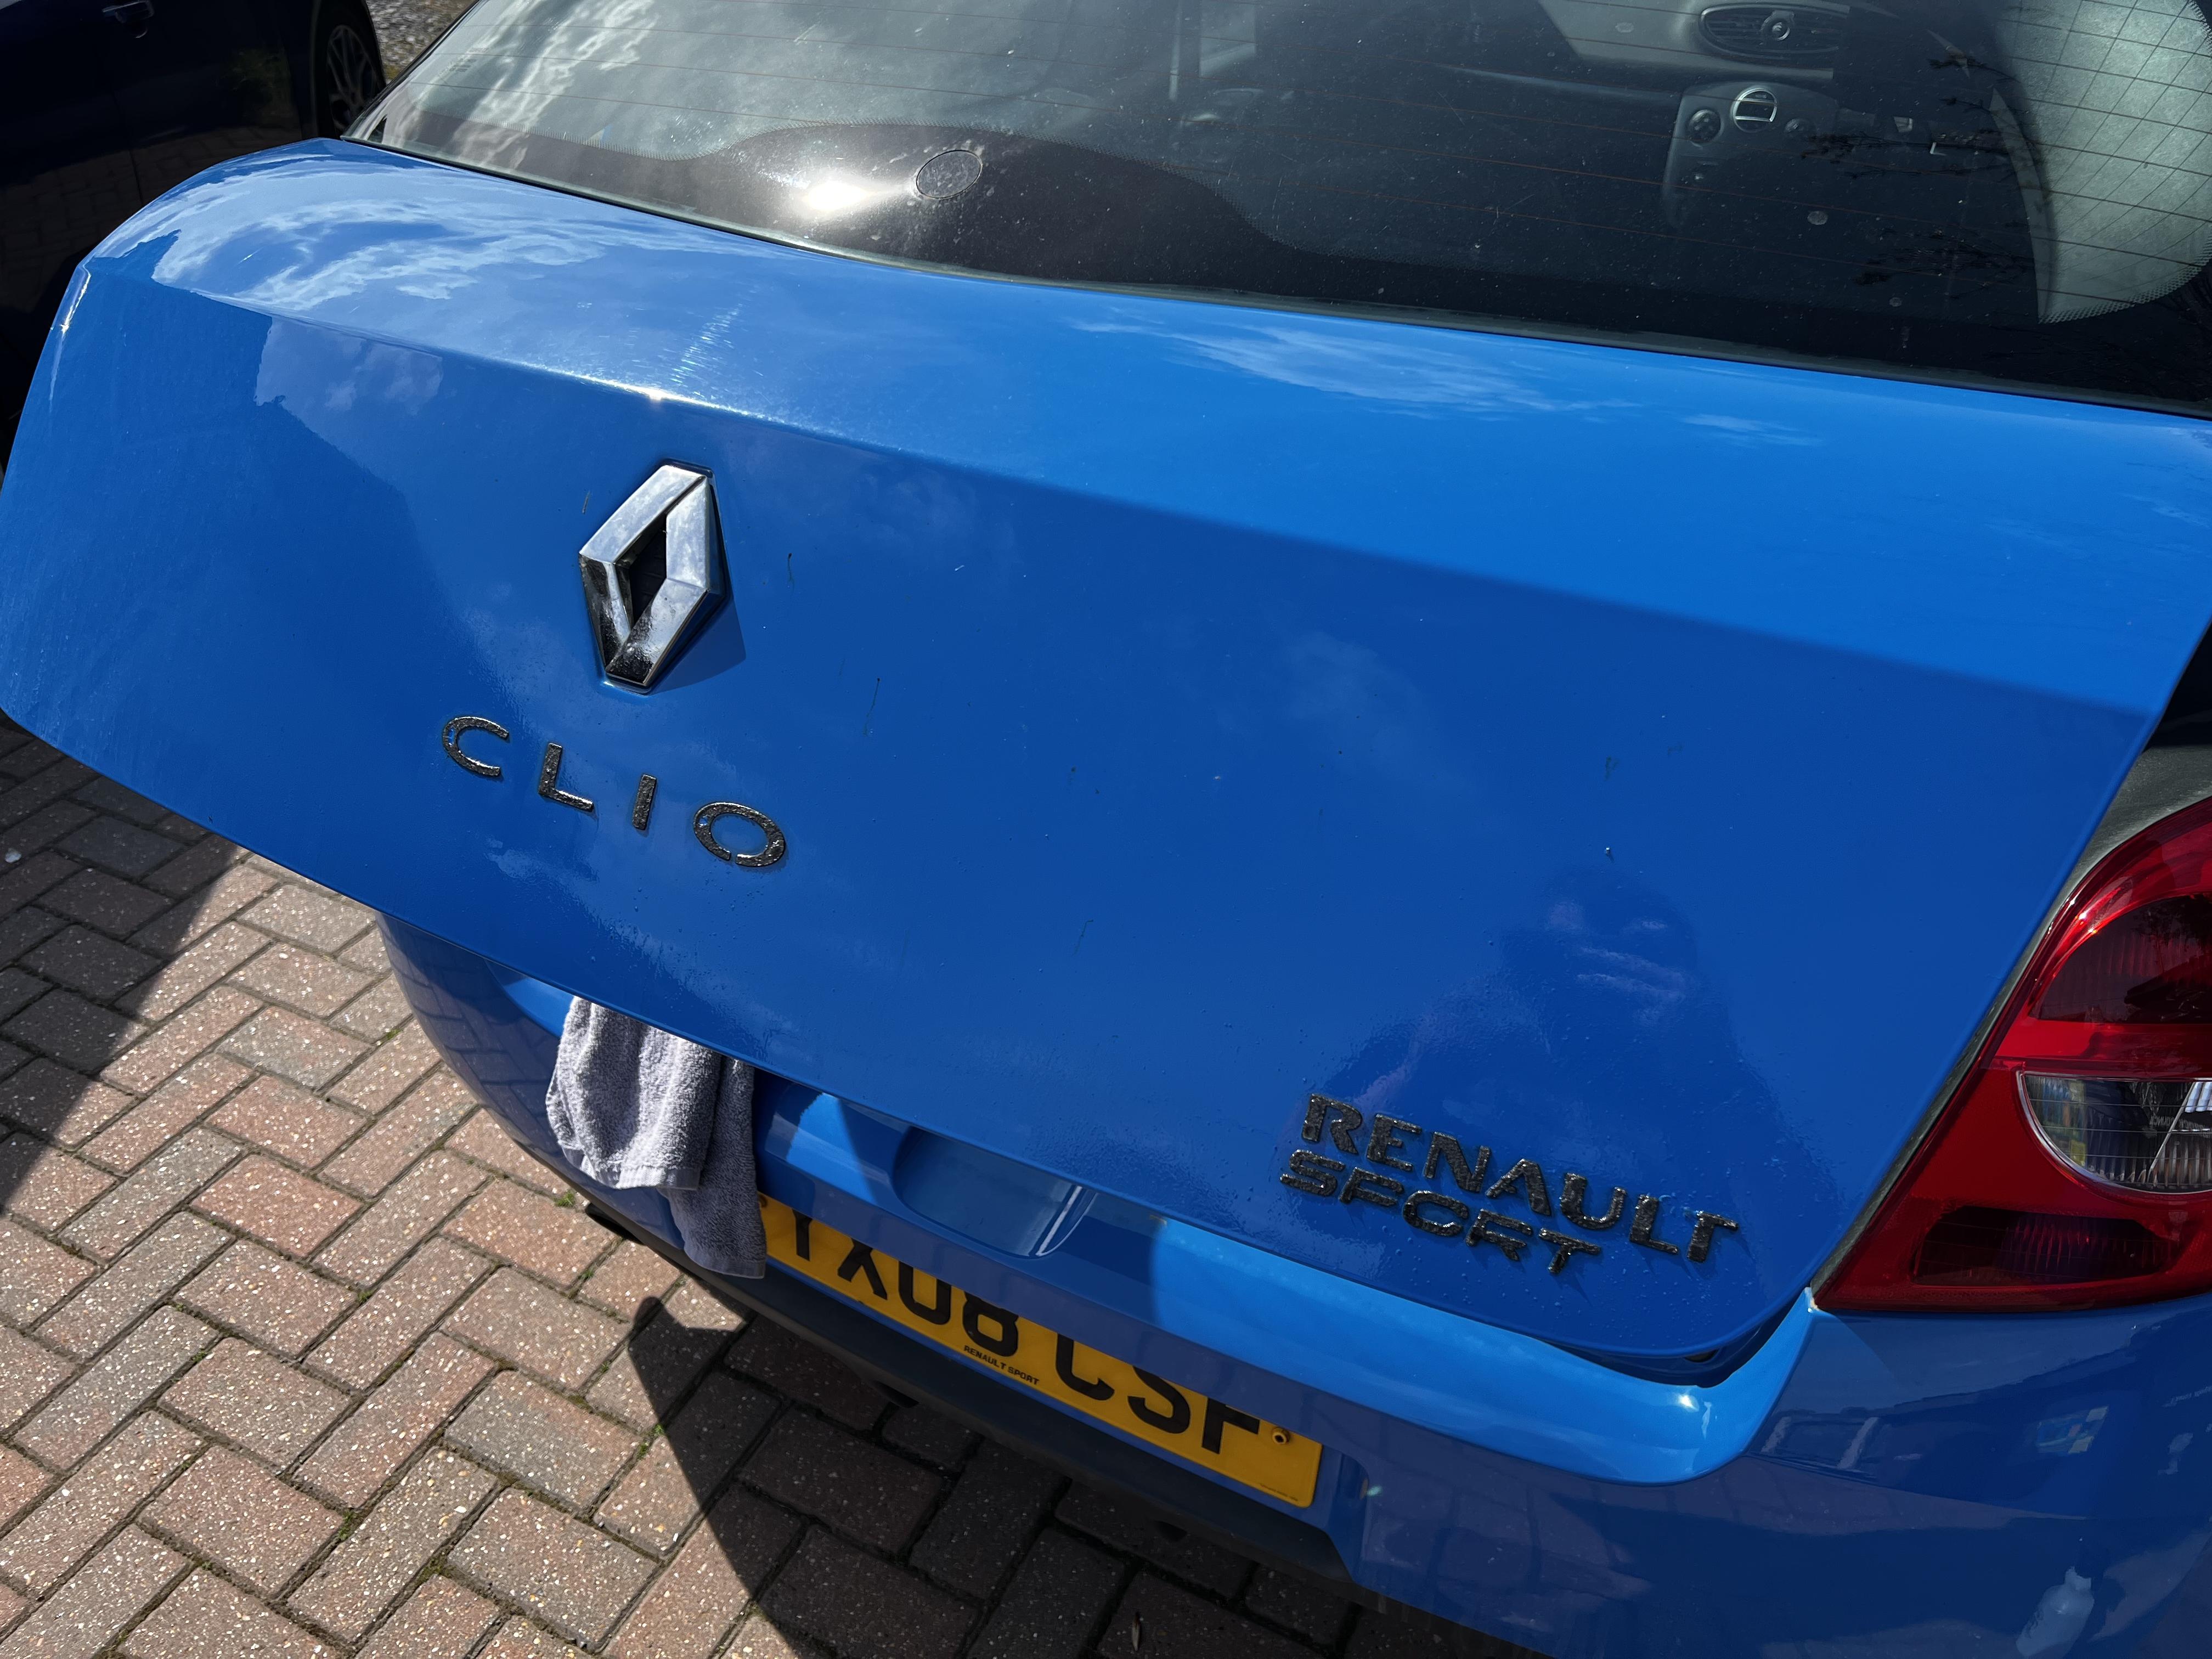
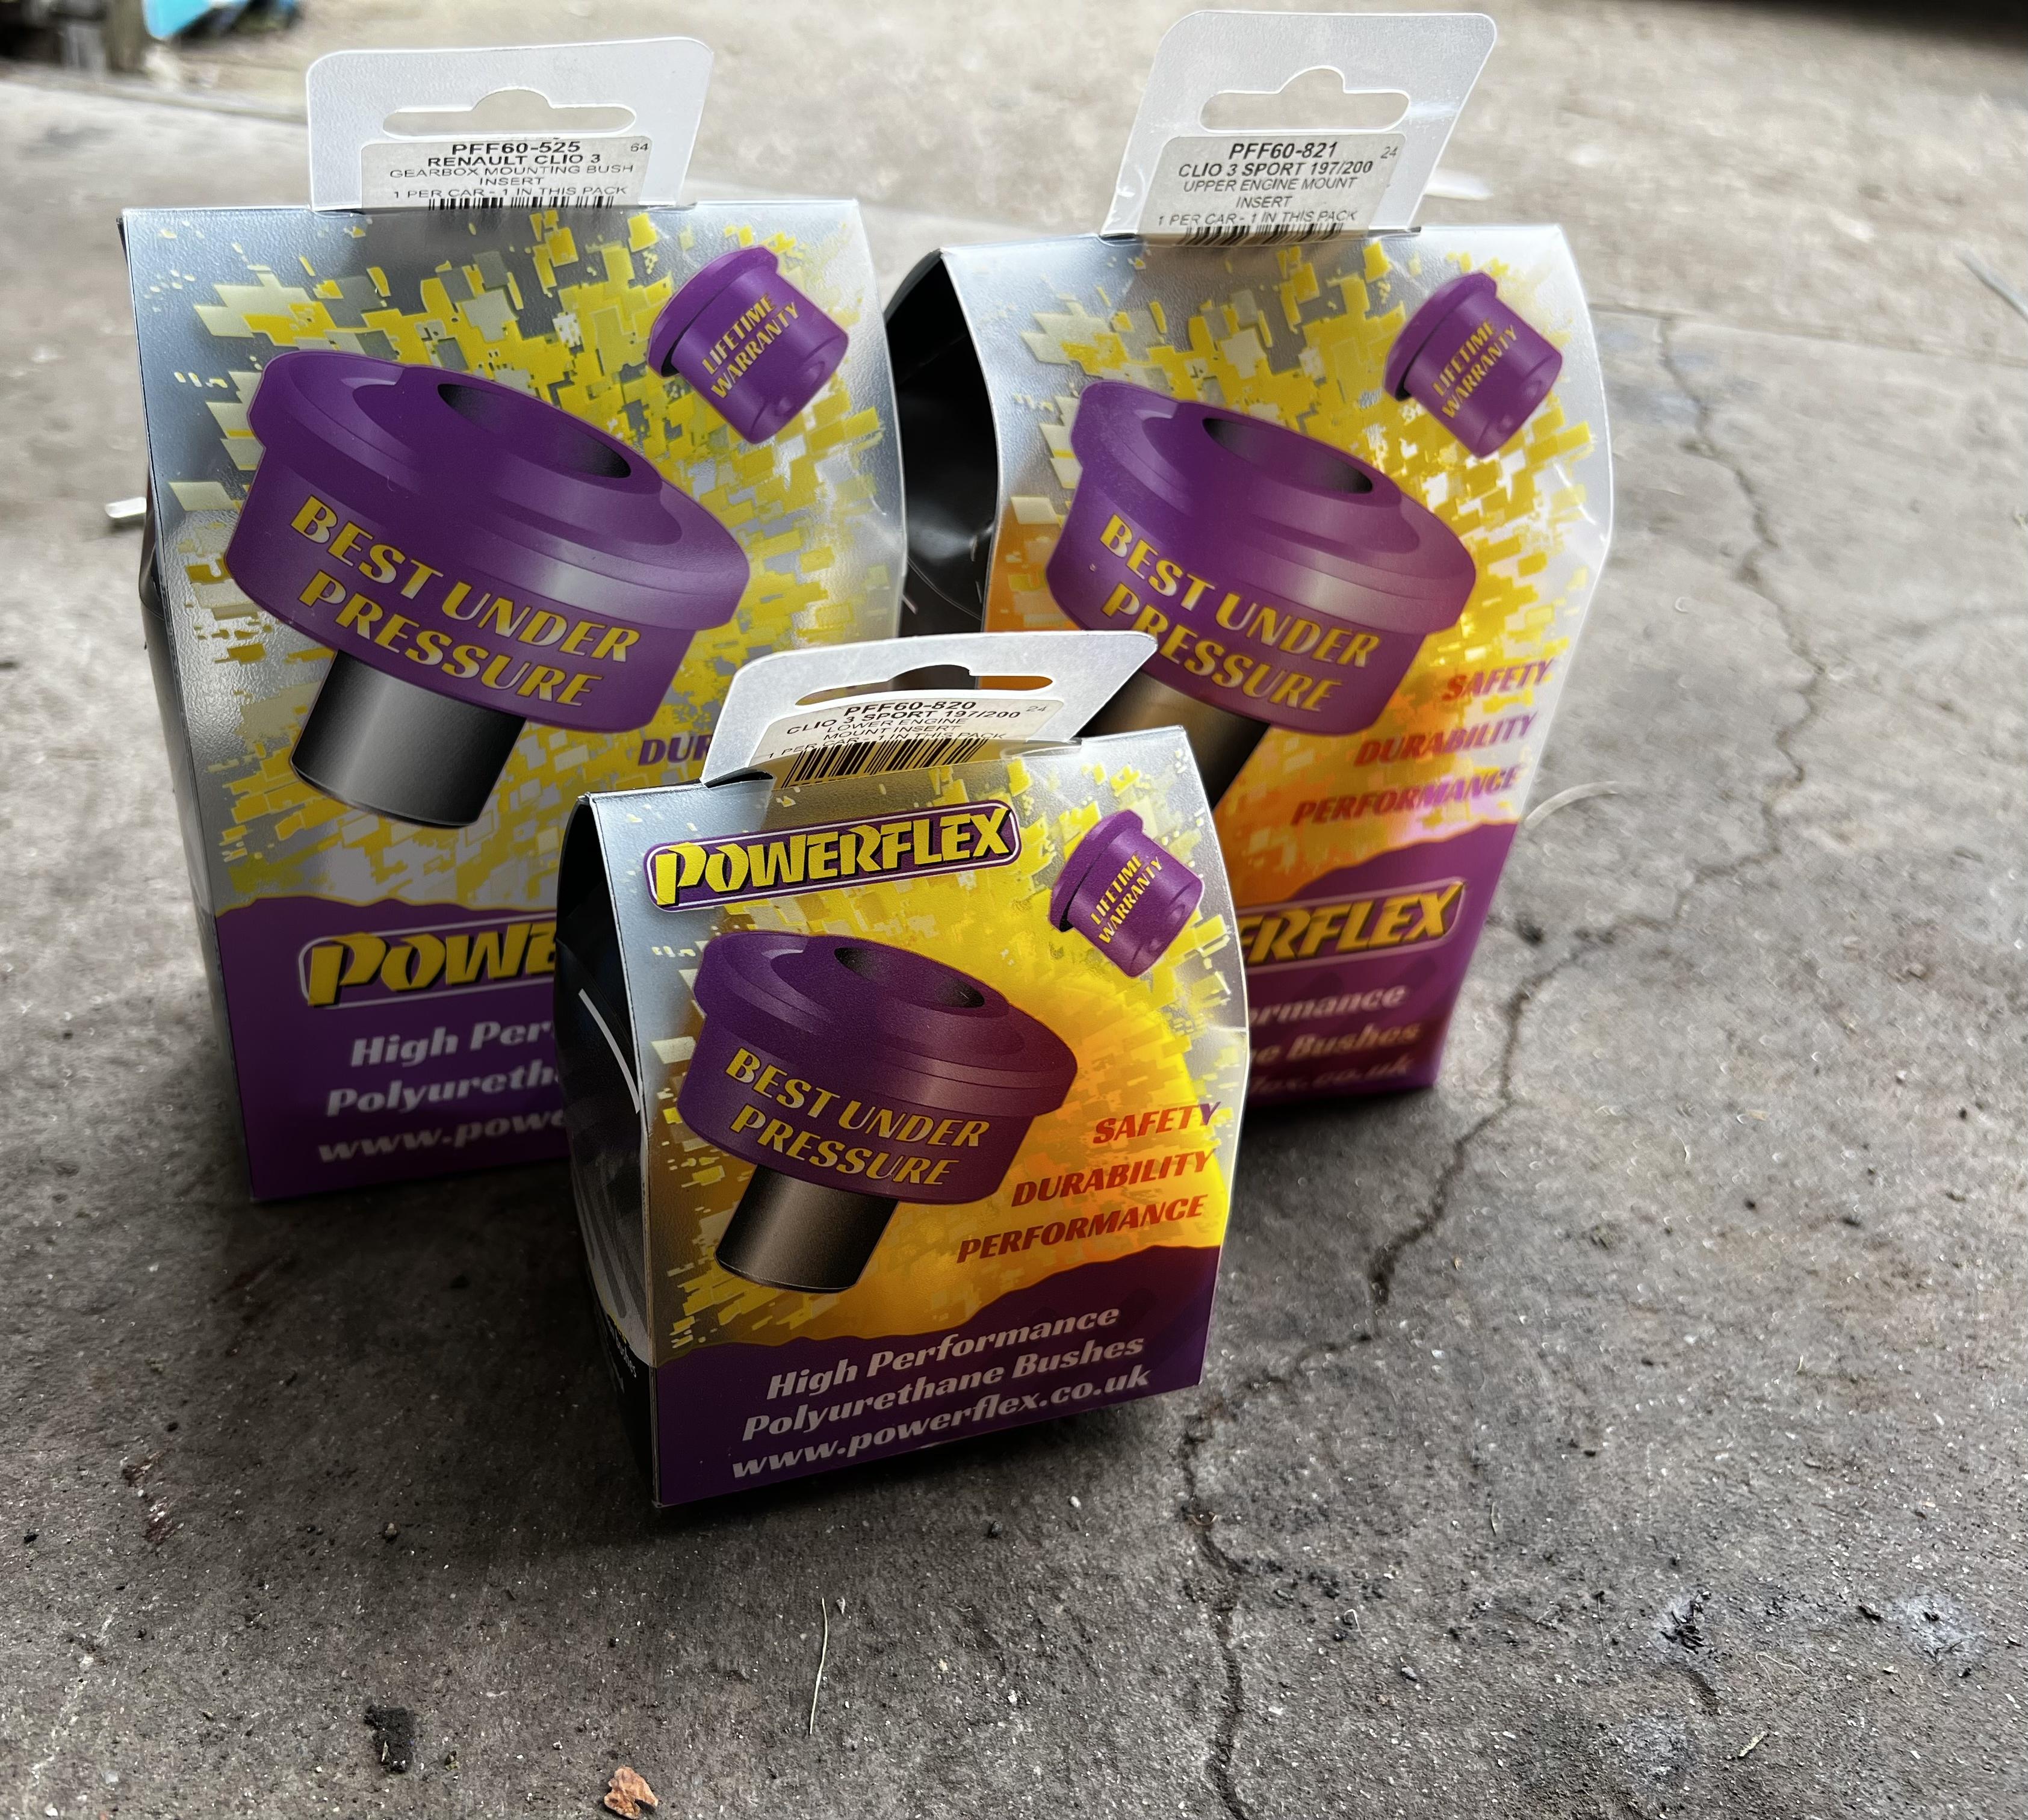
Good stuff, you have caught it early
Got the dehumidifier running in there all day most days to dry it all out before I put it back together [emoji1694] that’s works
Sent from my iPhone using Tapatalk
Good stuff, you have caught it early
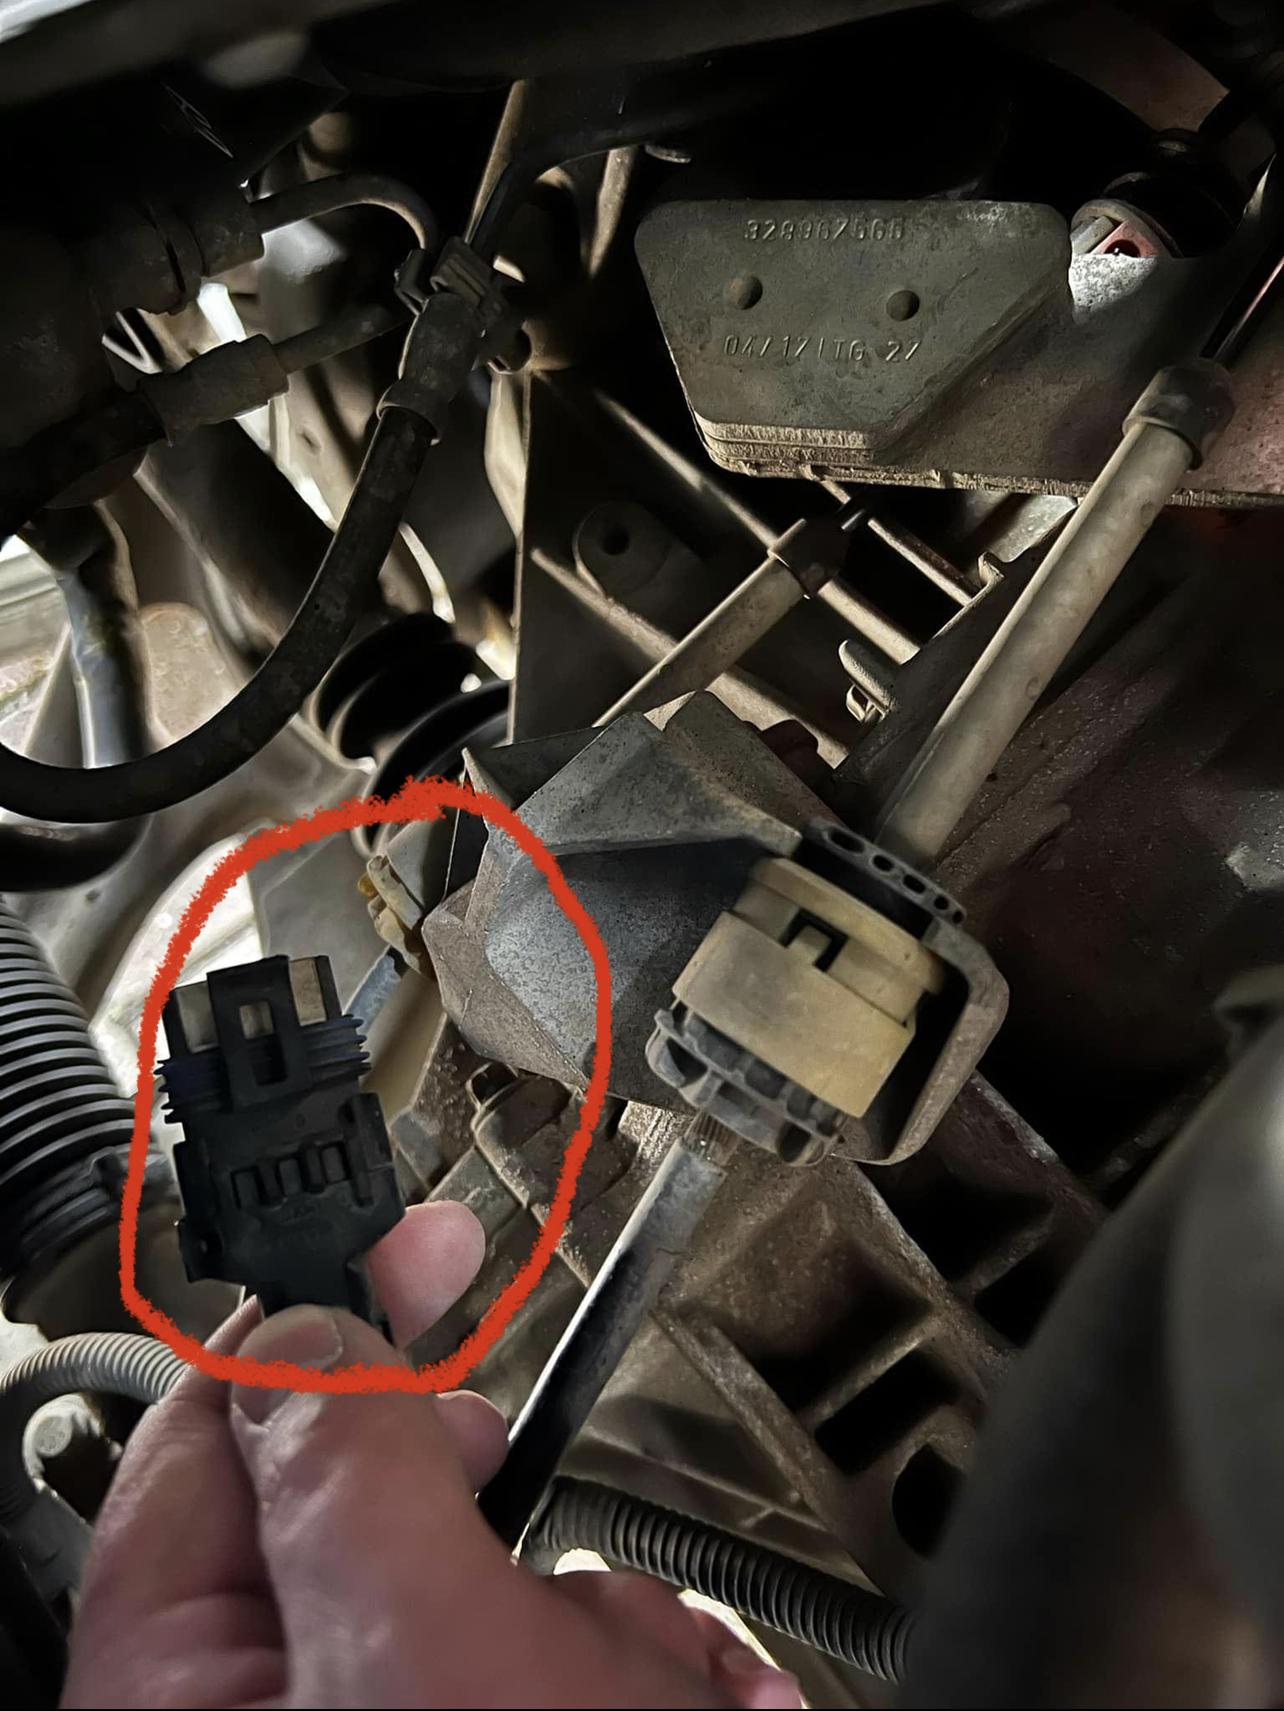
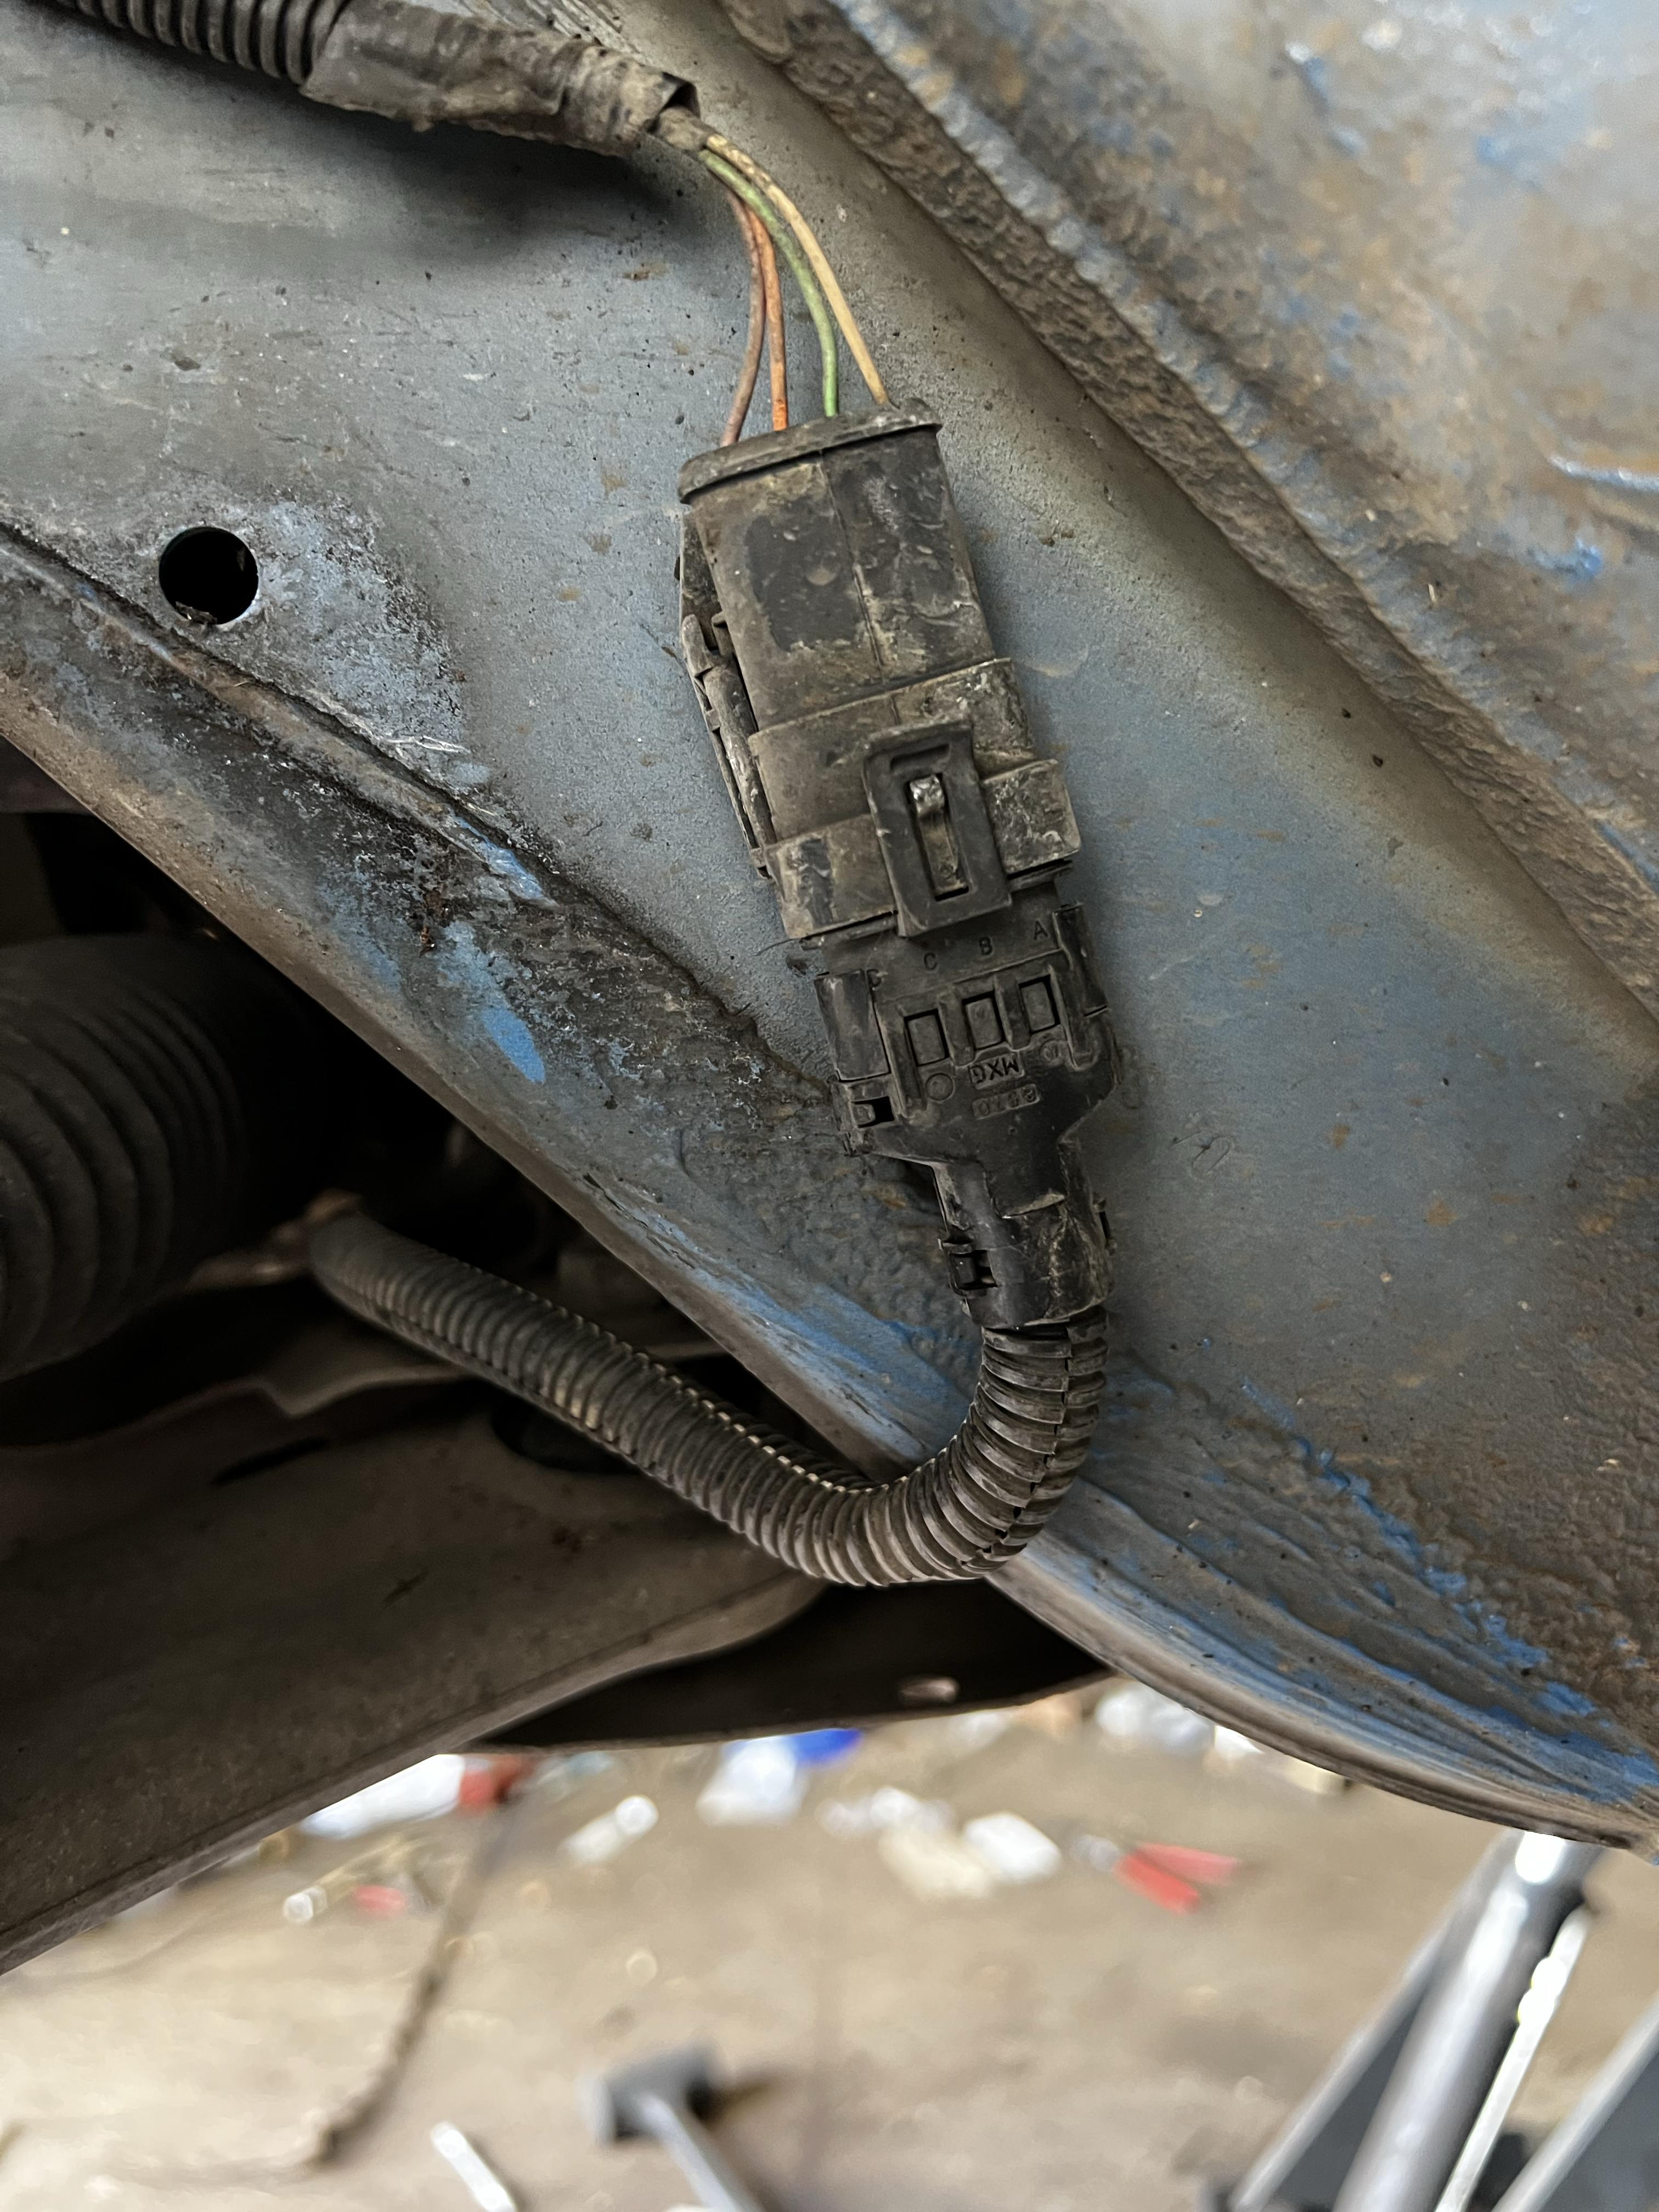
Passenger wheel arch, bottom right hand corner... Connector is R98, 1373 is the front sensor, 1372 goes to the rear sensor
View attachment 150039
I wouldn't be surprised if someone has had the subframe off and forgot to plug them back in...
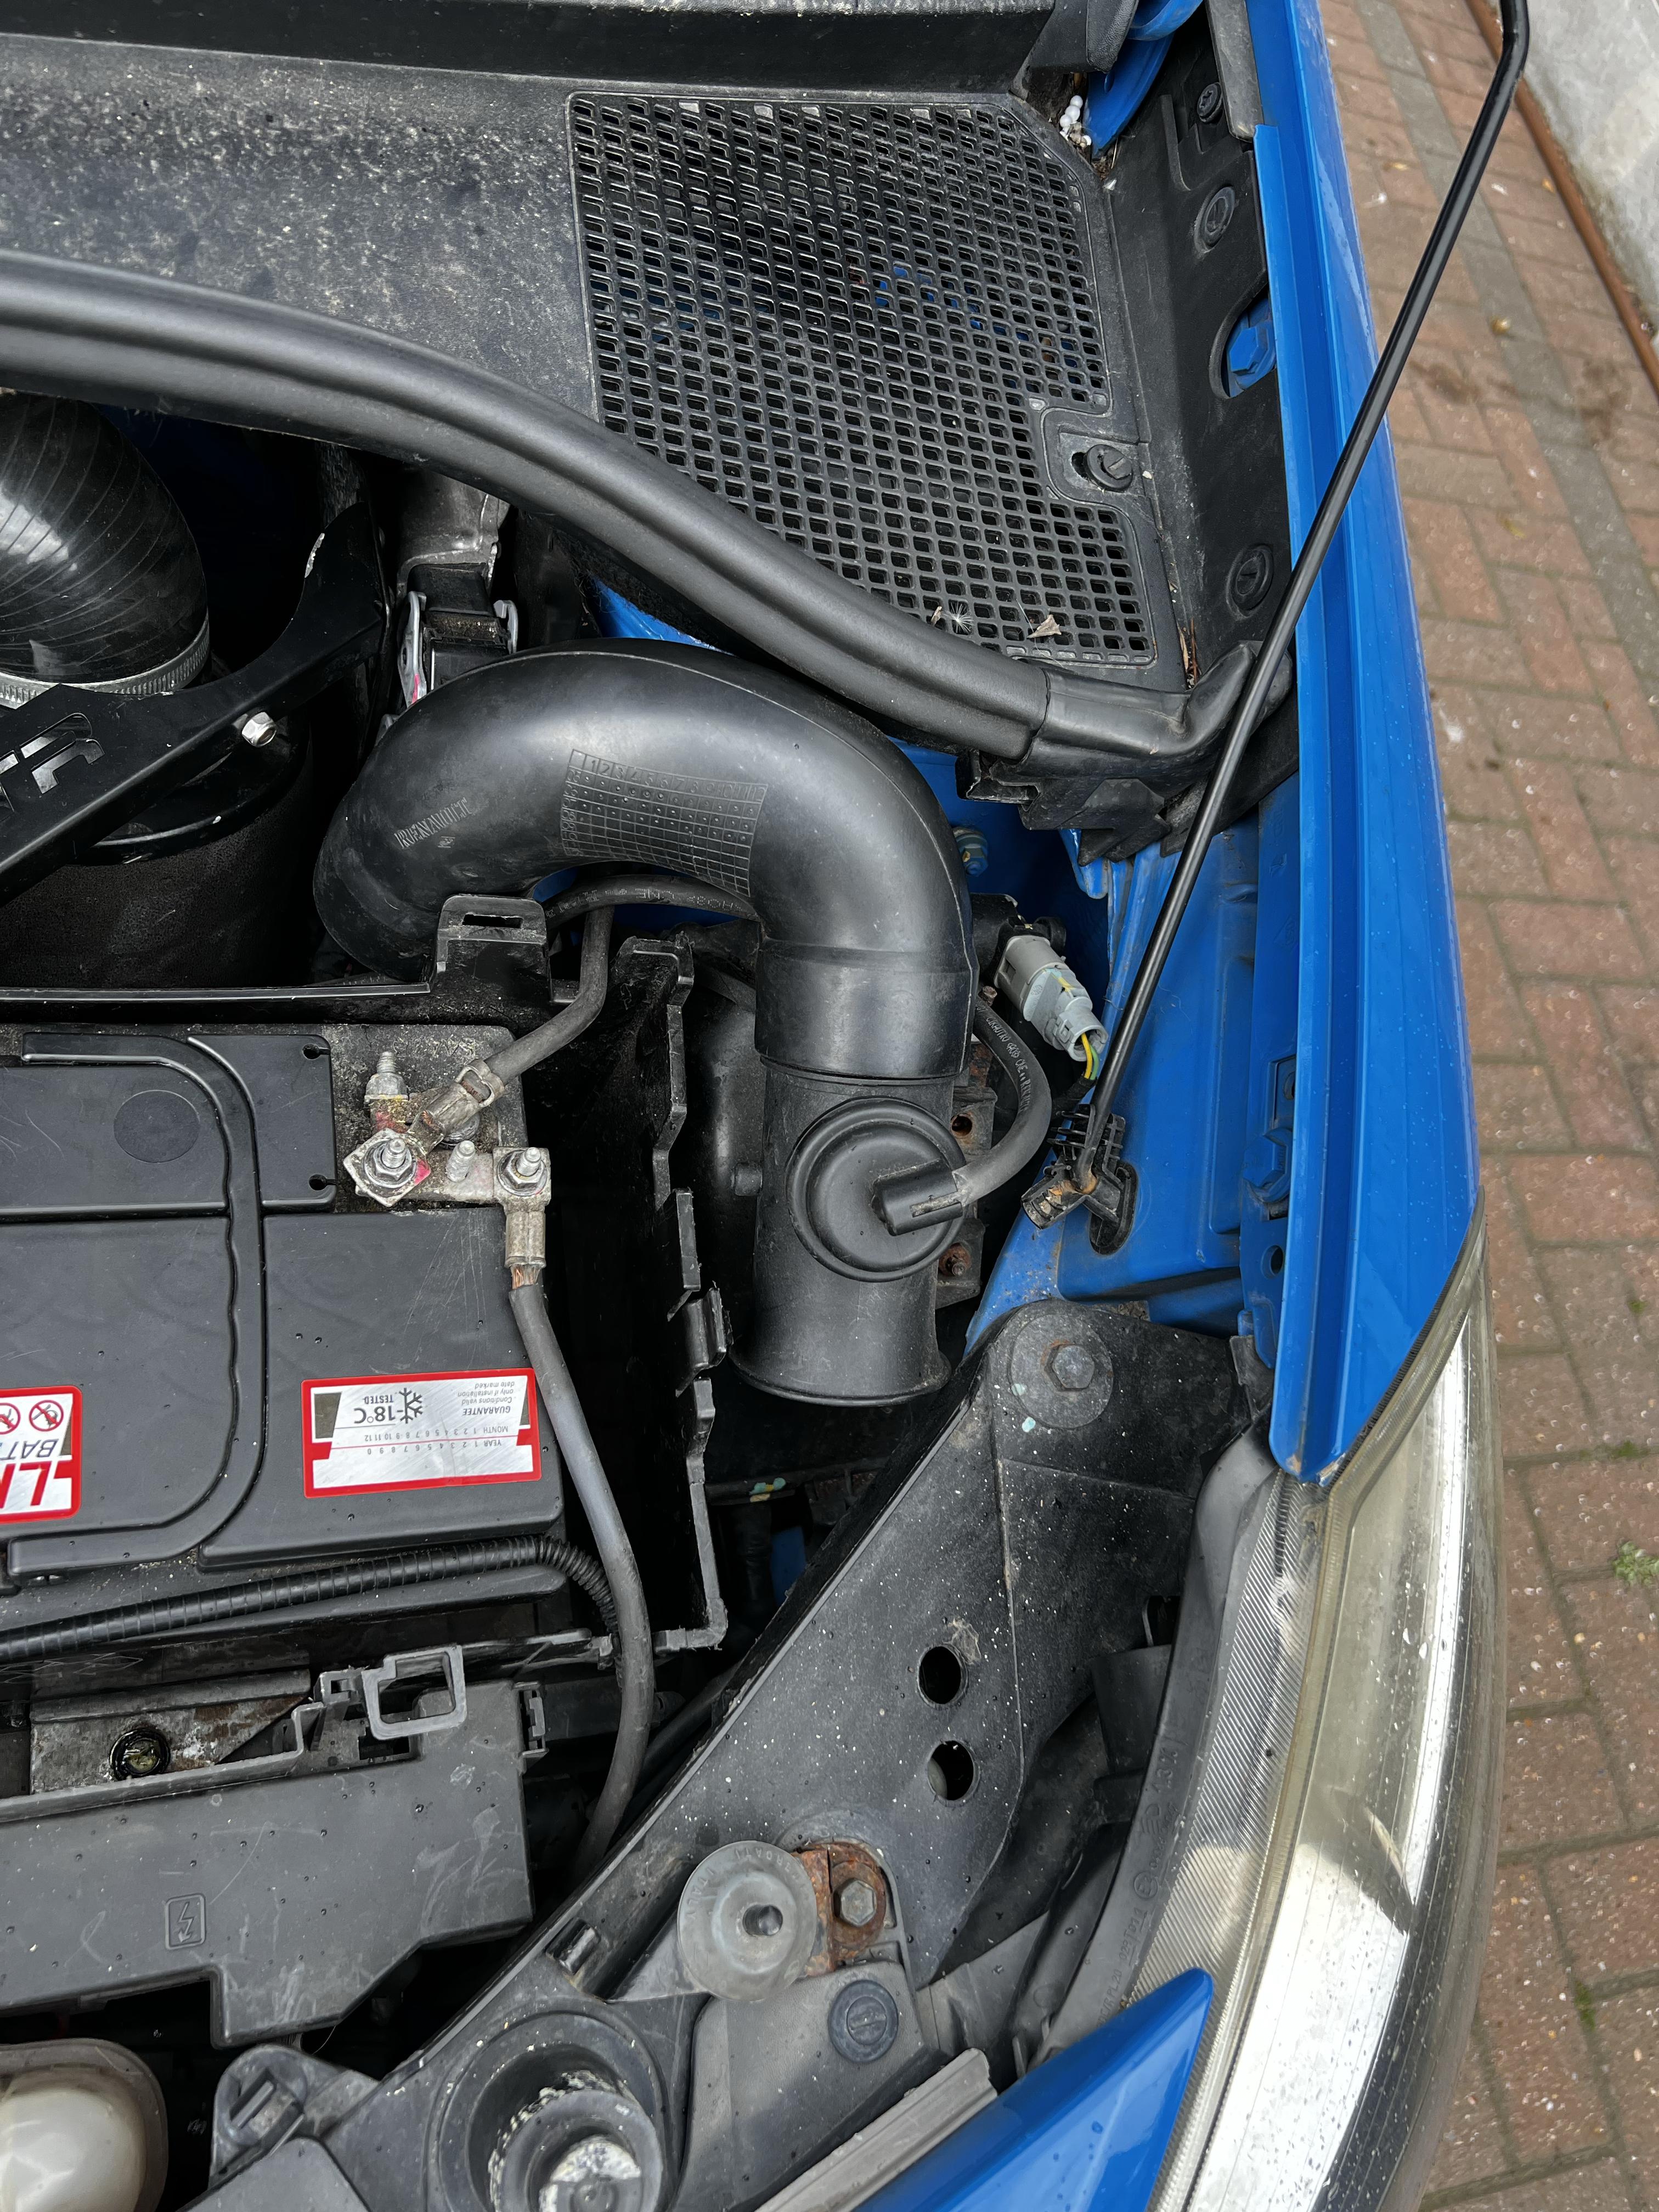
Yea I only know this as I was doing an upgrade to Xenon Headlights and I have two engine bay looms with all the stuff but fitted the Xenon headlights with normal motors I'm not just in the mood to change the engine bay loom over at the moment I just need the washer jets and water pipes I have the twin pump bottle all here. I have put the windscreen/auto headlight option on just climate control which I also have here to retrofit and activate I think this can be done by adding the motors to the standard mechanical heater box and cover one small casing hole so no air con recharge needed.

| Thread starter | Similar threads | Forum | Replies | Date |
|---|---|---|---|---|
|
|
2006 Ultra Red Clio 197 - Trackday ready £4,500 | Clios For Sale | 0 | |
|
|
For Sale: Clio RS Gordini 200 | Clios For Sale | 0 | |
|
|
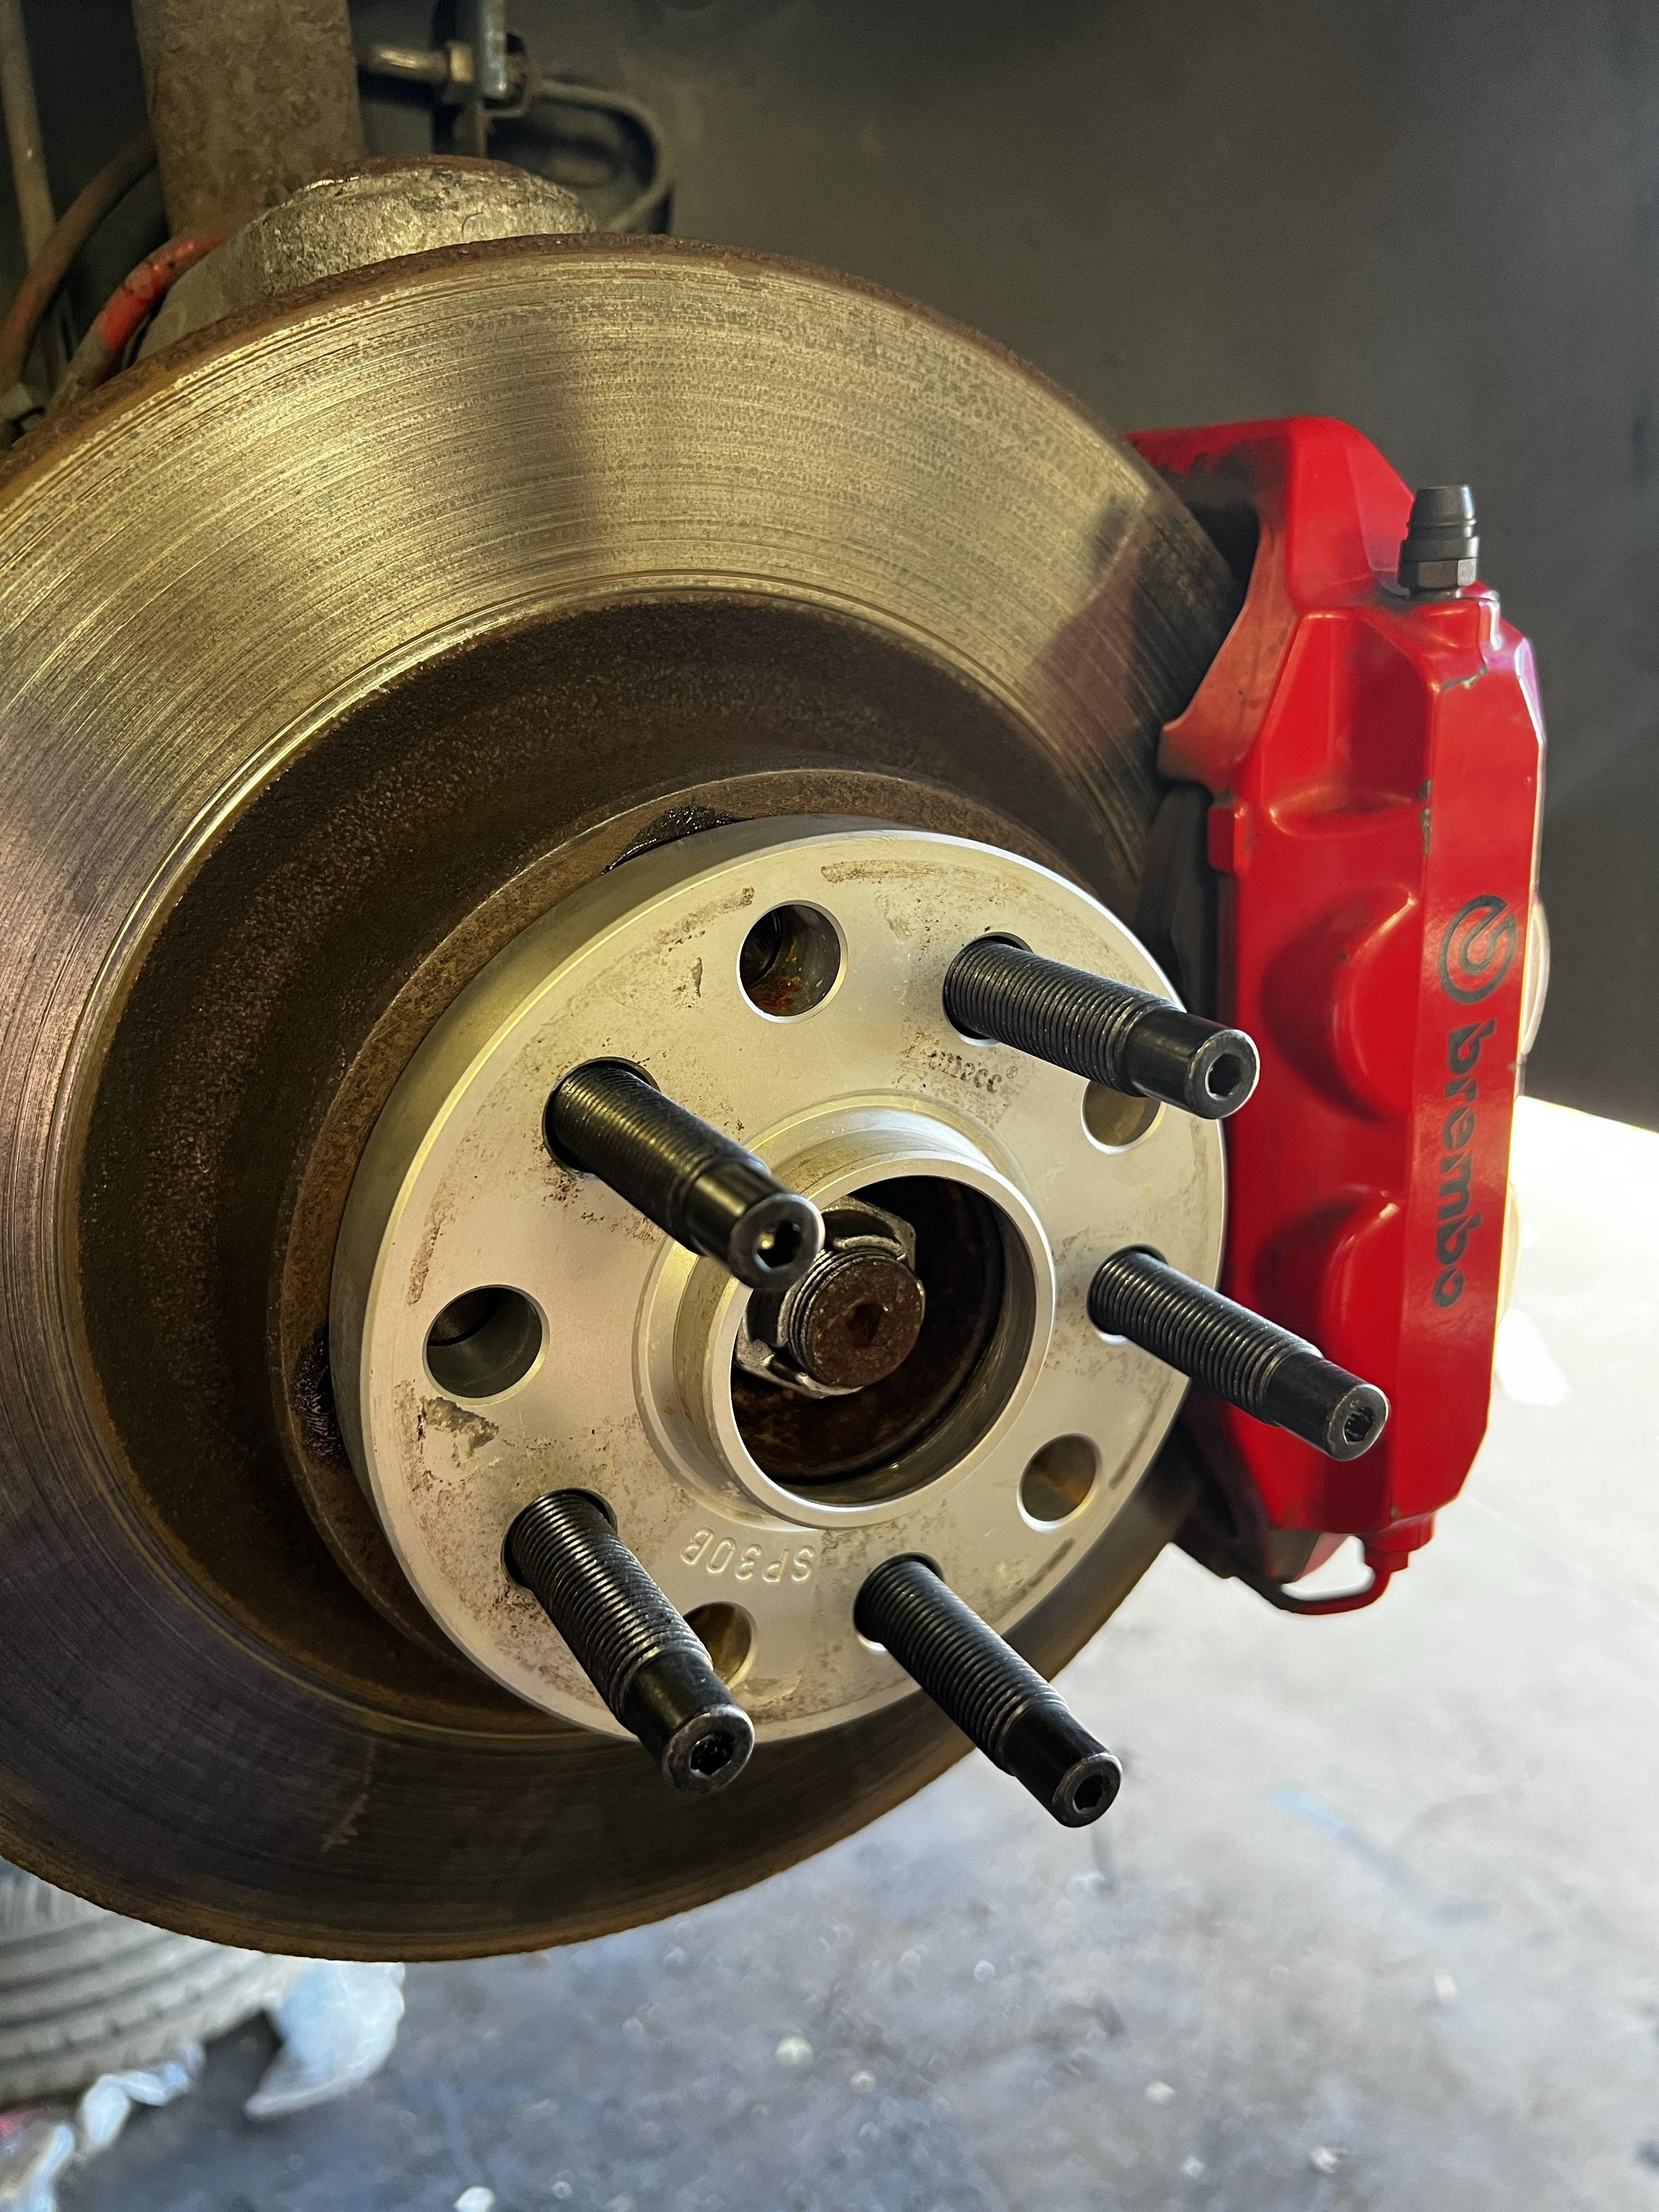
Clio 200 - Replacement Rear Calipers? | Suspension, Brakes & Steering | 1 | |
|
|
Jake's Rb Clio 197 | Projects/Progress Threads | 13 | |
|
|
Jake's RB Clio 197 Track Car | Projects/Progress Threads | 76 |

