R20BTG
Paid Member
I had a bit more time with the car this weekend and managed to have a good look round in the daylight. I'm so impressed with it, it's so well done. Kudos to Supreme Motorsport, it's come out better than I ever imagined.

I took it for a 20 minute drive to get everything warmed up and to start forming some opinions of the car.
Positives:

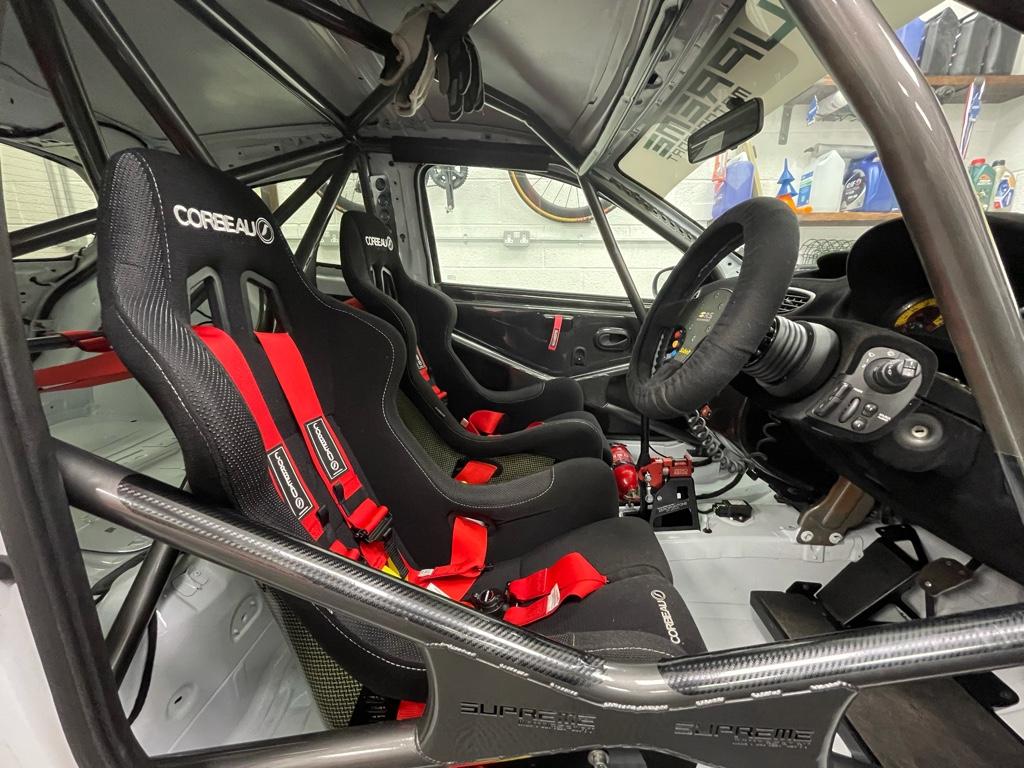
After sorting the drivers seat and harnesses, I installed the fire extinguisher onto the Supreme Motorsport mount. I'd found some nice quick release stainless steel bands which fit perfectly:


I then gave the interior a bit of a hoover, there's a lot of residual flock dust at the moment that is causing a light dusting everywhere in the cabin. I'm sure this will settle down in time.

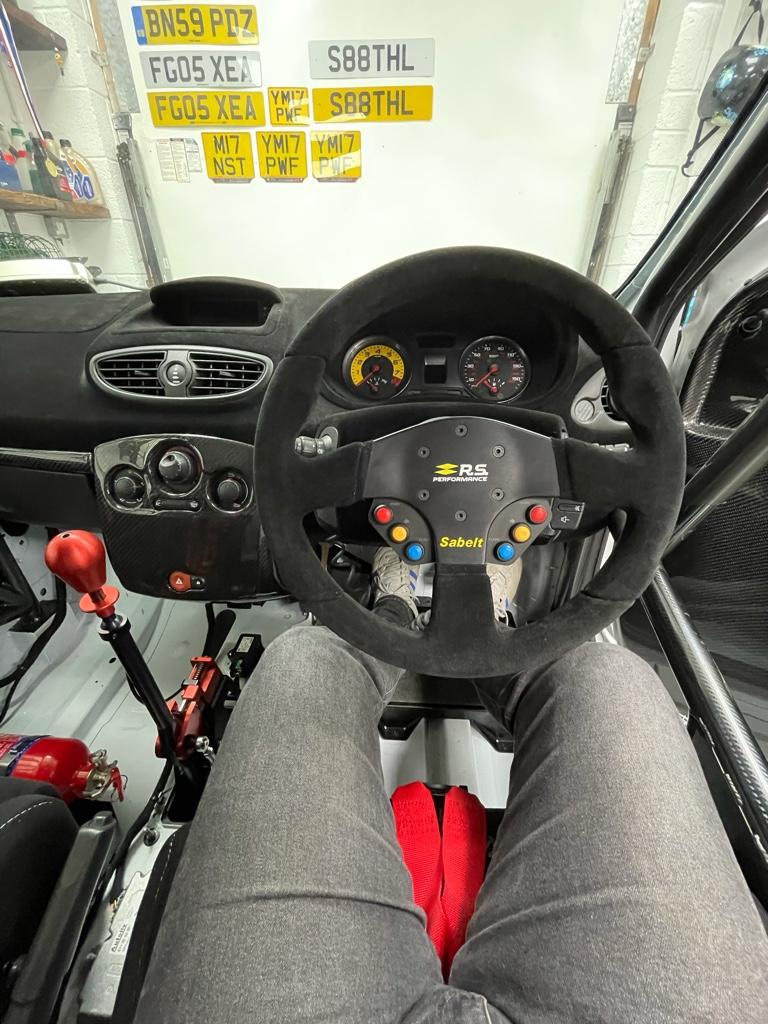
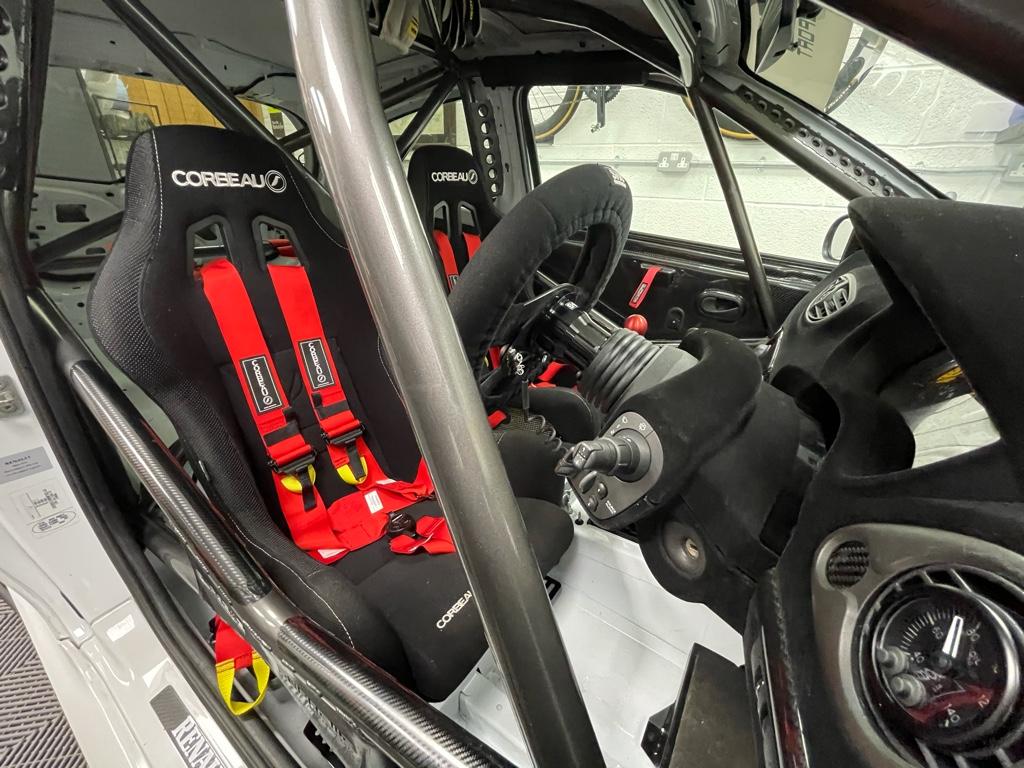
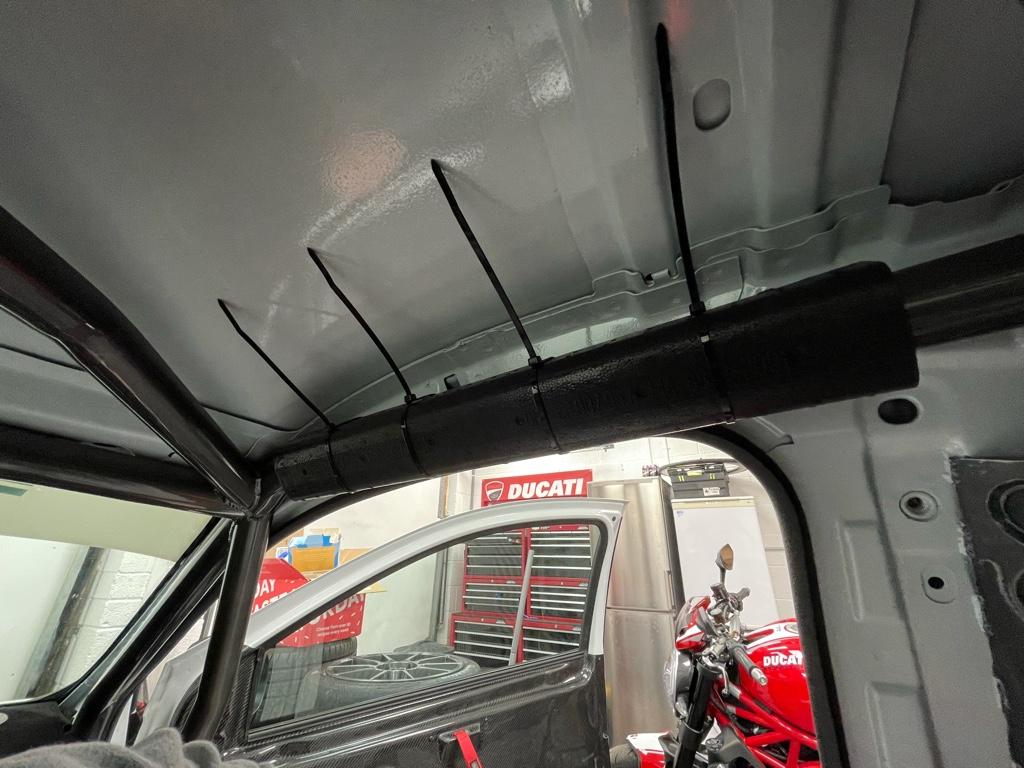
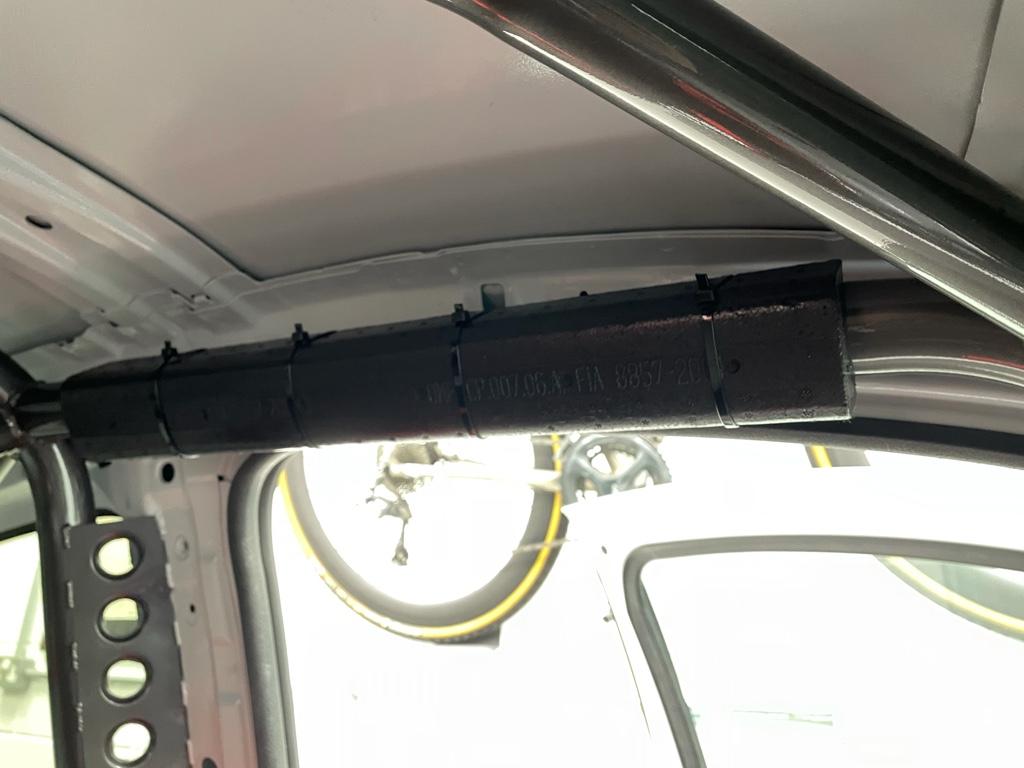
Some interior shots:


I took it for a 20 minute drive to get everything warmed up and to start forming some opinions of the car.
Positives:
- With the dampers on fully soft, the car actually isn't too bad on the road. I've certainly had worse.
- Front end turn in is superb, feels like there is no slack whatsoever and the nose darts to wherever you put it.
- Gripper diff isn't as intrusive as I thought it might be. You can feel it binding a bit when manoeuvring at slow speed but once rolling it's fine.
- ZPO shifter is lovely once the gearbox is warm (more on the gearbox below)
- During the test drive I experienced reluctance to go into 5th and 6th. I later lost these two gears entirely. Suspected diagnostic is a cable that has popped off. Need to find time to investigate this another day.
- Gearbox is a little notchy when cold, seems to loosen up a bit when warm. Actually feels better at high revs and high temperature. Matt said they use slightly thicker gearbox oil which might be the reason.
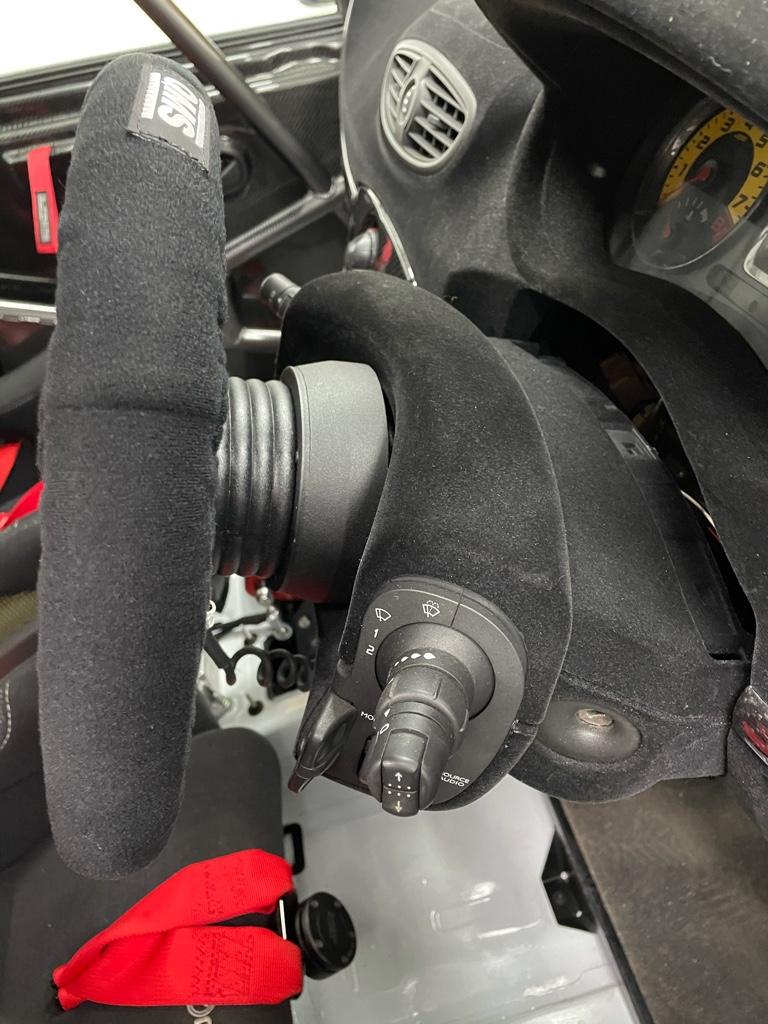
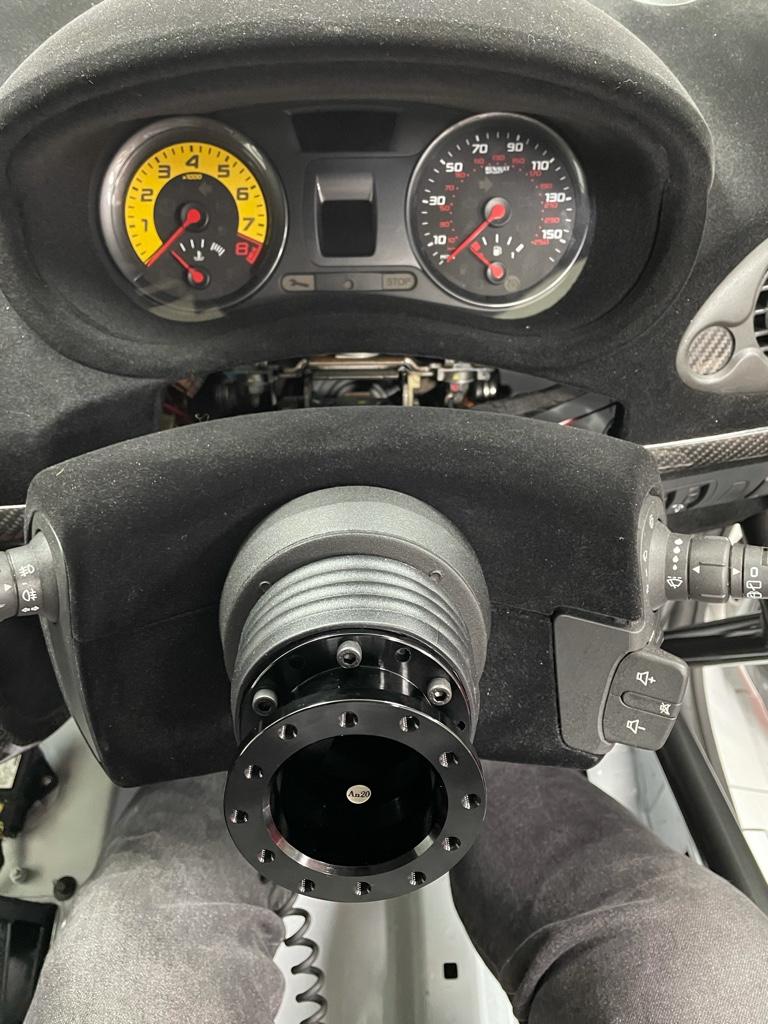
- I came back and adjusted the seat height, my preference is to sit very low. As a consequence the steering wheel is too high (even when lowered with the Josh Wheeler steering column spacers). I'm in dialogue with Josh as to how we might lower it another 20mm or so. Watch this space.
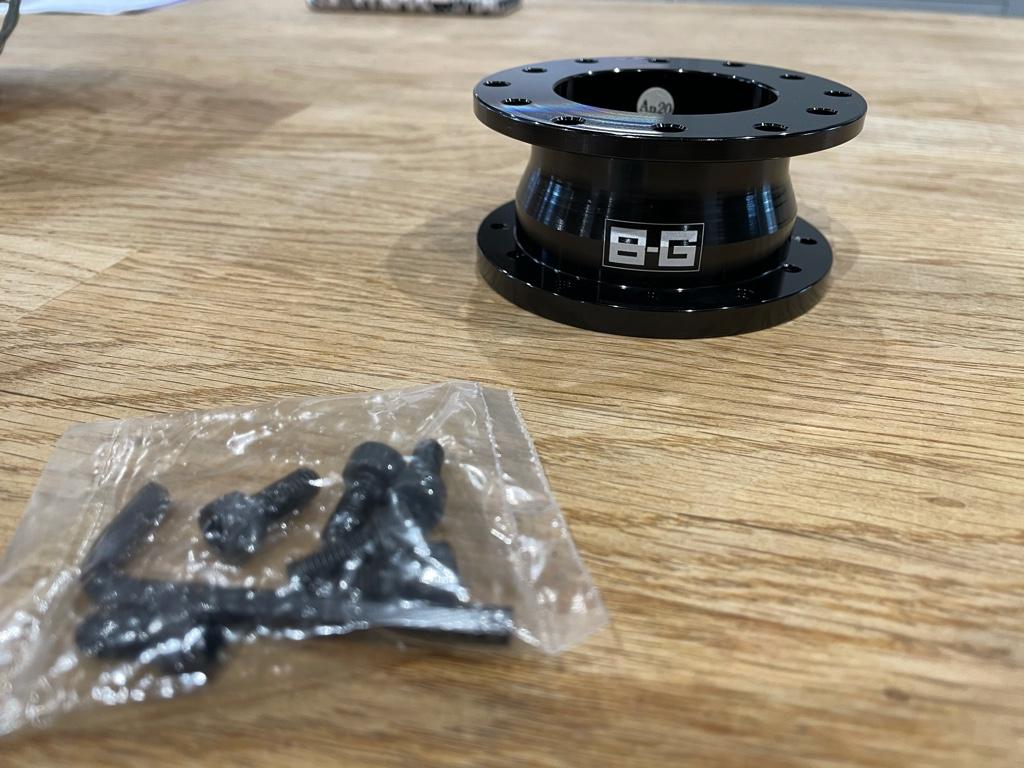
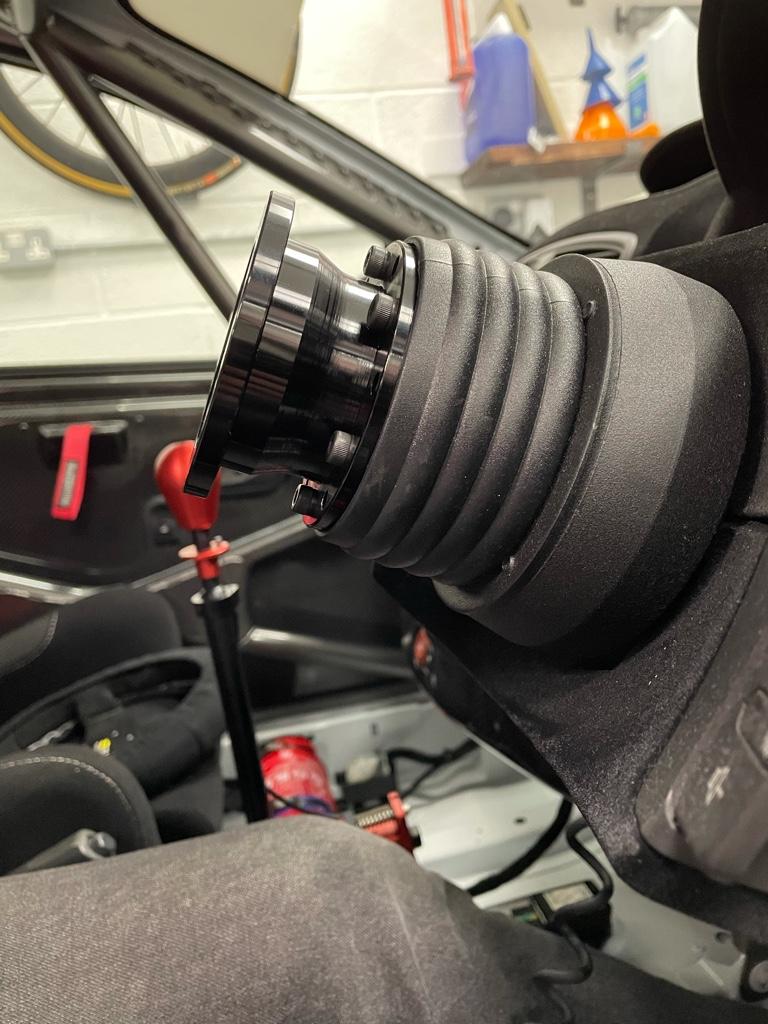
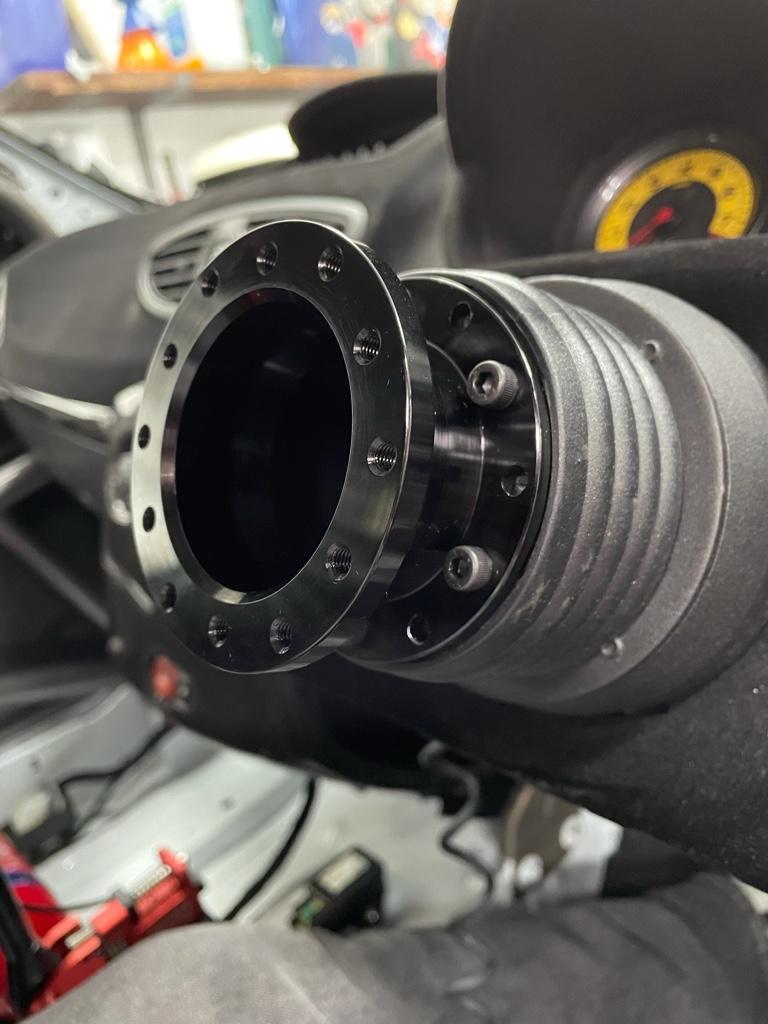
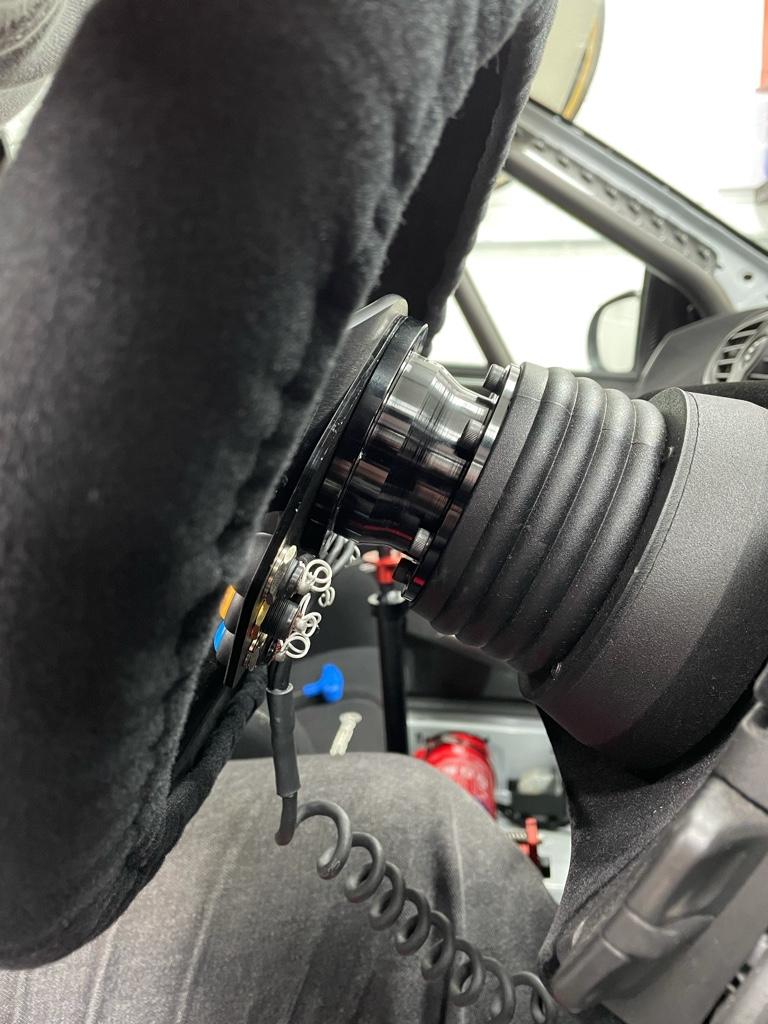
- The steering wheel is also a little too far away from me because the Sabelt wheel effectively has no dish, it needs to be 30-40mm closer to my chest when I'm strapped into the harnesses. Pretty easy fix in the form of a steering wheel hub spacer (LINK)
- I lost power a couple of times on the test drive, looks like my negative battery terminal had popped off. The terminal itself has seen better days and the terminal on the battery looks like it's been chewed up a bit. Does anyone know if you can buy new terminals easily enough? Might also get a new battery just so that there is a good connection.
After sorting the drivers seat and harnesses, I installed the fire extinguisher onto the Supreme Motorsport mount. I'd found some nice quick release stainless steel bands which fit perfectly:
I then gave the interior a bit of a hoover, there's a lot of residual flock dust at the moment that is causing a light dusting everywhere in the cabin. I'm sure this will settle down in time.
Some interior shots: