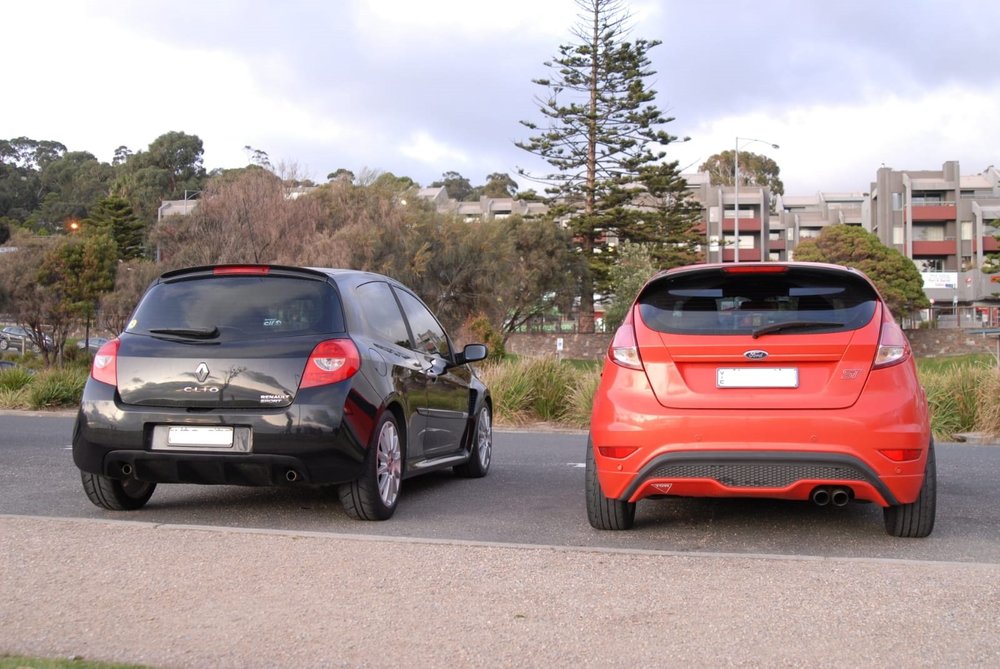
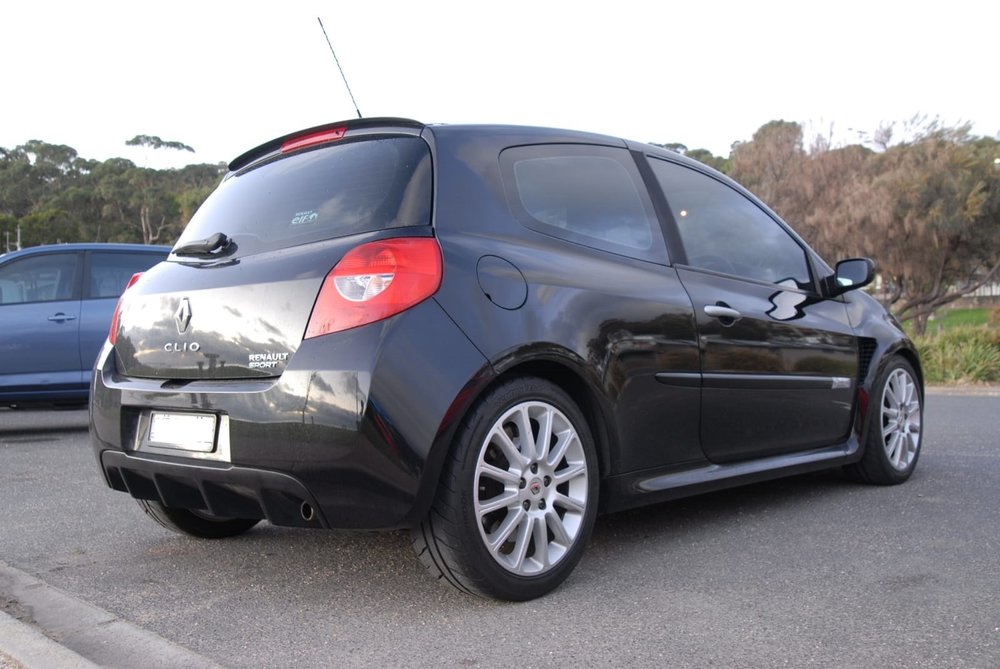
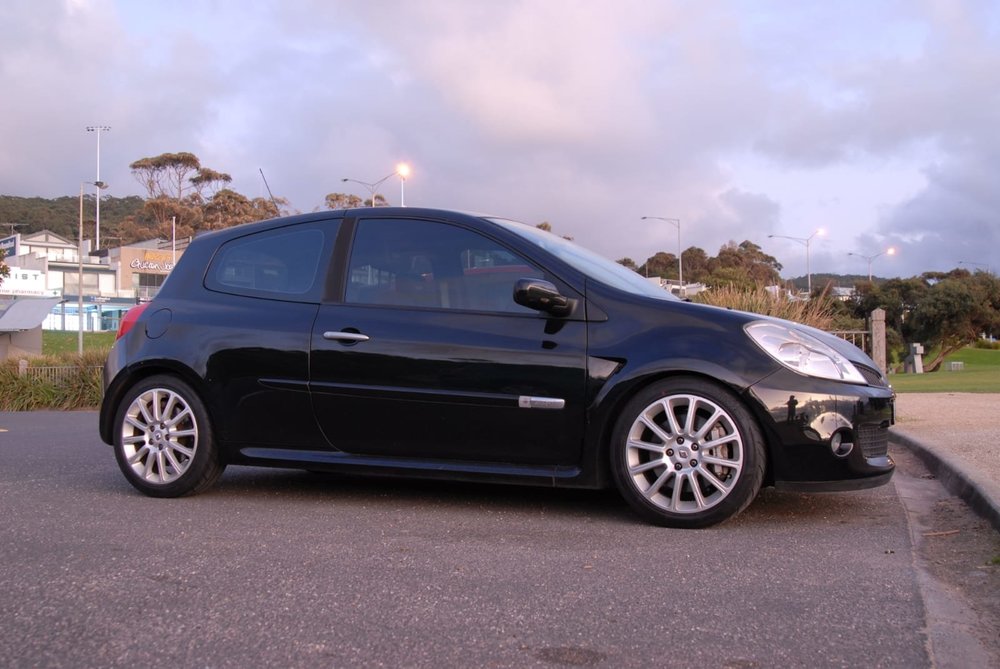
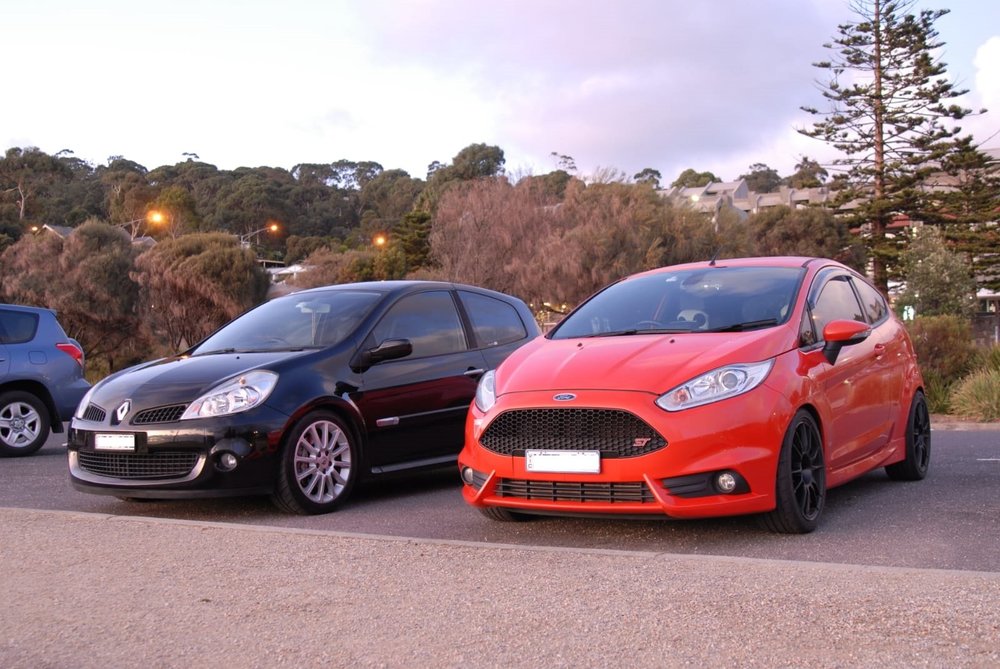
Clio 197 Australia

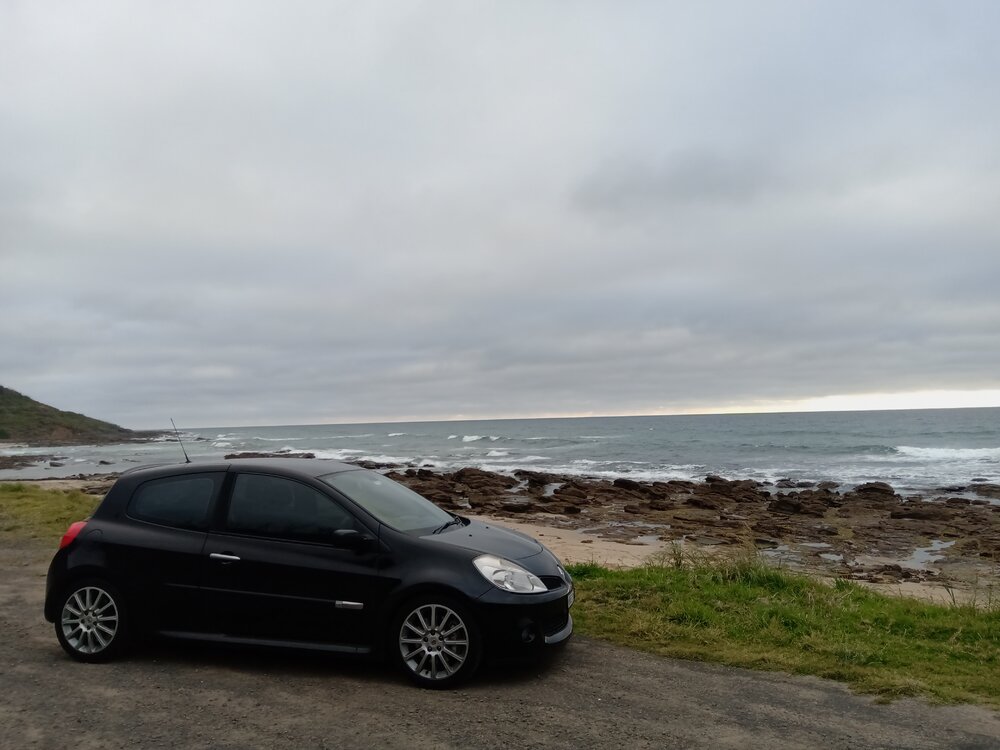
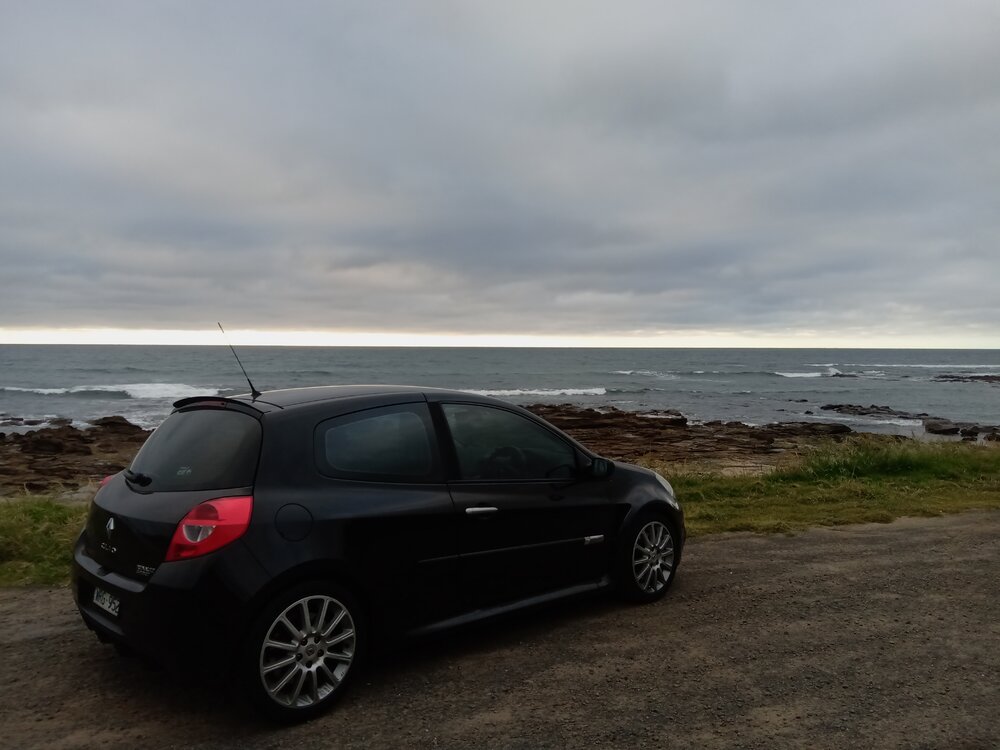
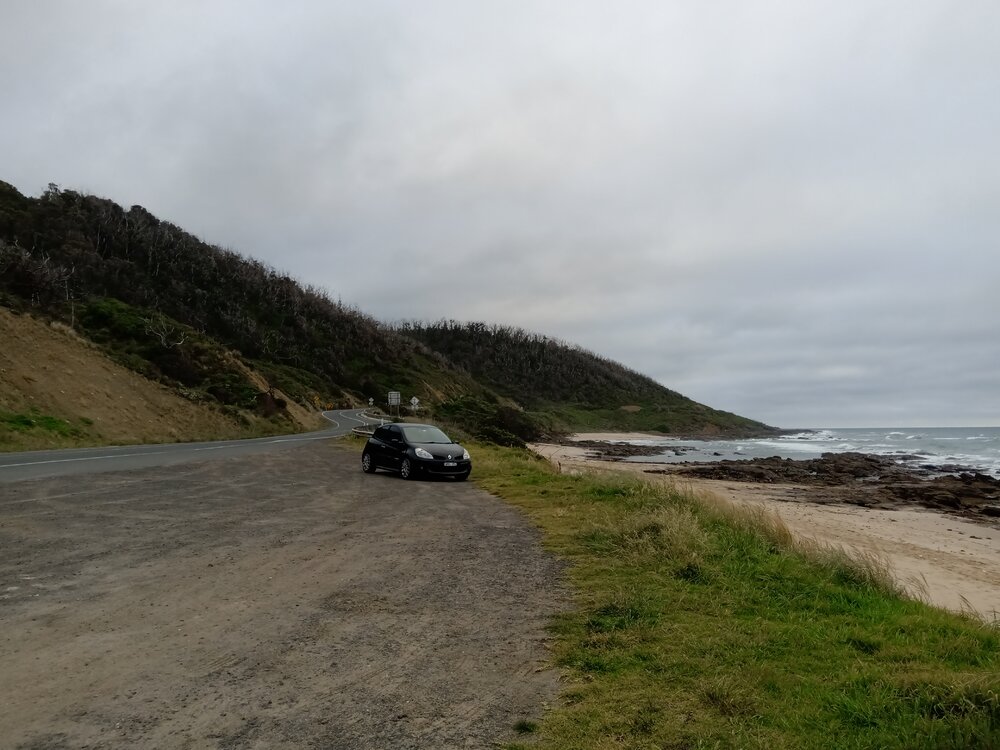
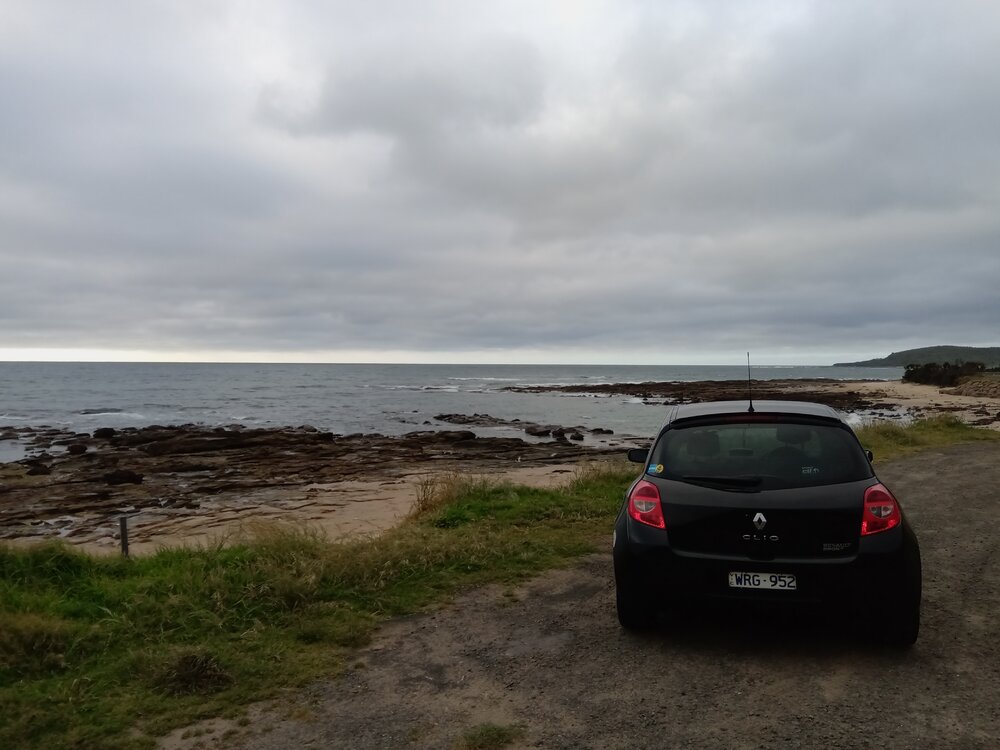
I decided to go for a dawn run on the great ocean road with a friend to see how i feel about the new ball joints and superpro bushes.

The front of the car feel very solid and planted and feels so much more tighter than before and seems to take big bumps in the road a lot better

It is hard to describe, as its not completely life changing, buts it feels nice. I do like how the car feels, but don't want it to cost me any more large amounts of money any time soon.


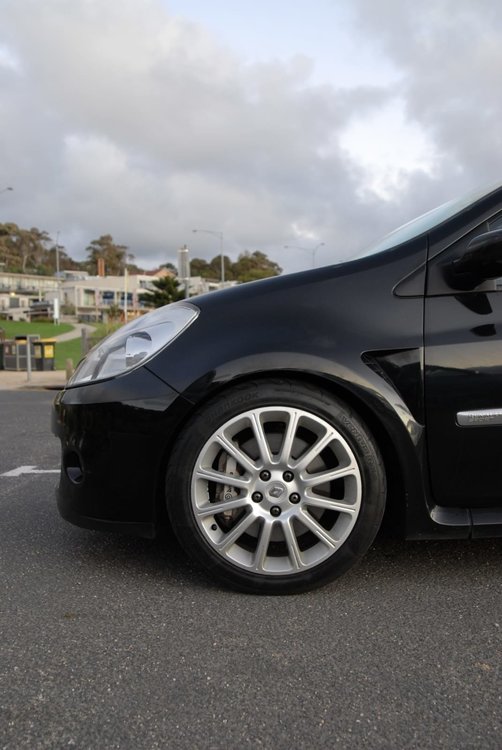
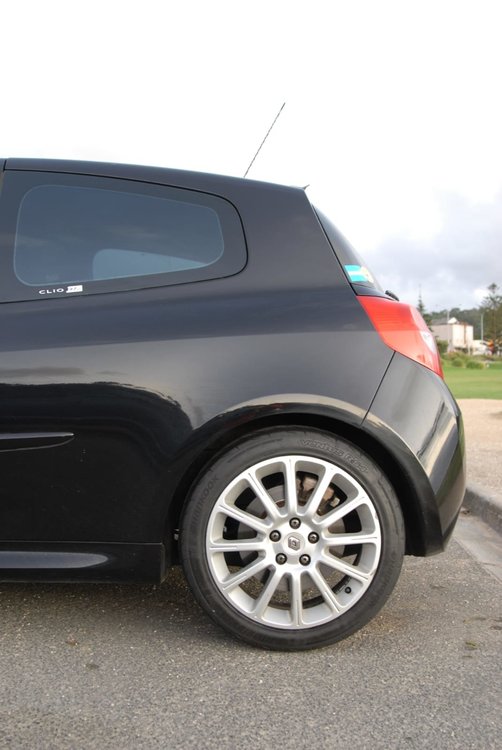
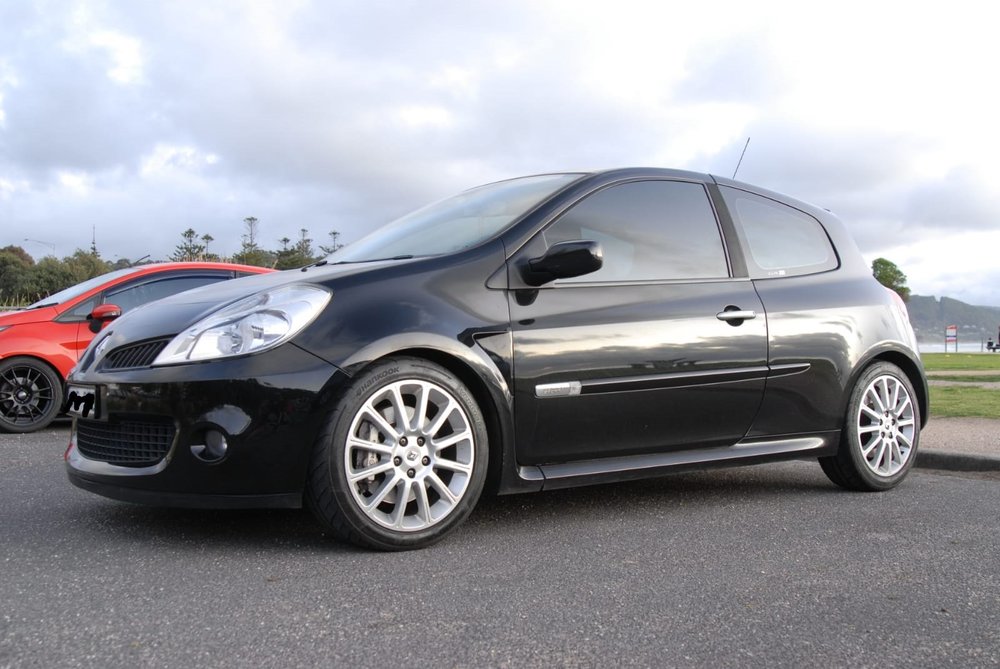
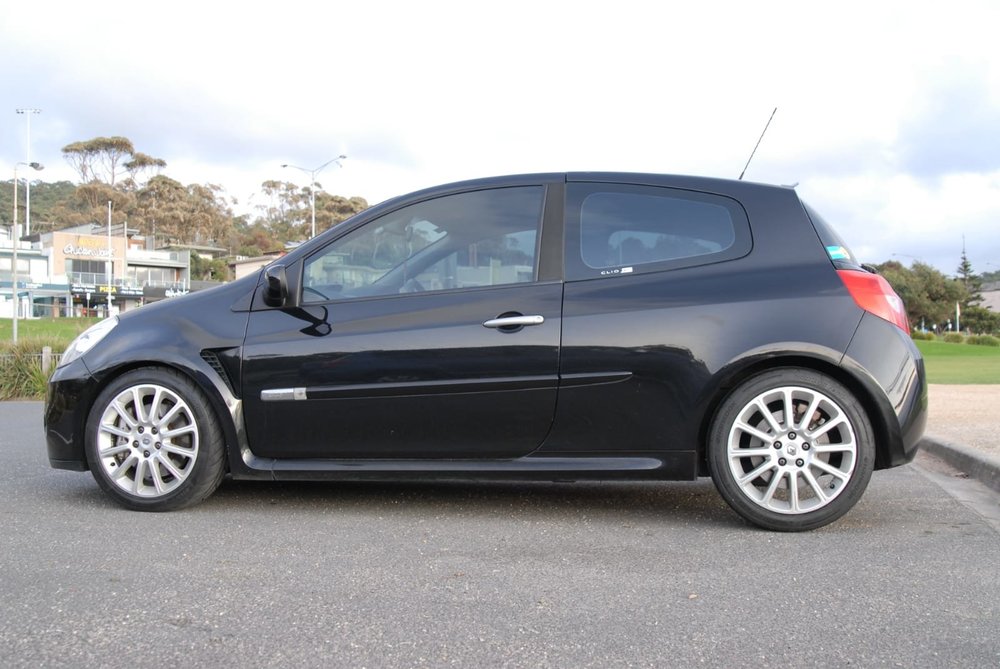
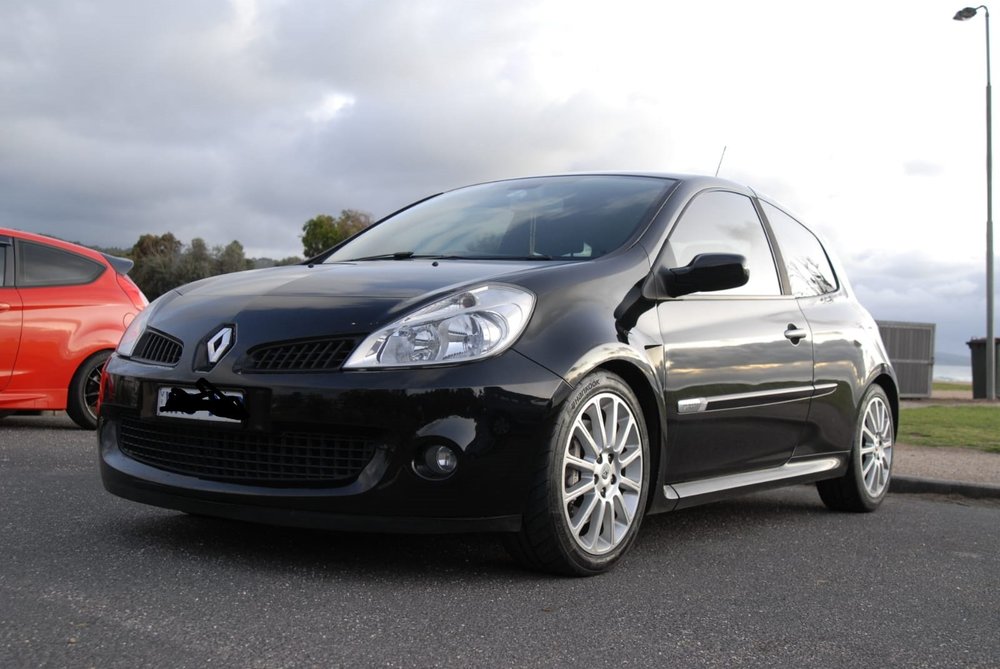
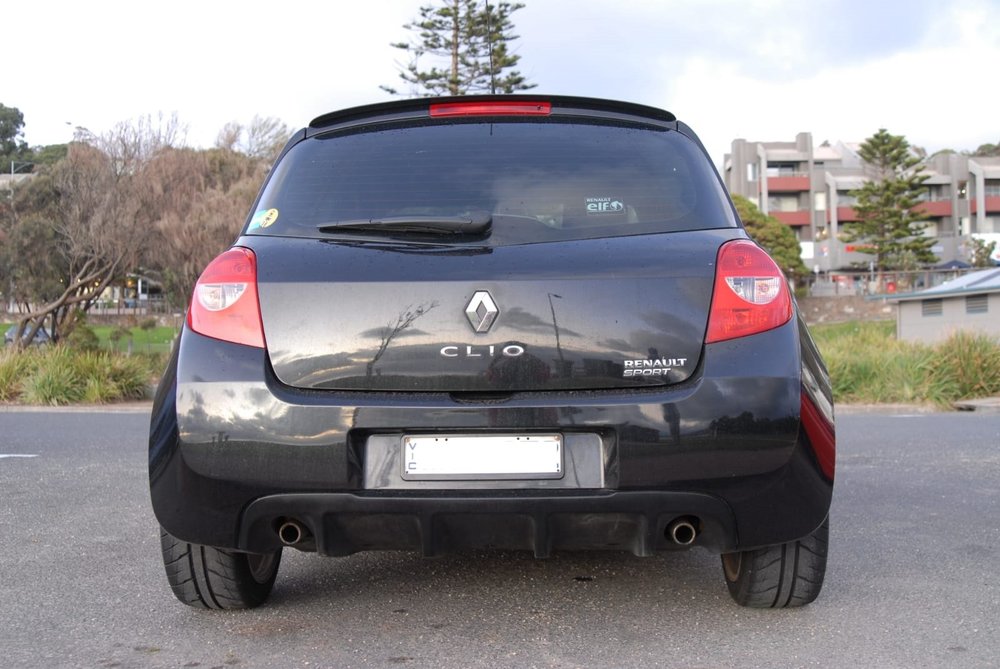
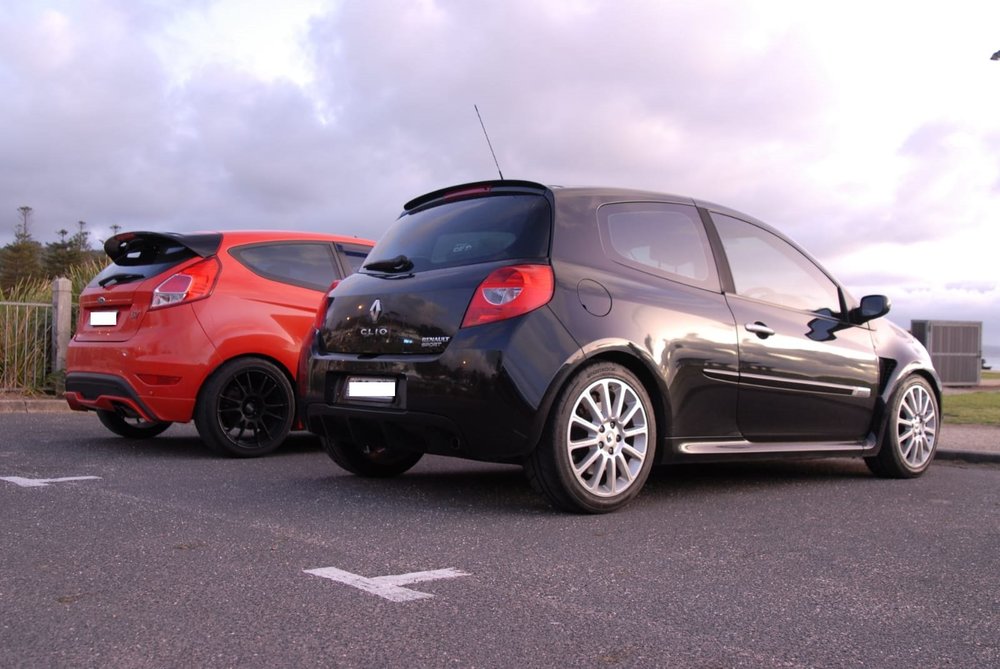
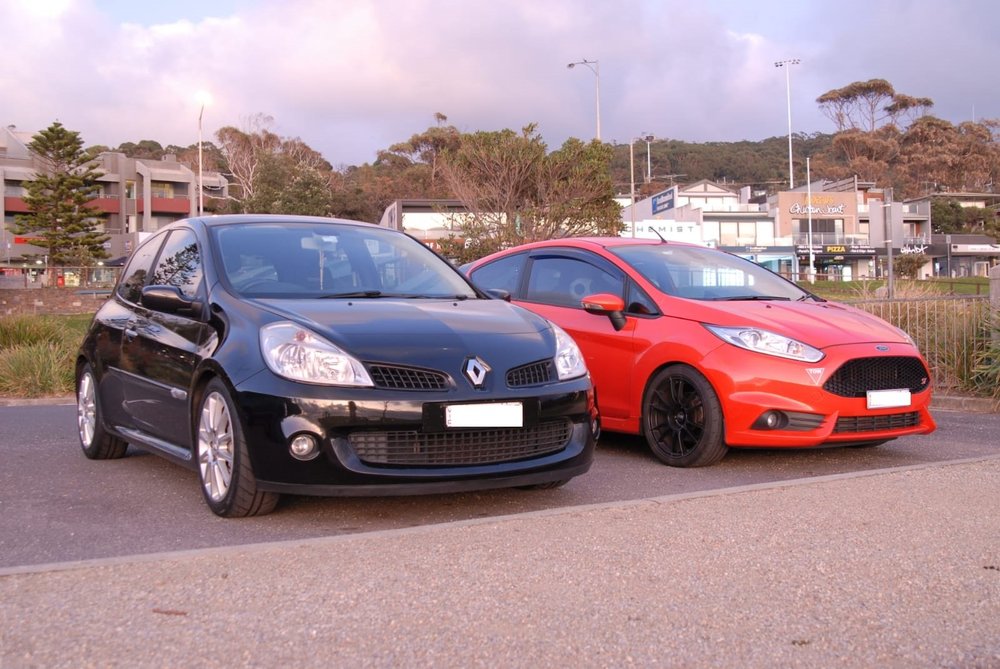
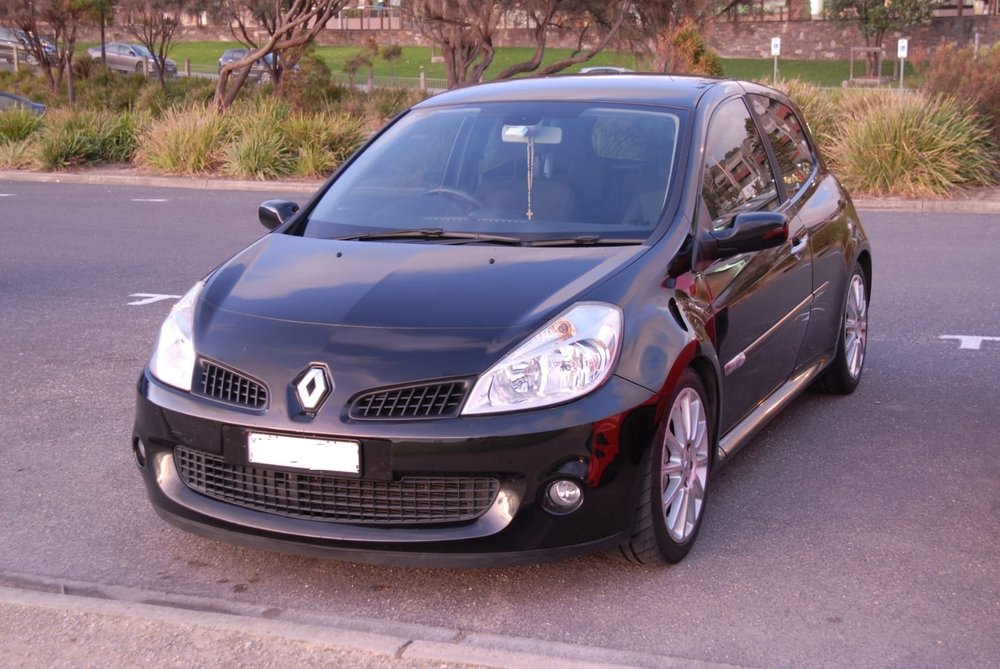
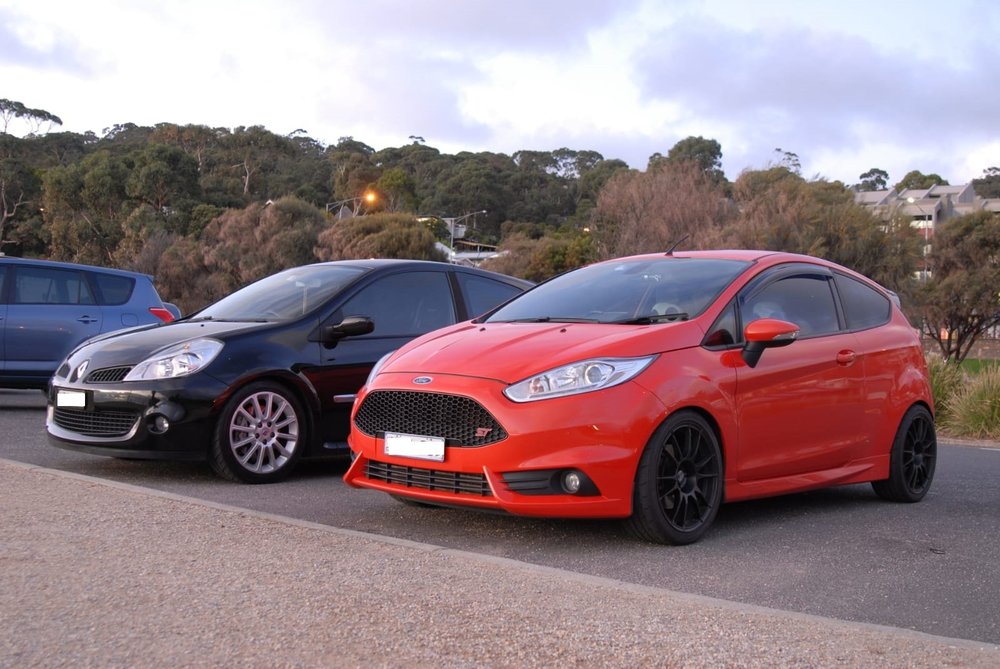
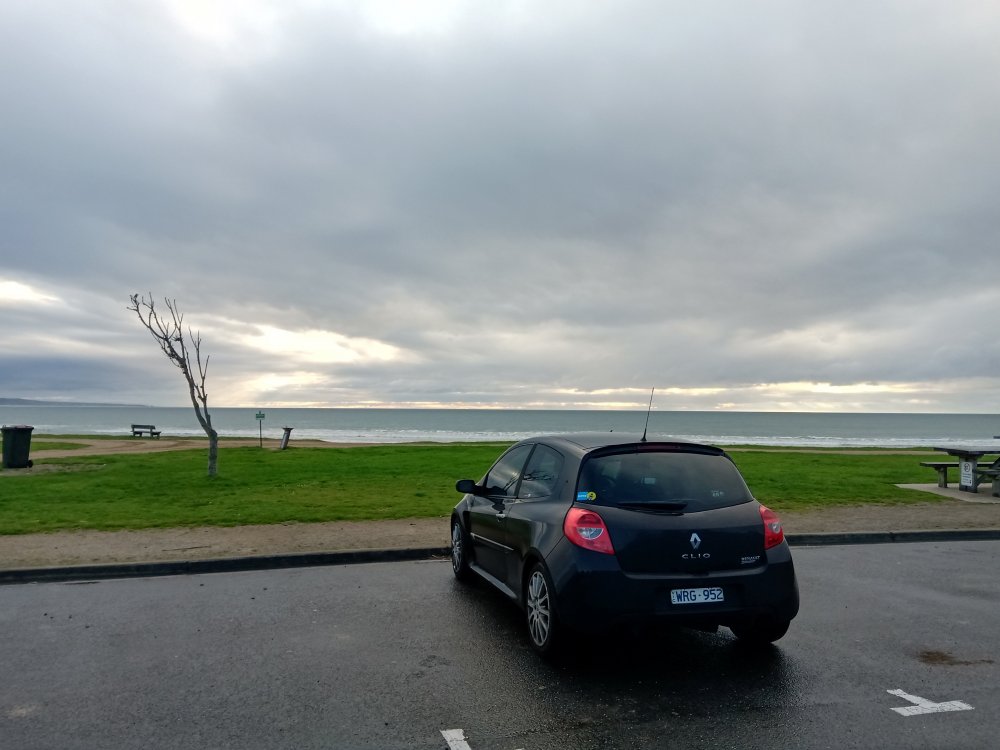
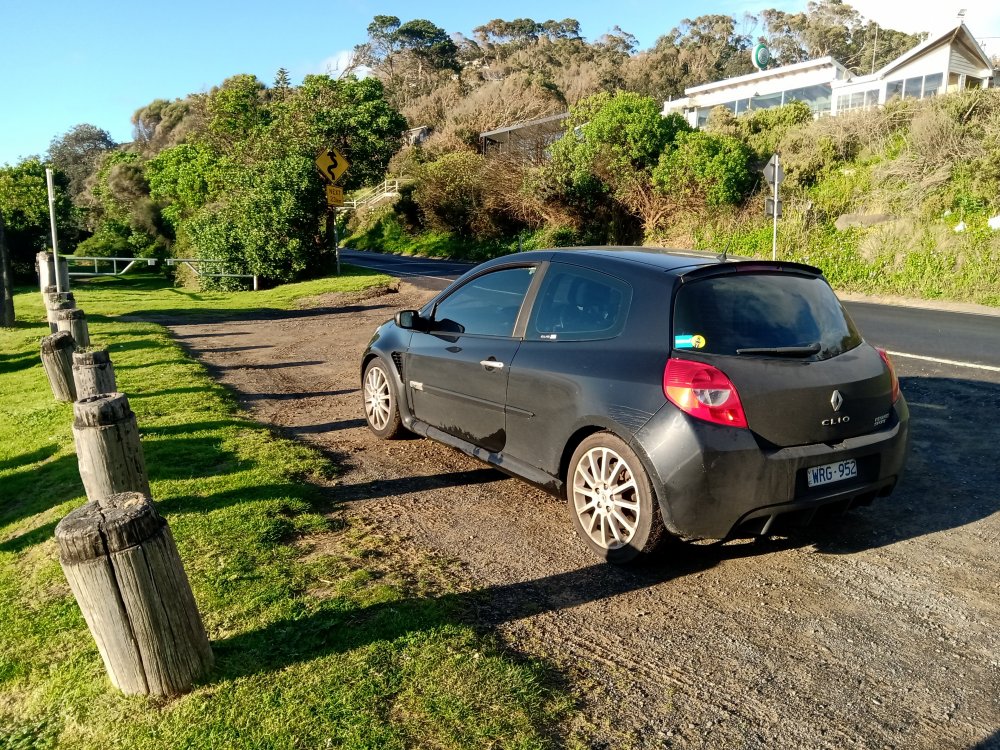
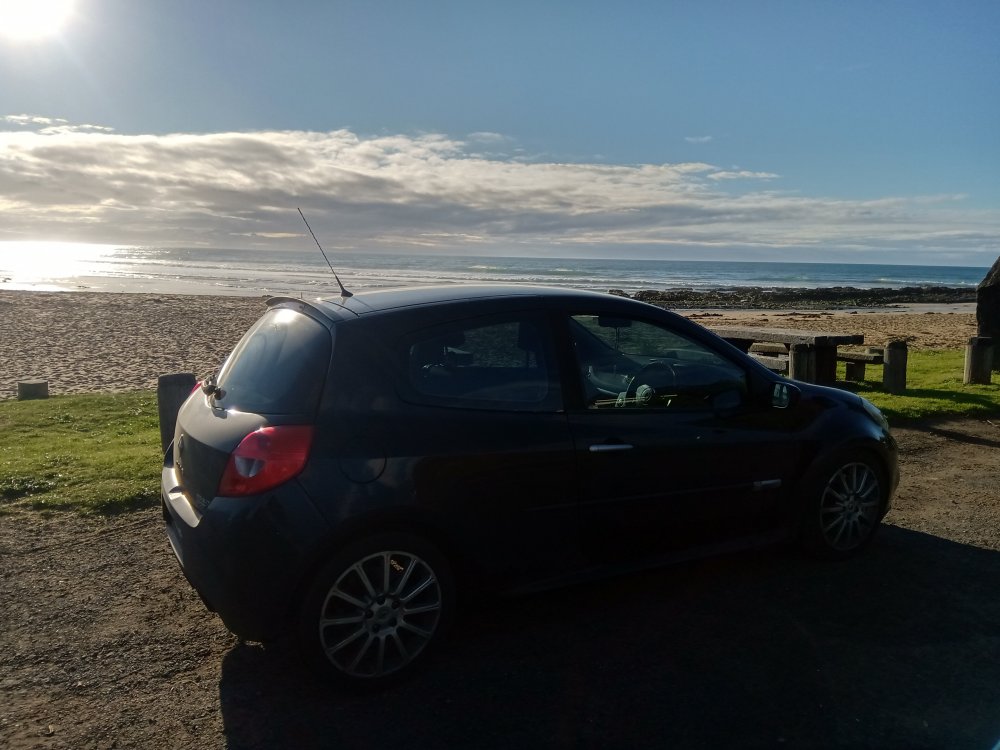
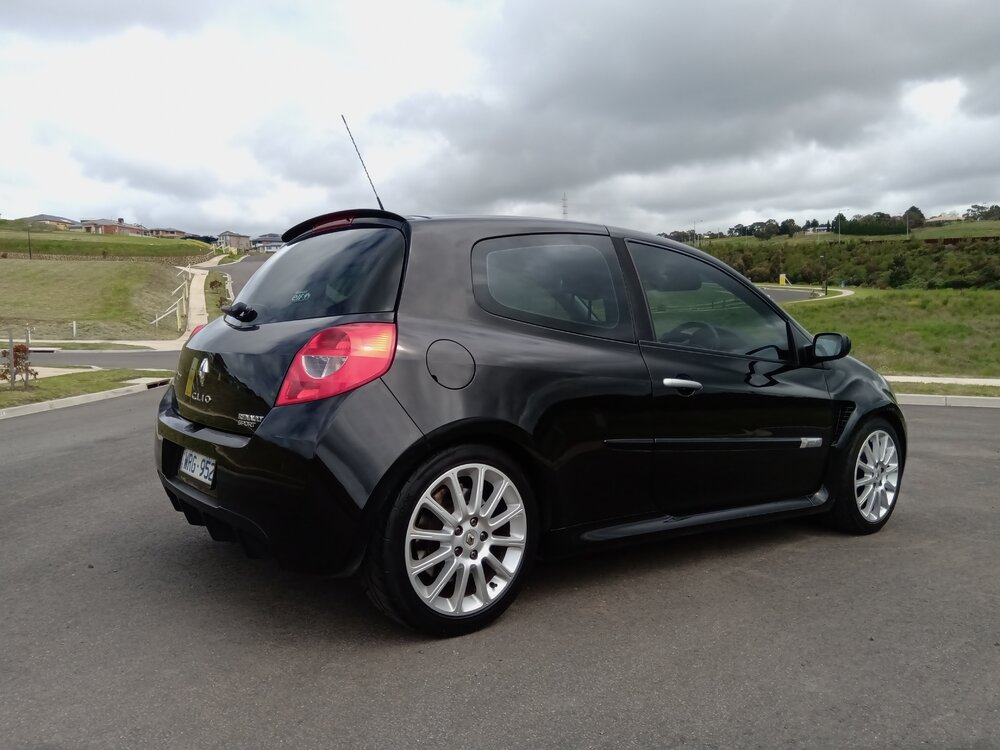
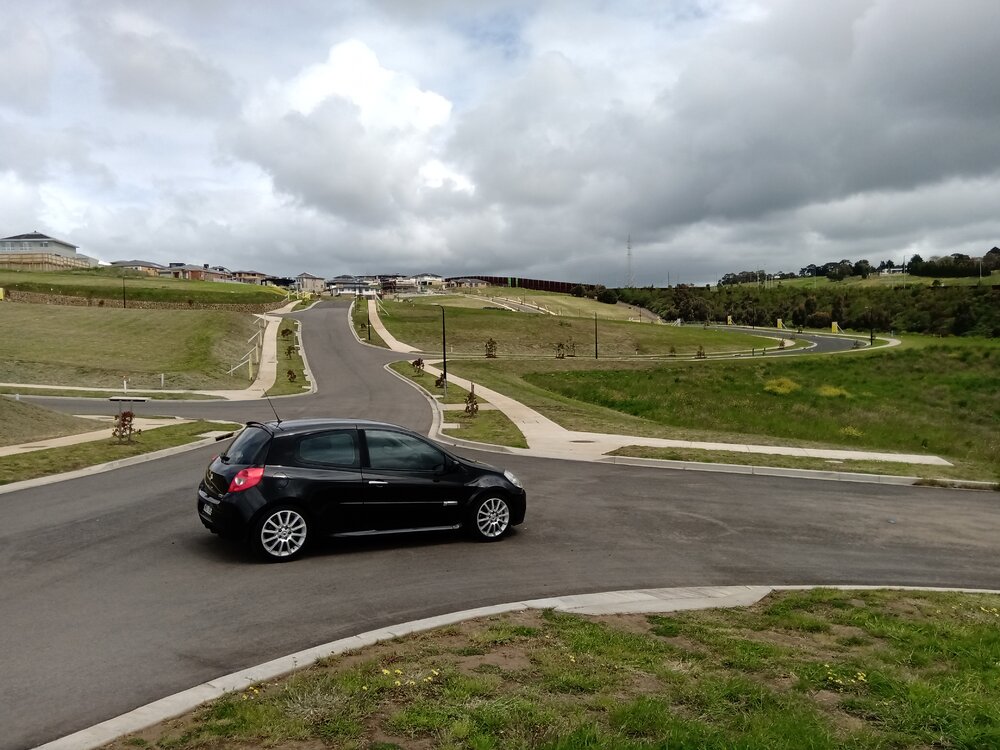
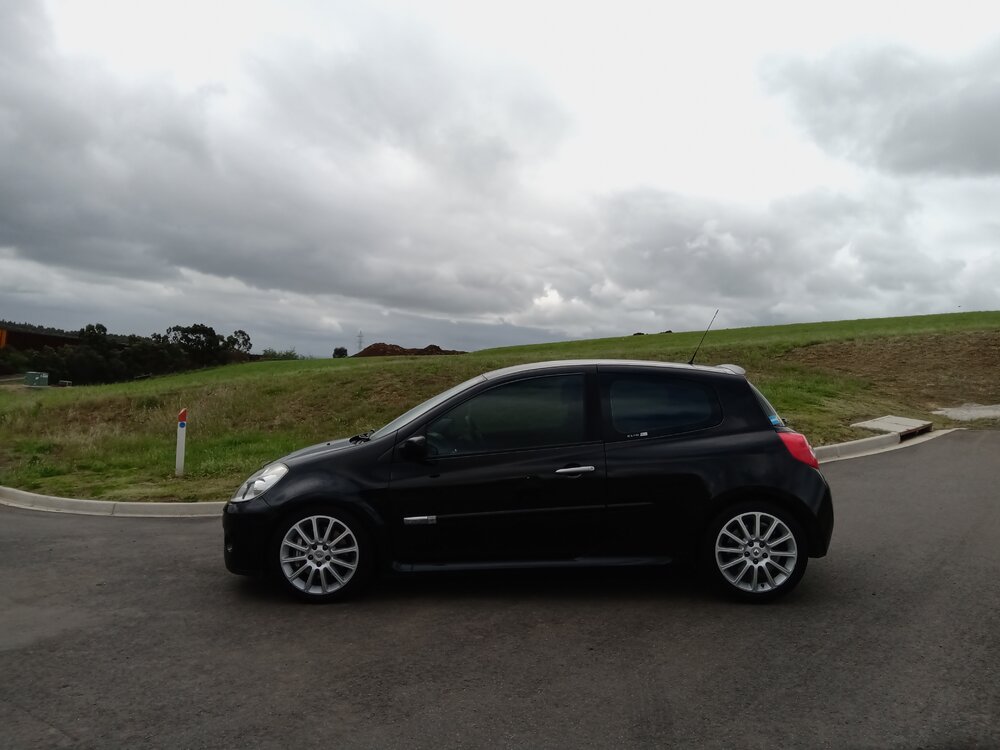
My friend also decided to take some pics of the car, as i did not have anything other than the pics on my phone. It did rain on the way to Lorne which did make the car loose a bit of shine.

IMG-20200315-WA0007.thumb.jpg.8ffcb4fb51e6429730a5bca0d35795e3.jpg

IMG-20200315-WA0008.thumb.jpg.7daa9e2d124b9d04dd83738d02fa98fd.jpg

IMG-20200315-WA0006.thumb.jpg.a02862fdac580e5fb6fbddefe6e9dae4.jpg

IMG-20200315-WA0010.thumb.jpg.b63b8a972906c3caa07d92c89a54b877.jpg

IMG-20200315-WA0011.thumb.jpg.a8a180cfead9d6e811dba459a7ab0873.jpg

IMG-20200315-WA0012.thumb.jpg.dd3ac6e3a96f82fd1f420e59437dada2.jpg

IMG-20200315-WA0013.thumb.jpg.f61d02f4749e3e7853482622ffb9e051.jpg

IMG-20200315-WA0014.thumb.jpg.c8bceb36da9c8664c7168c3d5e30a775.jpg

IMG-20200315-WA0015.thumb.jpg.7a001ea469d16f823600374e4e60959a.jpg

IMG-20200315-WA0016.thumb.jpg.7ba9ba71c714412da005bd8d4fd1a7e2.jpg

IMG-20200315-WA0017.thumb.jpg.4454286a2764fc4c2fe019048cc5a41d.jpg

IMG-20200315-WA0018.thumb.jpg.37122a1302206546d9d7d6c821fec515.jpg

IMG-20200315-WA0019.thumb.jpg.b351a43b5cffaf49cfa5d9d281618f3f.jpg

IMG-20200315-WA0020.thumb.jpg.e352aa6d2d37cff133e20616520c830e.jpg

IMG-20200315-WA0021.thumb.jpg.17104e0e166e6a2562e5e14974f253cd.jpg

IMG-20200315-WA0022.thumb.jpg.190efad4d4884df4424a54f7df0e6a26.jpg

IMG-20200315-WA0023.thumb.jpg.5b090ff15ed4456948a8029ec94e629e.jpg

IMG-20200315-WA0024.thumb.jpg.32b70f4a4f2aab8390a7b94f0b4e1a2c.jpg

IMG-20200315-WA0025.thumb.jpg.6eabae5a6c41d0c801b9c59c04070eea.jpg
 
Since installing the Bilsteins and lowering the car the small amount i did, i could no longer get my jack underneath the car and had to resort to using a small jack to get the car high enough for me to use the bigger jack. I was annoying to say the least.

I did not want to get a slim jack as they just cost too much money for the little difference they offer.

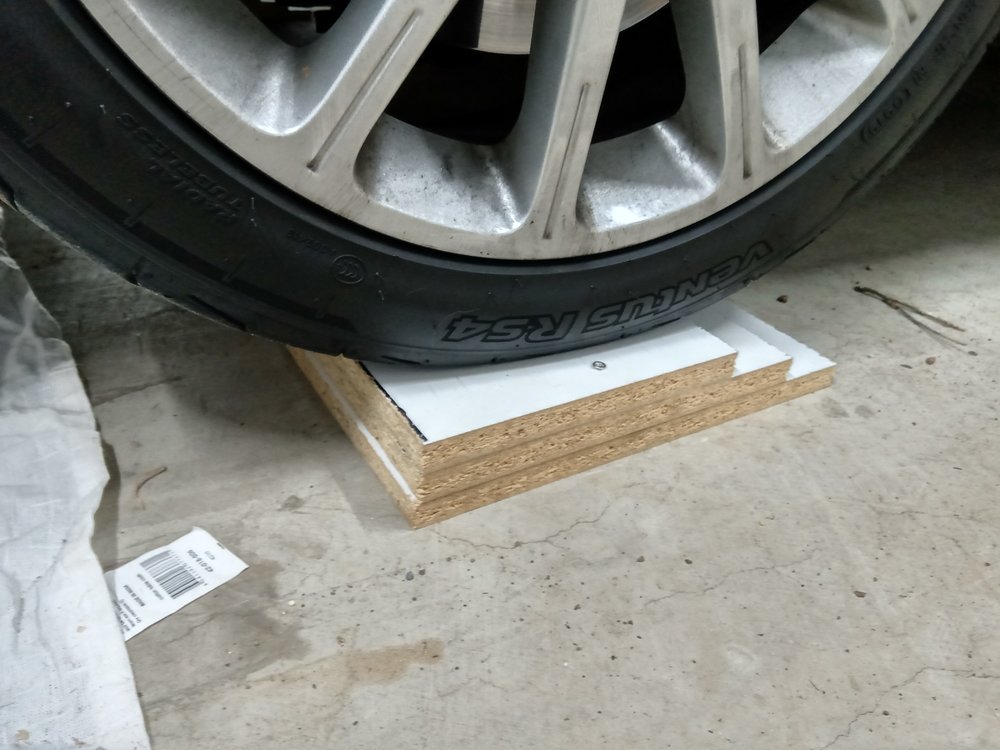
So i remember watching MCM video a long time ago about making small ramps from wood, as my metal ones are heavy and require lots of space to set up.


They took me a little while to make as all my screws decided to round themselves annoyingly. It was funny and infuriating at the same time, but managed to make them with bits and pieces i had laying around the home.

IMG_20200418_135530.thumb.jpg.e7d971dee66eb0de05a3c7d15c523c16.jpg

They do the job and take up very little space in the garage and allow me to use my full size jack. Hooray


This was the real reason i needed to get under the car.

I bought a set of these LED headlight bulbs with the intention of being able to see at night.

https://www.stedi.com.au/copper-head-h7-led-head-light-conversion-kit.html

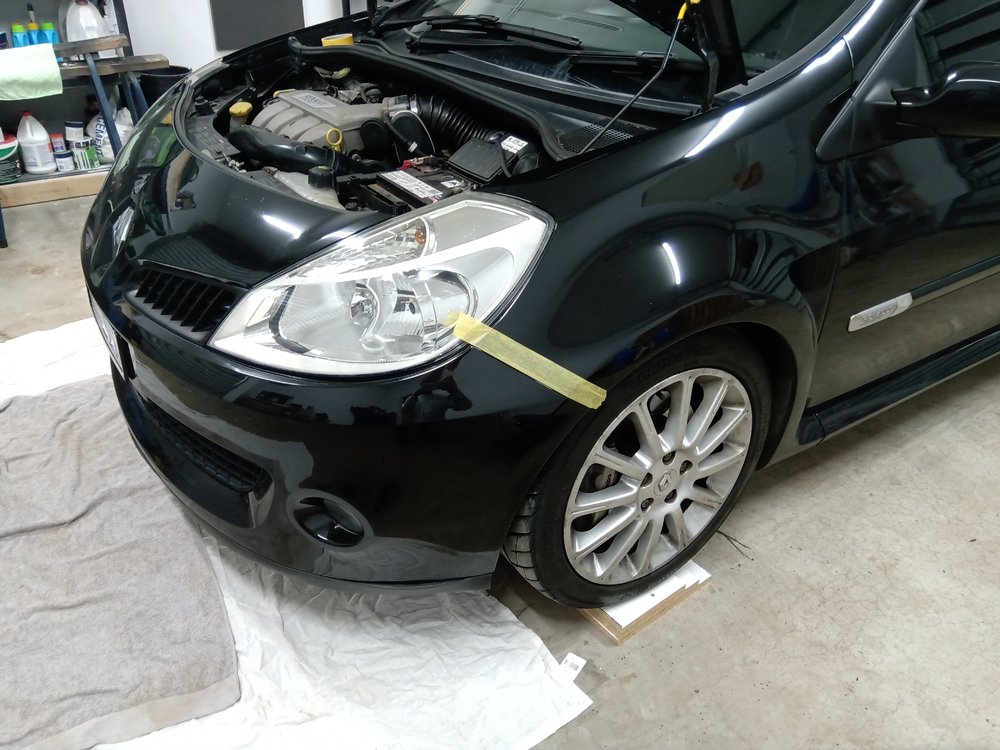
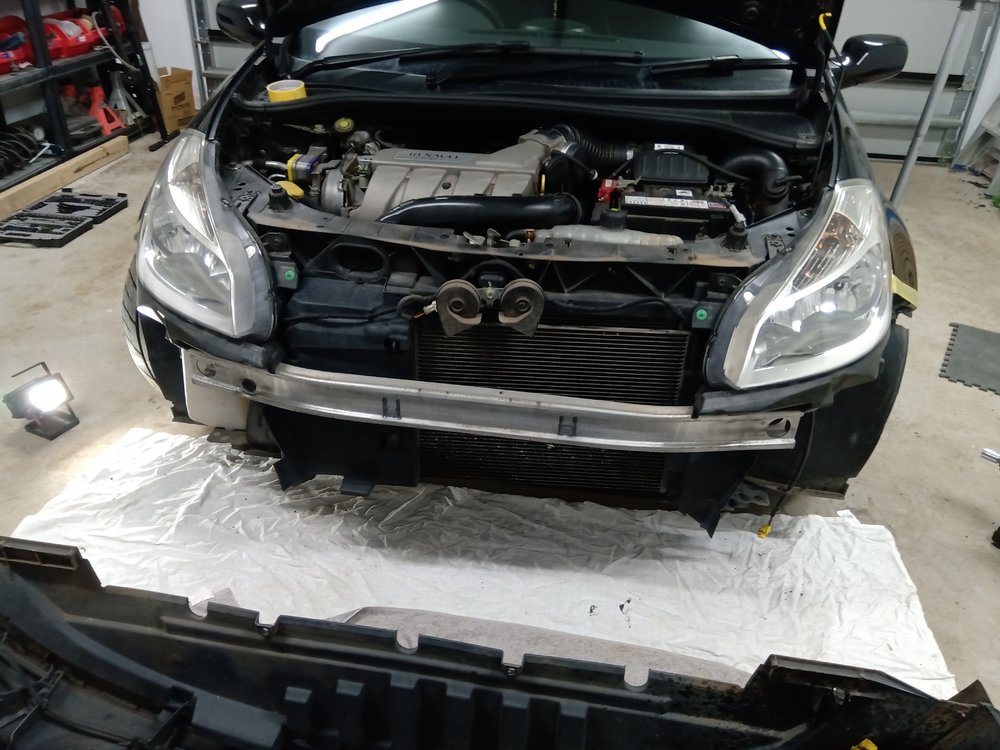
and started the joy of taking off the front of the car.

IMG_20200418_135522.thumb.jpg.4bbfed5061f04fa8fa47e65c519d6398.jpg

IMG_20200418_143814.thumb.jpg.7dd8d45c3ca4235e8d20a35b36500fb6.jpg

This was just as annoying as the first time i did this to change some bulbs.

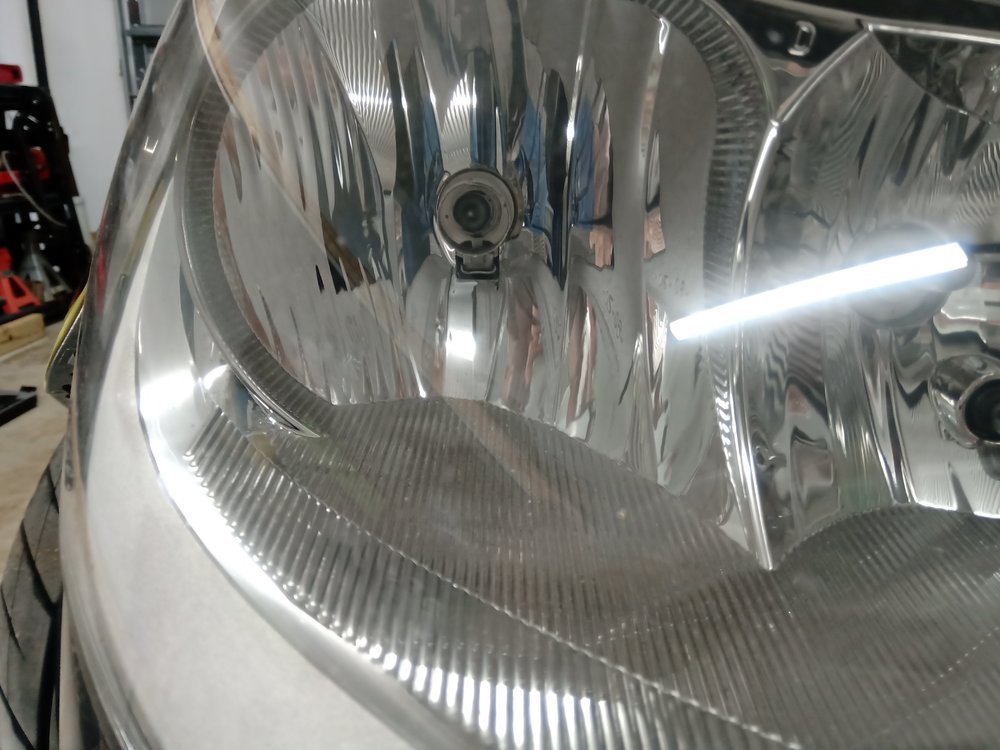
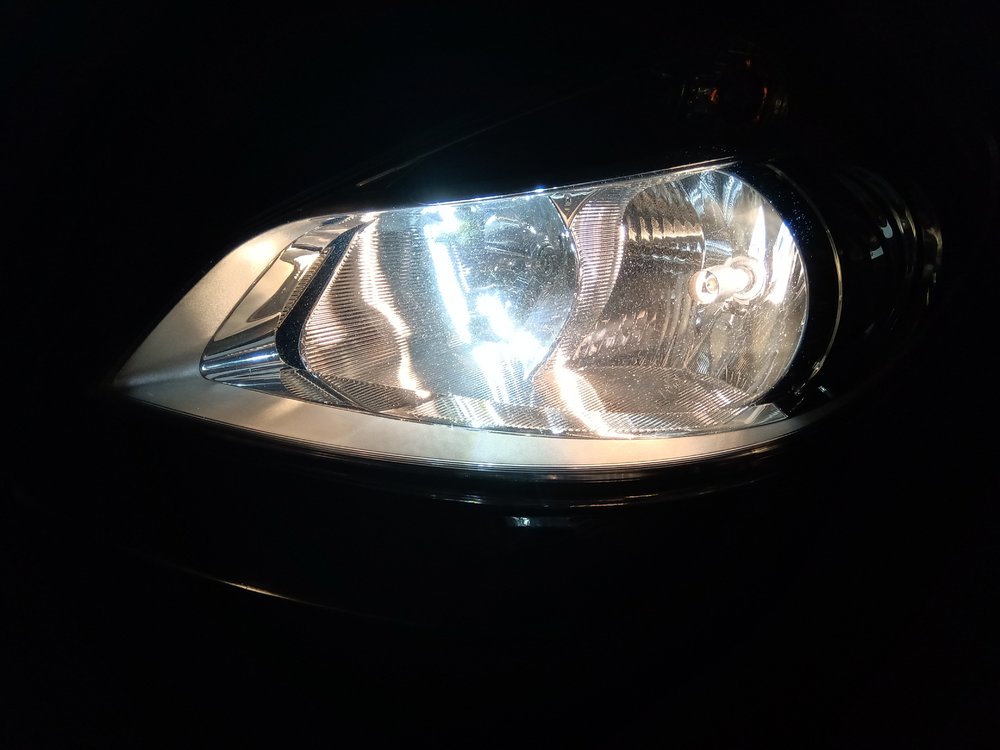
Here are the Osram nightbreakers, which do a good job, but i wanted more light at night

IMG_20200418_143820.thumb.jpg.7a2e86f2b76da8a1fc438413db6db119.jpg

IMG_20200418_143829.thumb.jpg.2c6706b98a79fcc5deec62e394bae42a.jpg

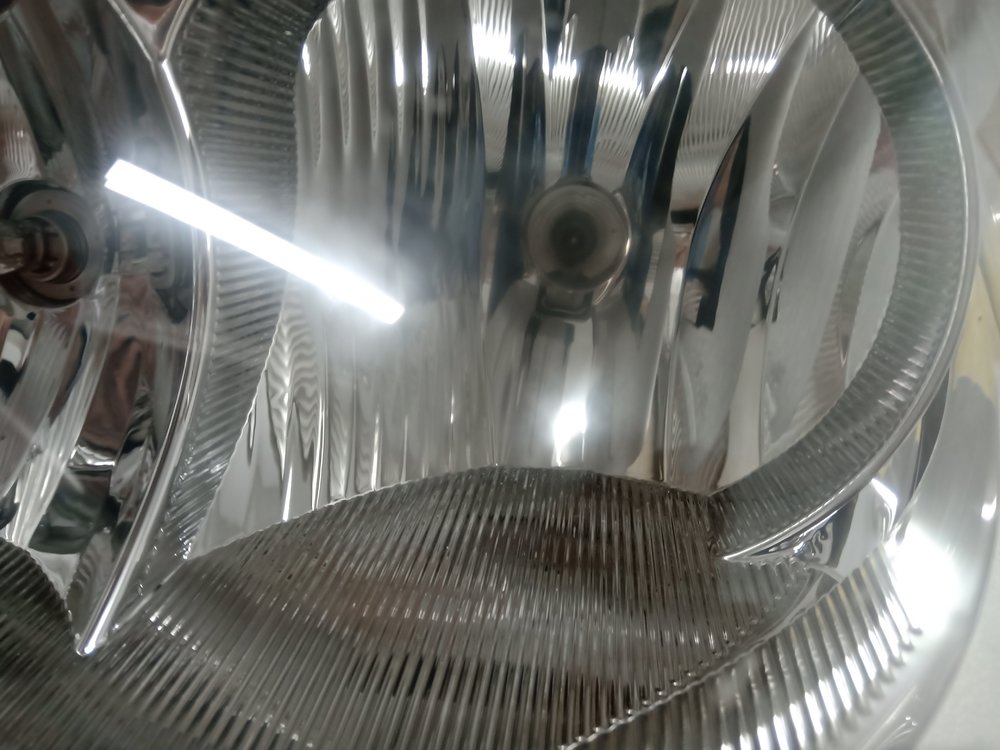
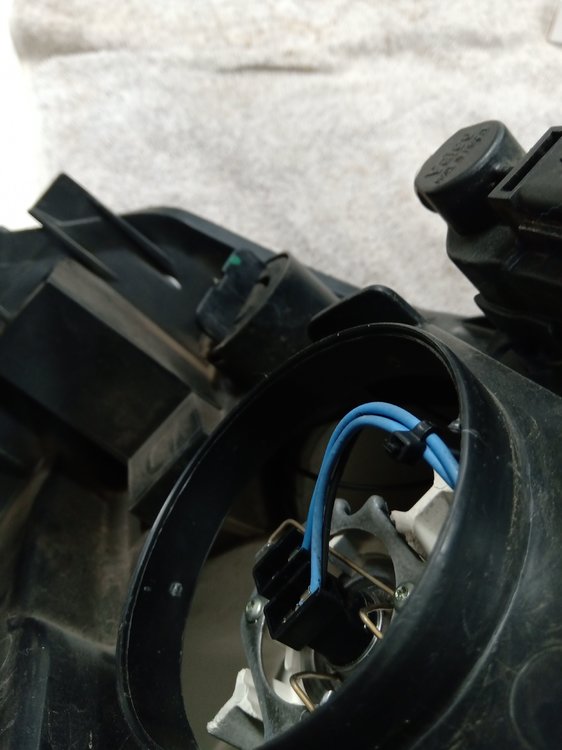
I took off the lights and to my annoyance the slimline design of the LED bulb is still to much to fit under the dust cover of the light
:(


IMG_20200418_161050.thumb.jpg.71097bda819358f451ca96556bb7b41c.jpg

there is not much space underneath it.

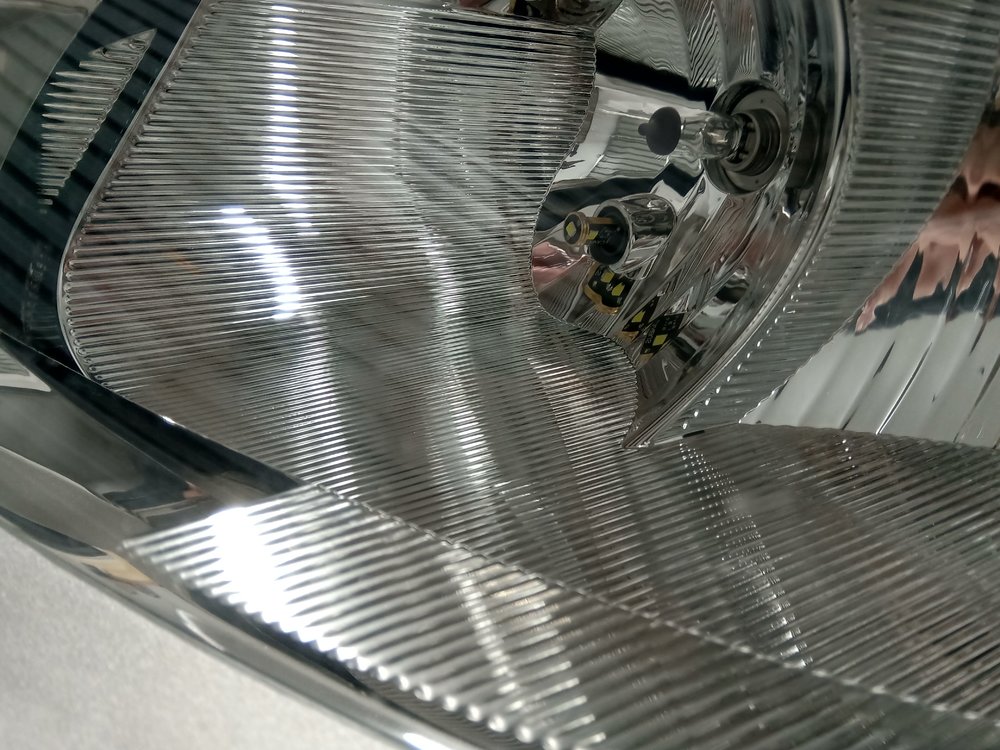
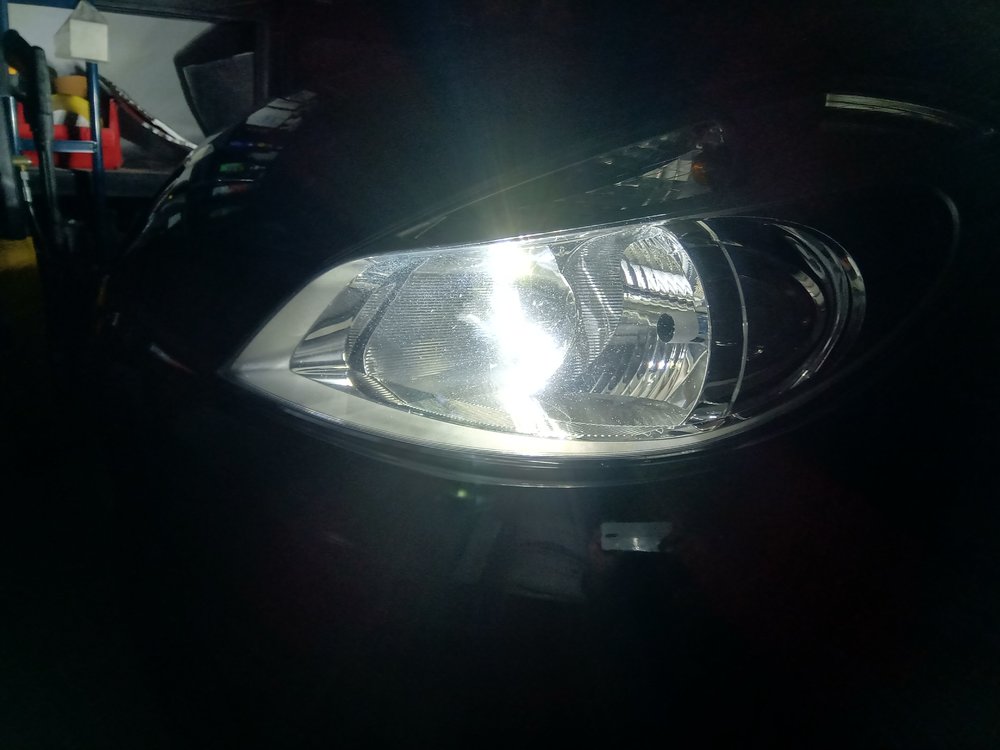
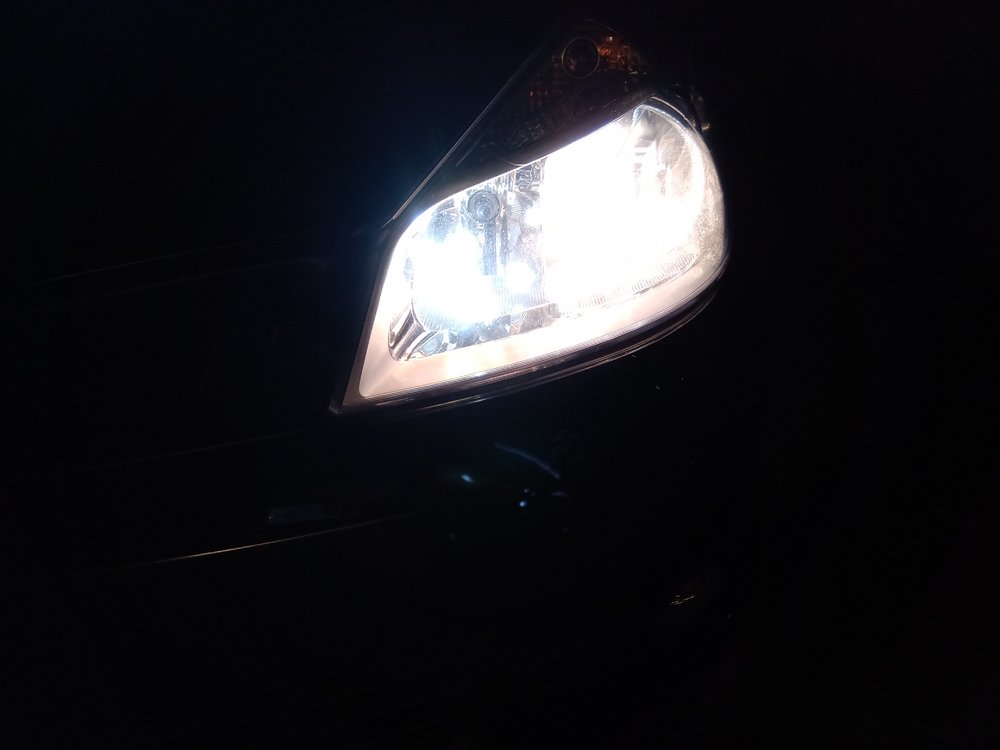
So i decided that i would use the remaining T10 LED i had from a previous purchase and wanted to see if they would make a difference in terms of light.

IMG_20200503_193700.thumb.jpg.df48973a0264ec711594c490ee490c78.jpg

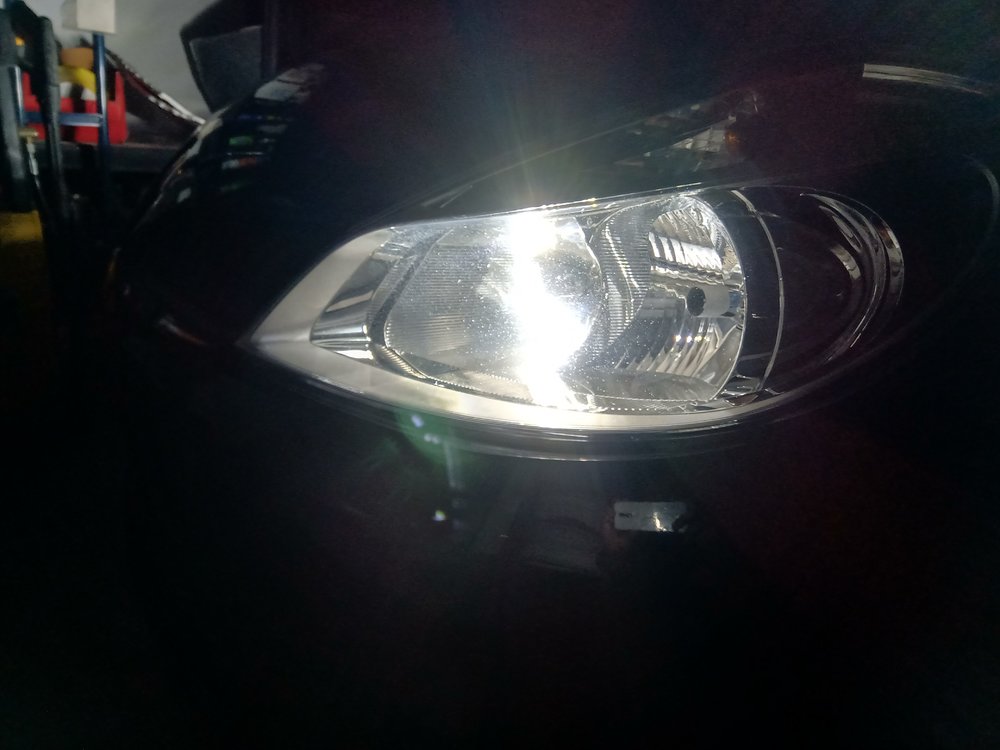
They are definitely brighter than the original bulbs, but do sweet f all in terms of real lighting at night. They are not blinding either which was important as i did not want to be that asshole.

IMG_20200503_193733.thumb.jpg.71a565c93c625b92f725adbd5efabb21.jpg

IMG_20200503_193735.thumb.jpg.8fa1f7d82ab1c388324e031069b7876f.jpg

IMG_20200503_193803.thumb.jpg.7527b53a2114b00761edeb0e64e2c75b.jpg

IMG_20200503_193809.thumb.jpg.cf928a39318ebda3b0546f9949e7b1aa.jpg

They do look a bit nicer though.

Otherwise have not been up to a lot with the car in the last few months.

Thanks for reading
 
Fairly big update time.

So i decided to keep the car after going through the selling and wanting something else phase with four doors

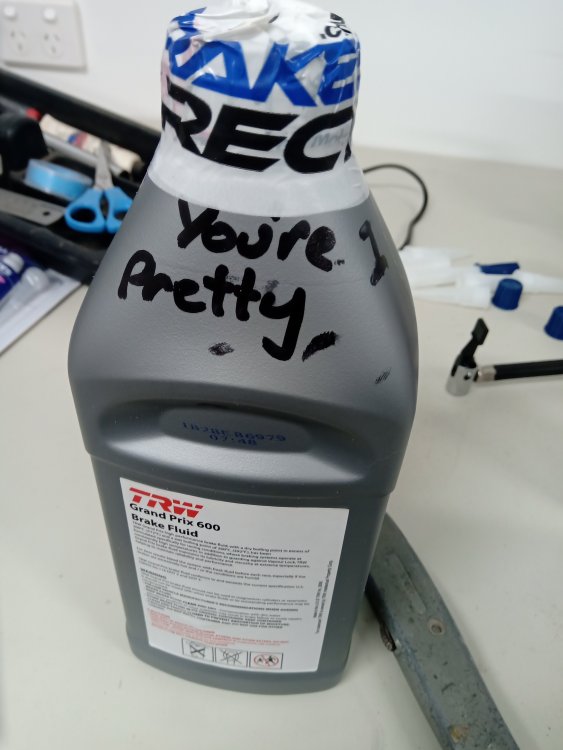
This is going back a little while but I received a lovely package from Brakes Direct, and they even played along with my special request.

IMG_20200513_094612.thumb.jpg.531fb69ed24838ed22b5f60571f47027.jpg

It is TRW 1 liter brake fluid with a high boiling temp

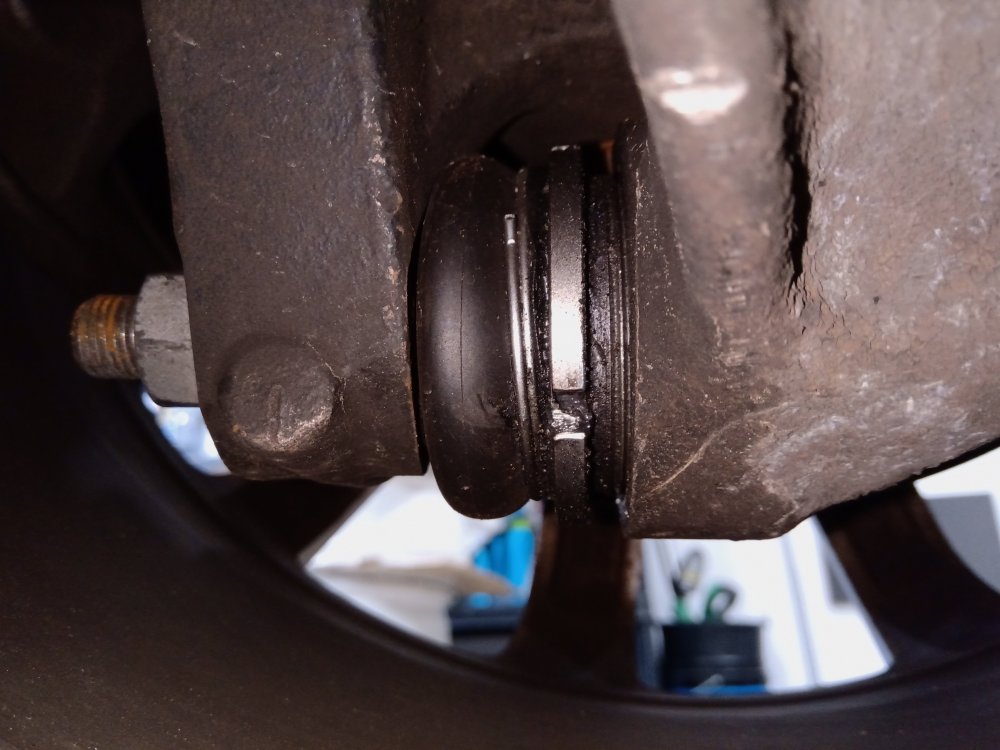
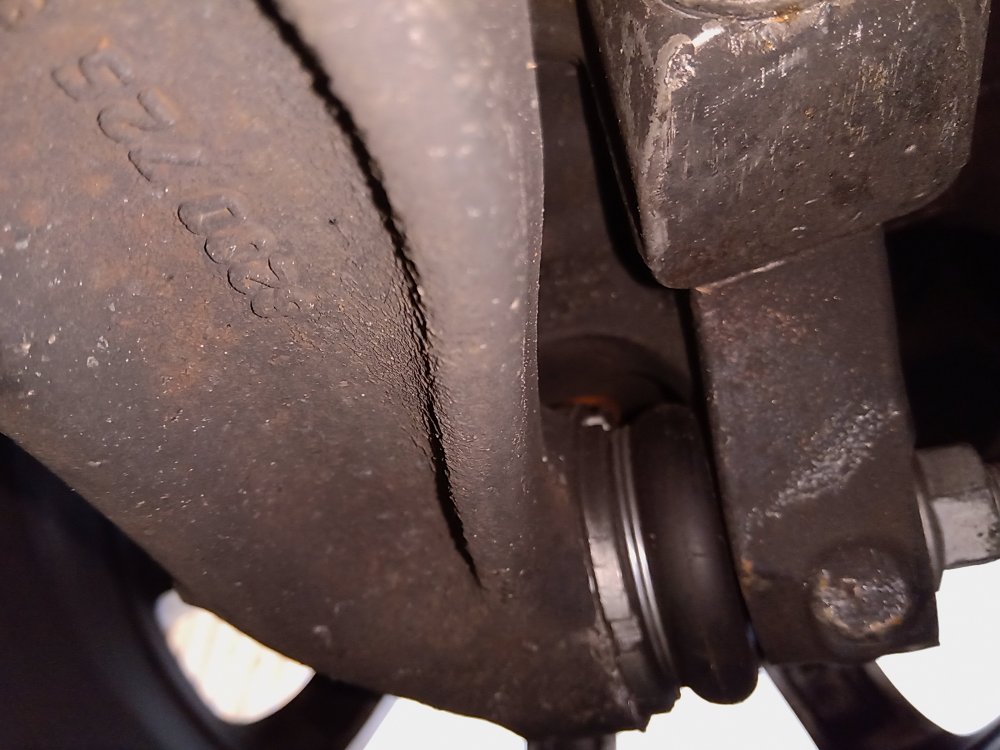
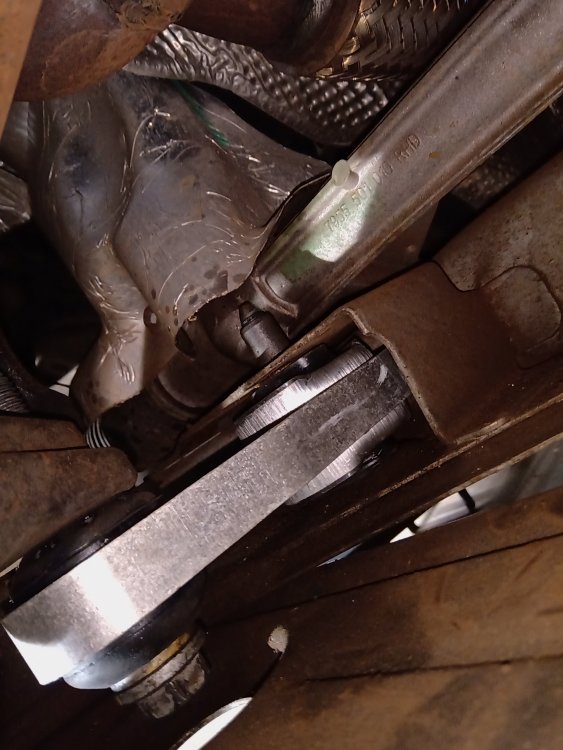
I was planning to get all the brakes and clutch fluid changed as i was sure Virage did not bleed the clutch when i asked them and it would still be original from 12 years ago. I then decided to get underneath the car and start admiring my expensive ball joints when i noticed

IMG_20200513_170150.thumb.jpg.c94325b8be17b89cd1a0df824e681877.jpg

IMG_20200513_170245.thumb.jpg.0a35e959535bca58450eb0f7011bc3ff.jpg

Can anyone spot the difference???

Needless to say i was very pissed off considering how much these cost and they how they could make this sort of mistake.

I originally booked the car in with Hardy to bleed the clutch and brakes, but had to call back and tell them the ball joint was not seated correctly.

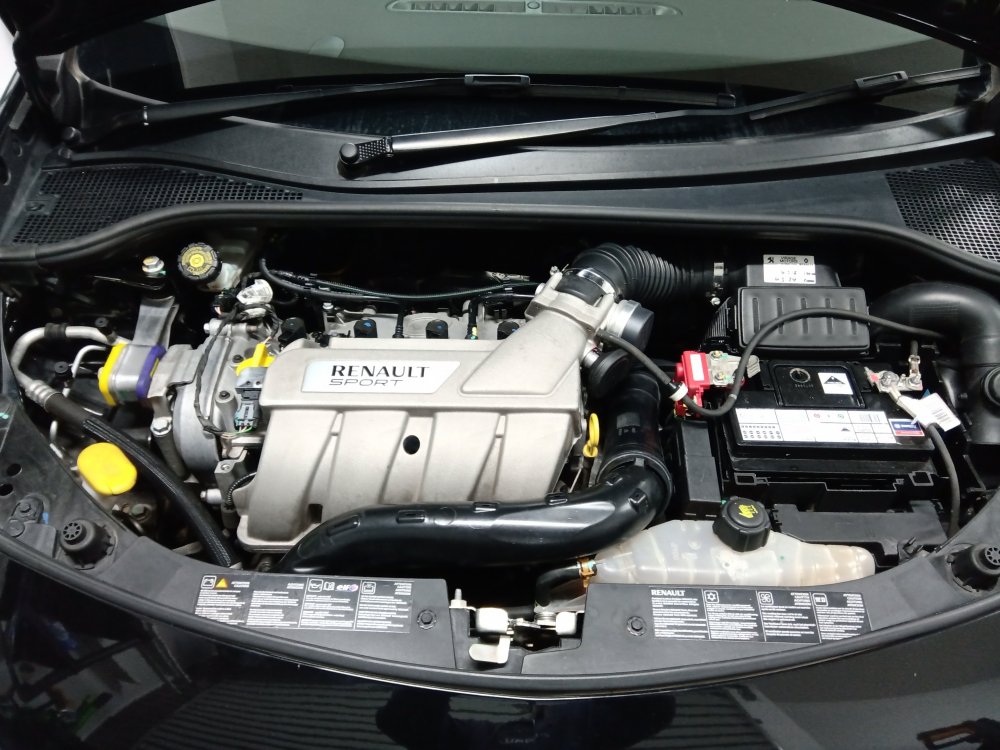
To be fair they fixed it free of charge and changed all the fluid and washed my engine.

IMG_20200526_150557.thumb.jpg.19a32ae808e8b478ac12b96349e696bc.jpg

I sold the white SPEEDLINE wheels the same day i got the car back, and got to drive the new owners lovely white 200 cup with recaros. I have to admit the gear ratio did feel that little bit better and was nice to have the fancy recaros.

I did find the ride much stiffer than the Bilsteins i have. (especially in the rear) It was cool seeing the upgrades over the 197 such as door lights and push start button.

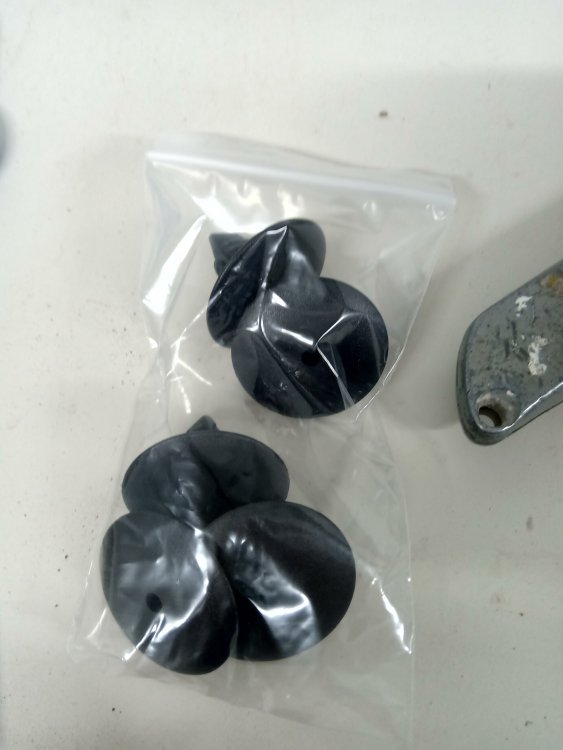
I also purchased some clips for the wheel arches as one was missing and another was broken

IMG_20200513_165443.thumb.jpg.be1a6e81c1adad0a2e1d6f598f330259.jpg

IMG_20200513_171711.thumb.jpg.11786a6e4ec8e13f489143b5728e23f9.jpg

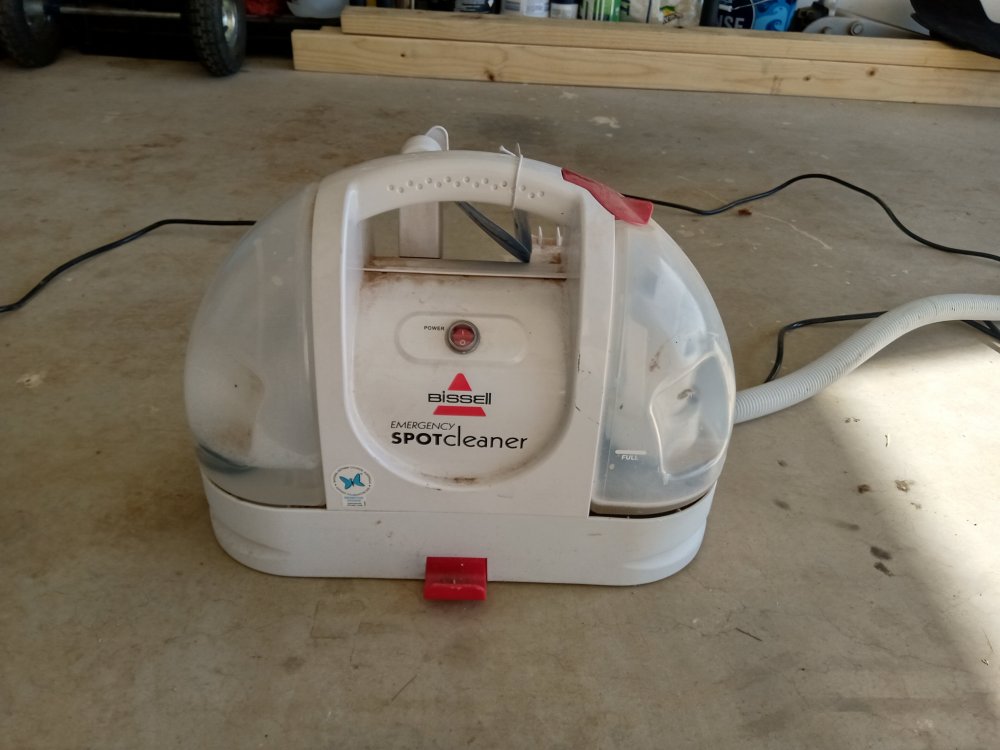
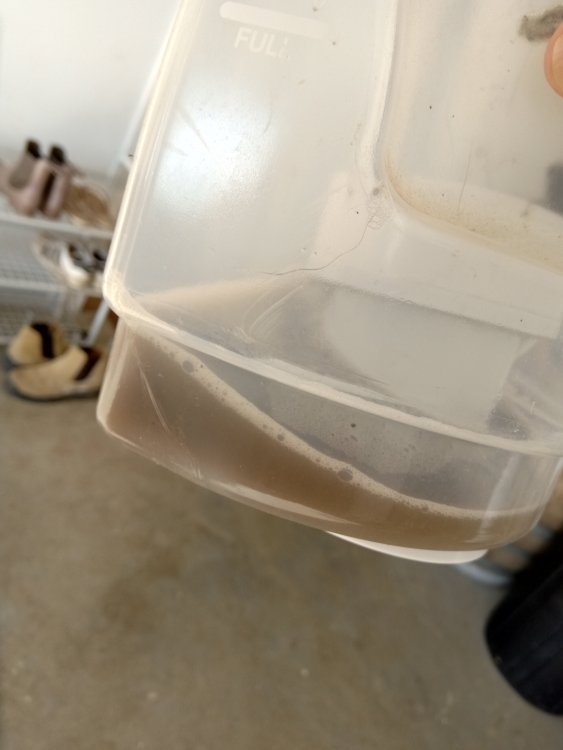
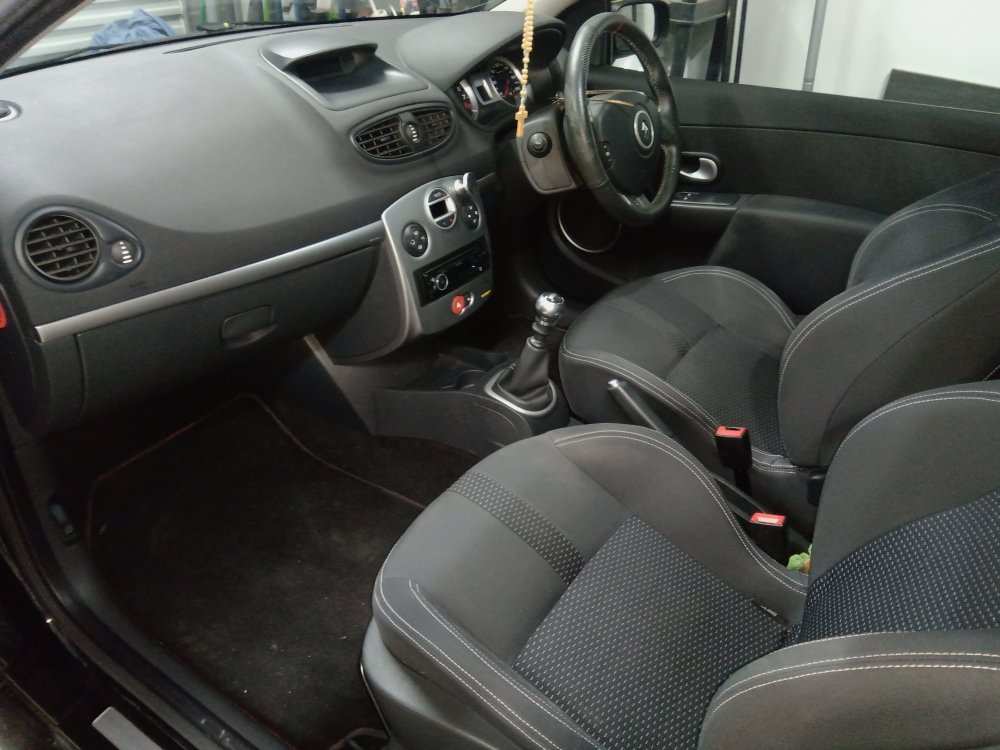
I then decided to clean the seats with my lovely Bissel spot cleaner that i have owned for 5 years and used once due to thinking it was a glorified vacuum cleaner with a spray function. i still believe this, but cannot argue with the work it did

IMG_20200518_131706.thumb.jpg.620ed6ac32b6306fa6d5ea60bfea1e3a.jpg

IMG_20200518_131725.thumb.jpg.a53e6bf992ec61e90d283a7bef10f04d.jpg

DIRRRRTYYYYYY BOOOOOIIIIII!!! for any Futurama fans

IMG_20200526_150630.thumb.jpg.e0df470f434eb396ef5c13fc2acc599f.jpg
 
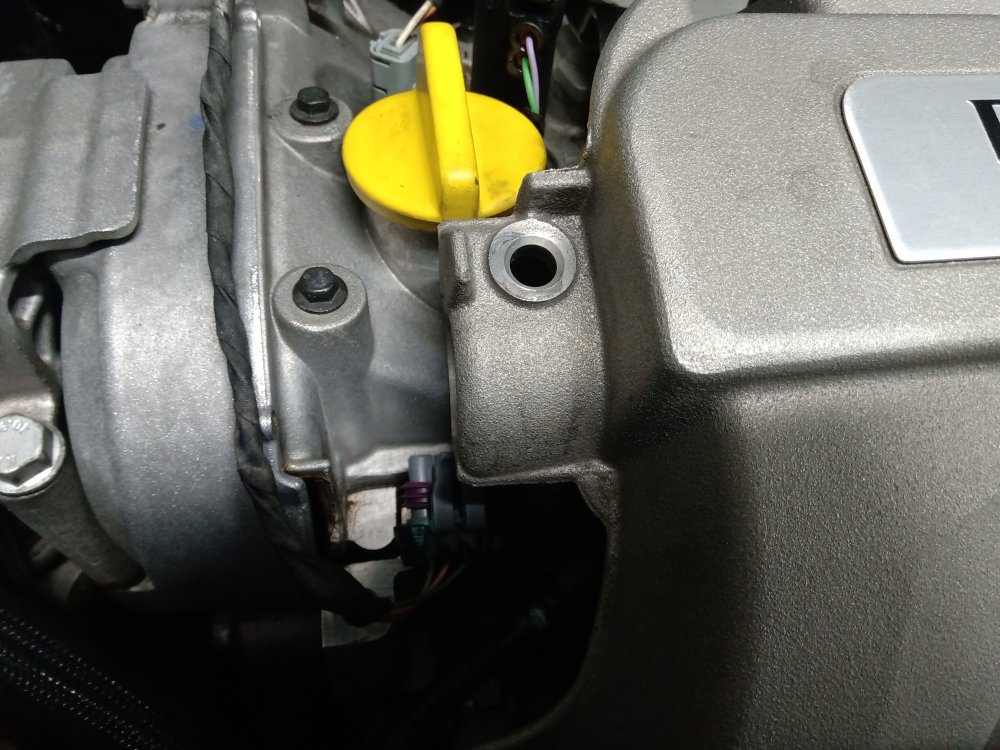
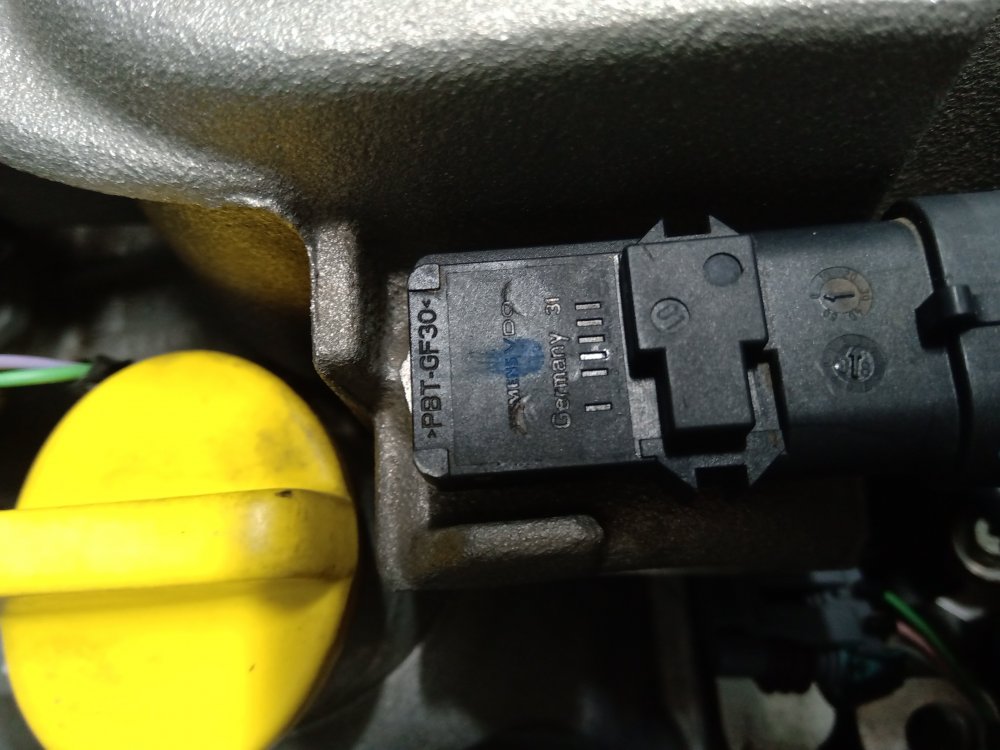
I was then bored one day and wanted to clean my MAP sensor as I do not think it would have been before.

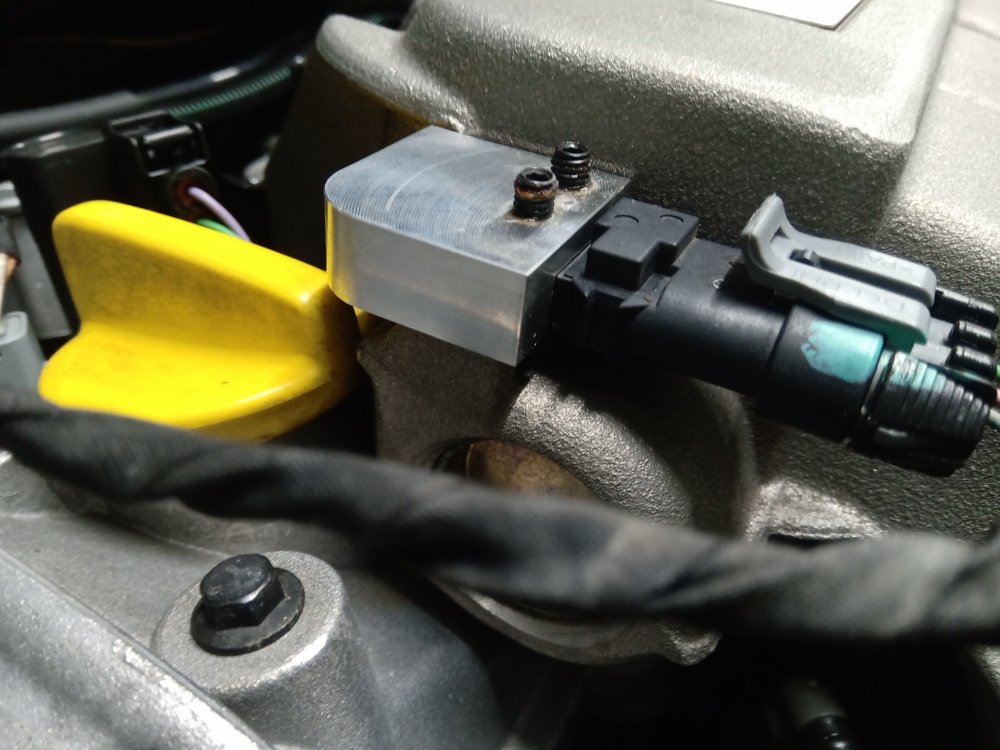
I do have that metal bracket thing that holds it in place but thought it was crooked so took it off.

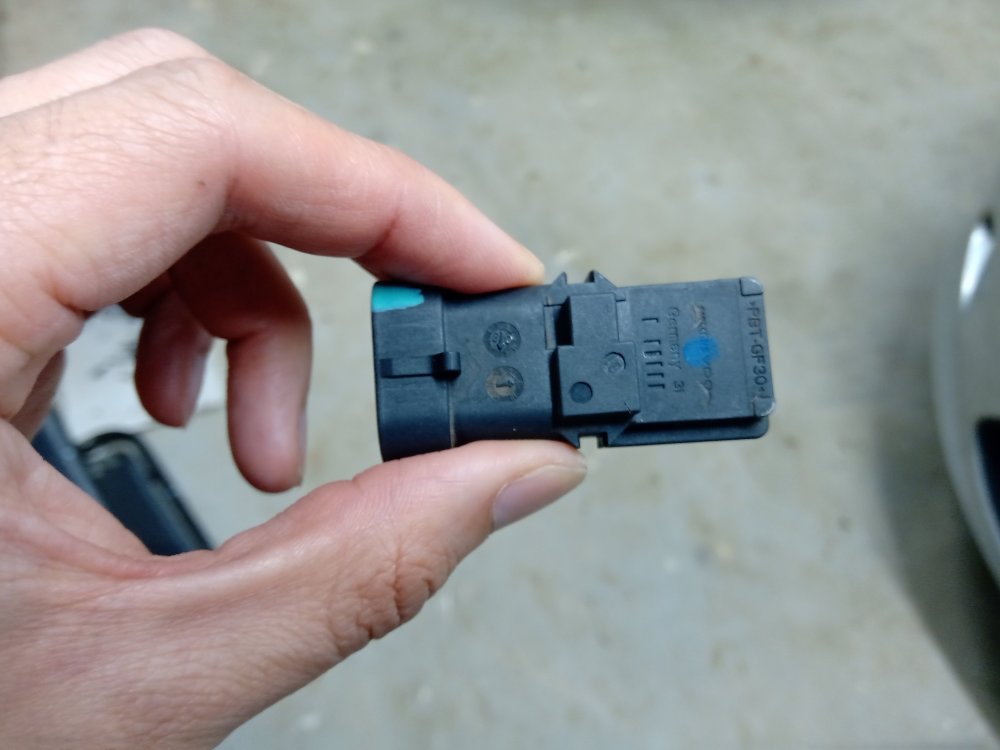
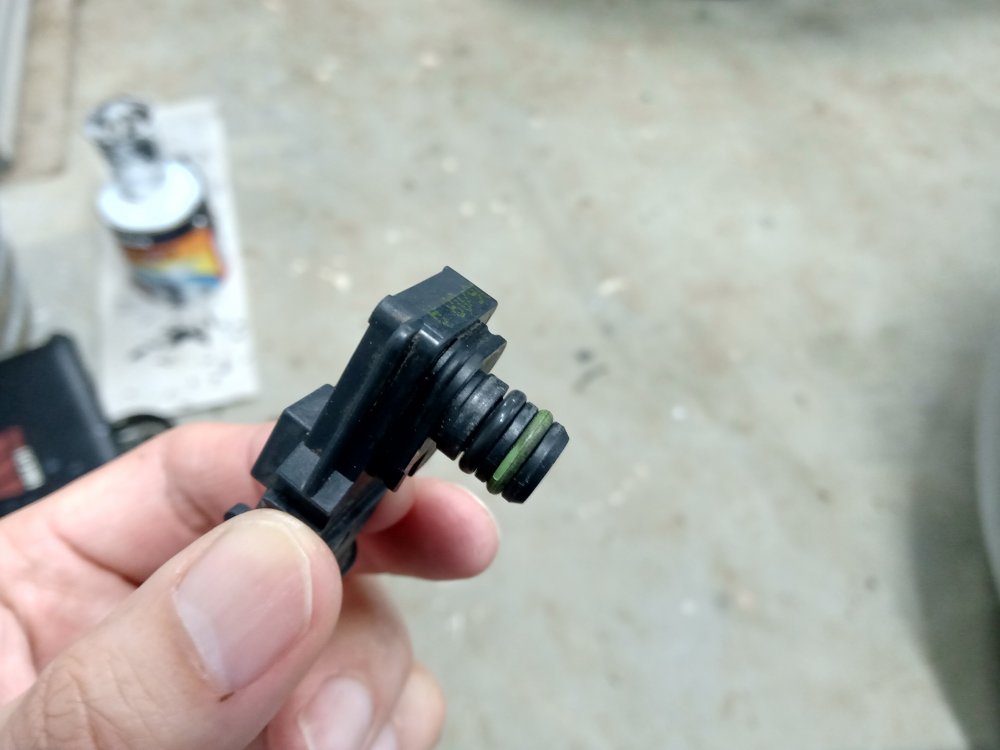
The MAP sensor came out so easily and it was covered in a oily film and it was sitting crooked in the manifold which was interesting.

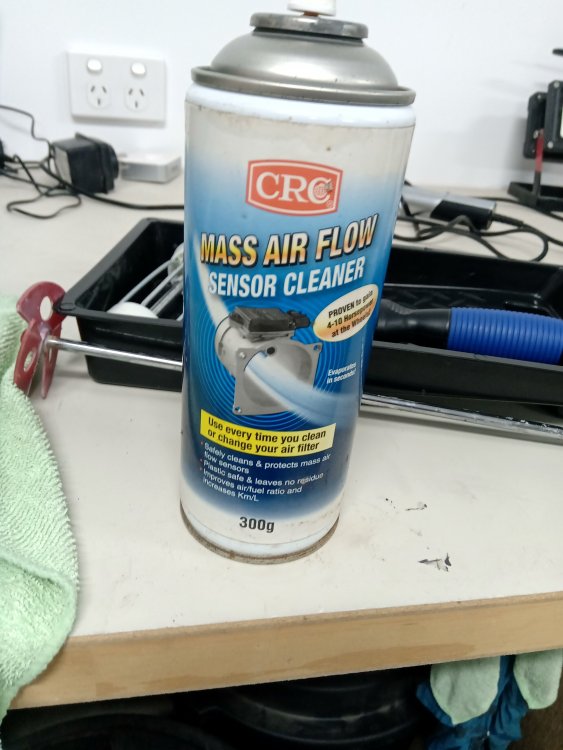
I cleaned it with MAP/MAF cleaner spray

IMG_20200610_114252.thumb.jpg.7049170c744d1a3ee80e7096b3f7327f.jpg

IMG_20200610_114310.thumb.jpg.d253b490f1382f0d849a96ccb550bd9d.jpg

IMG_20200610_114324.thumb.jpg.6c17fda506e56b31fdcf8ac1c14a3a10.jpg

IMG_20200610_115213.thumb.jpg.5d8607b6353c9405be72106b5da26c11.jpg

I wanted to change the o rings but they are not a common size and could not find any that suit, so just put it back in. I also should have done the silcon trick to seal it even better, but only had no more gaps. Maybe next time i will do this to create a better seal

IMG_20200610_114846.thumb.jpg.2a3be7e74bdcca405631c5af498d3963.jpg

IMG_20200610_115016.thumb.jpg.121992c36919402311846c3a5c35bed8.jpg

I found that having those to screws down any further caused the MAP sensor to sit at a weird angle, so they are pretty much just sitting there not touching the sensor.

I tried to start the car hoping that i did not break anything and immediately the car went to 1000rpm and held steady and did not budge. Previously it would misfire and rev hunt for 10 seconds. The throttle is more responsive from a standstill and i swear the car feels more smooth below 4000rpm

I feel like i really should have done this earlier


I then wanted to get an alignment again as i did not know what the workshop did with the settings. So another alignment was on the cards

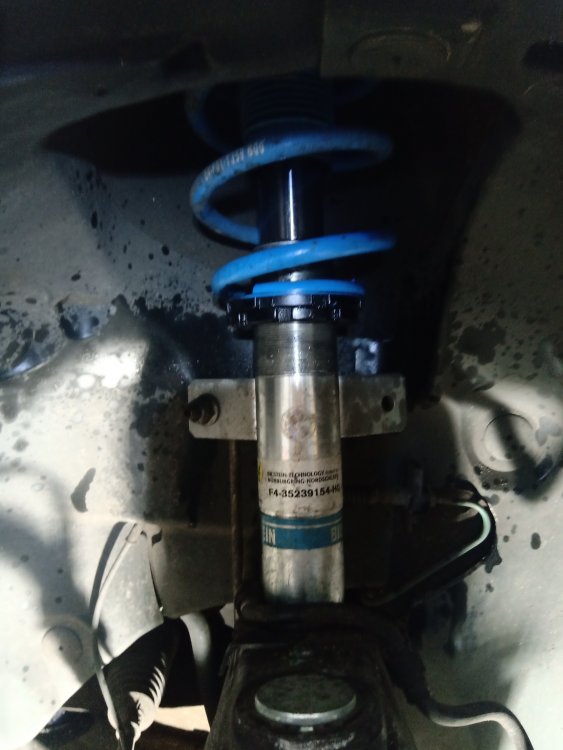
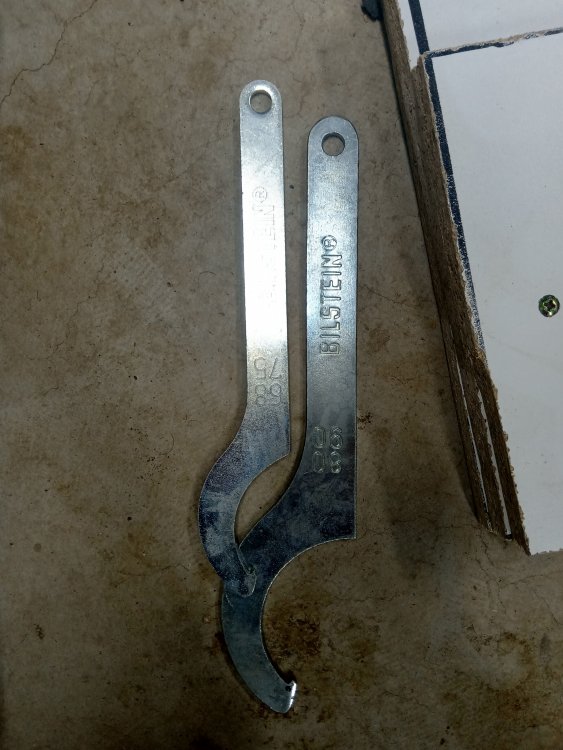
I decided i would finally adjust the drivers side coil over upwards to compensate for my weight compared to the otherside. Yes its not a corner weight in truth.

IMG_20200615_164840.thumb.jpg.862bb392fdbdedf68f85f1ba026b0255.jpg

IMG_20200615_164900.thumb.jpg.76fe742ac5c7a3584834afda9ab0fd3c.jpg

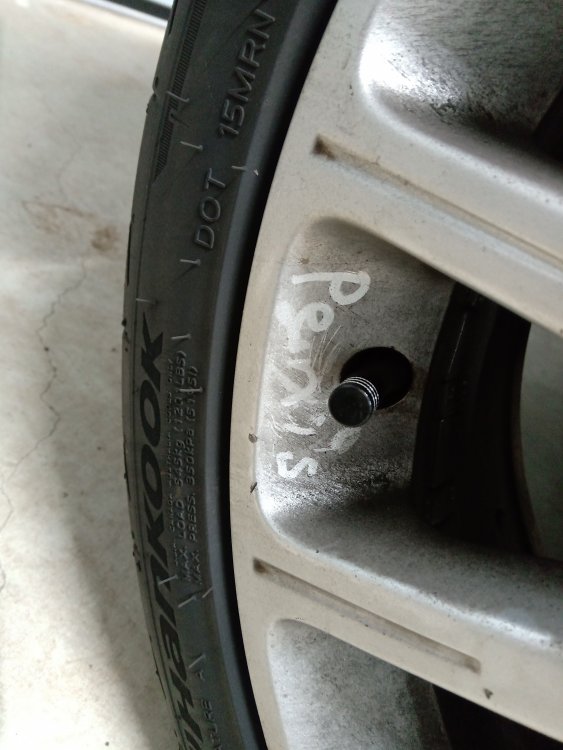
The fronts measured from the bottom of the rim to the guard. FR 570mm FL 568mm

I then got the alignment and set the front wheels to 1mm toe in as the last alignment was very annoying due to tramlining so much. It drives nicer now.

Then SDubs delivered me some parts.

IMG_20200617_110103.thumb.jpg.83b9db206994183272b978b7f91921da.jpg

IMG_20200617_110110.thumb.jpg.30c002e1bc7c4e16959e568a4a1d556c.jpg

IMG_20200617_110132.thumb.jpg.b8b4a519452b96196d9d846f60c1b62b.jpg

IMG_20200617_110152.thumb.jpg.45d260b9db51ce2d049c2ad211a18bc3.jpg

IMG_20200617_110157.thumb.jpg.7b3ff7e426e9f6647d924ee37ebd3ea2.jpg

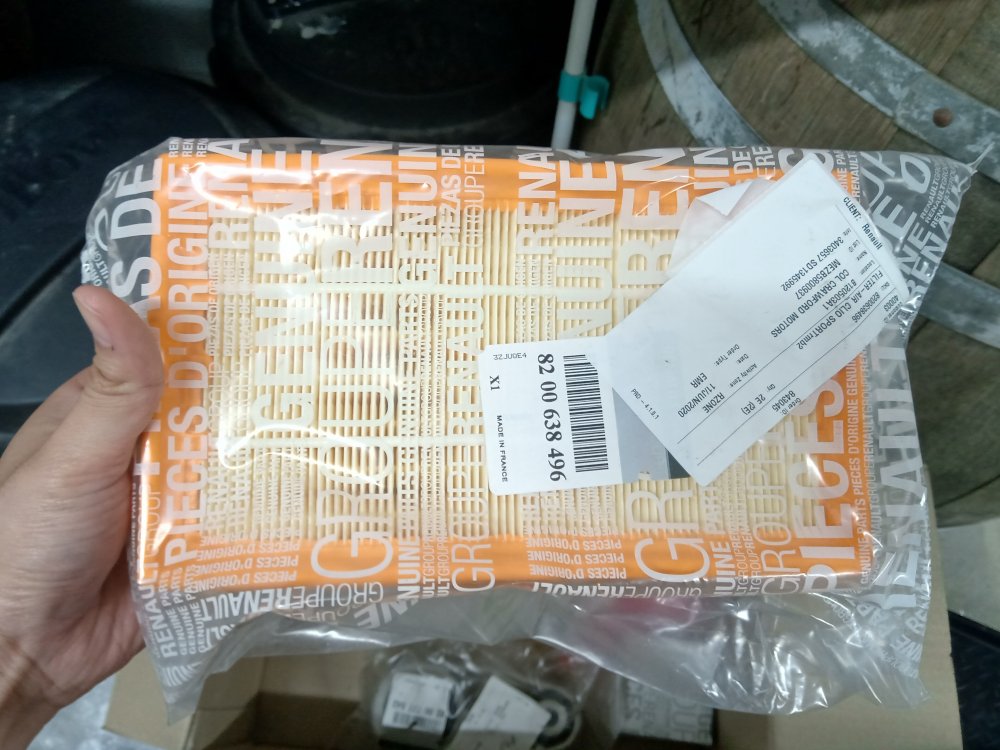
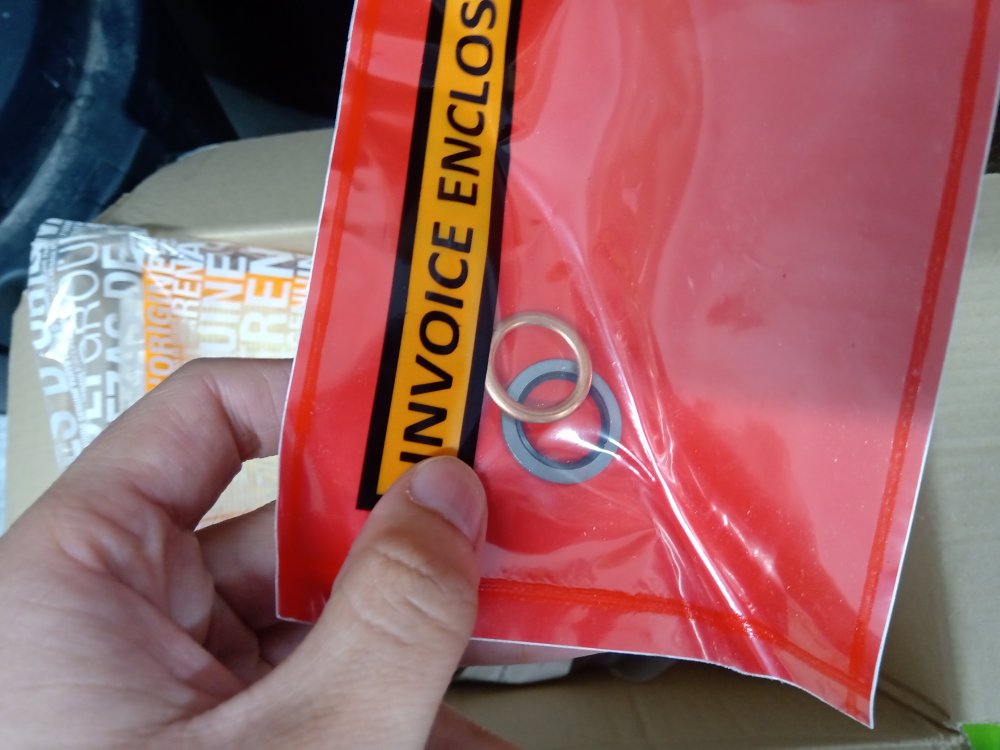
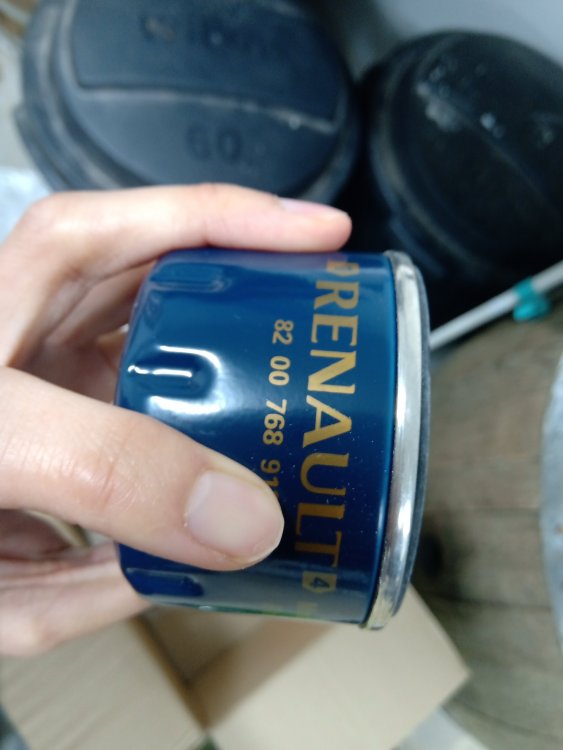
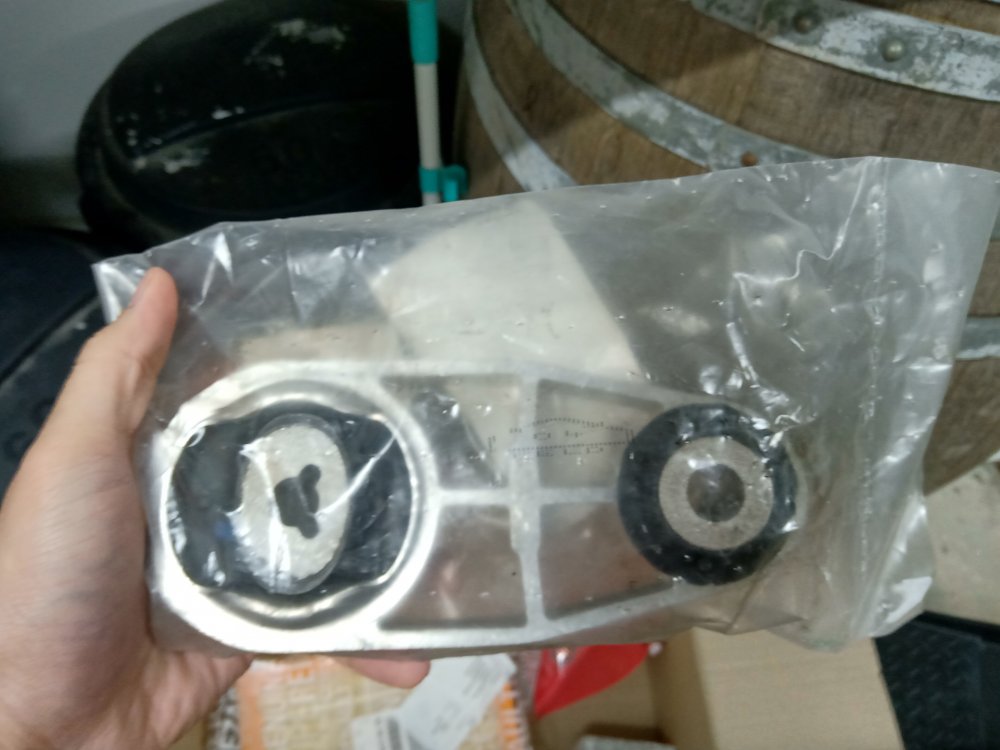
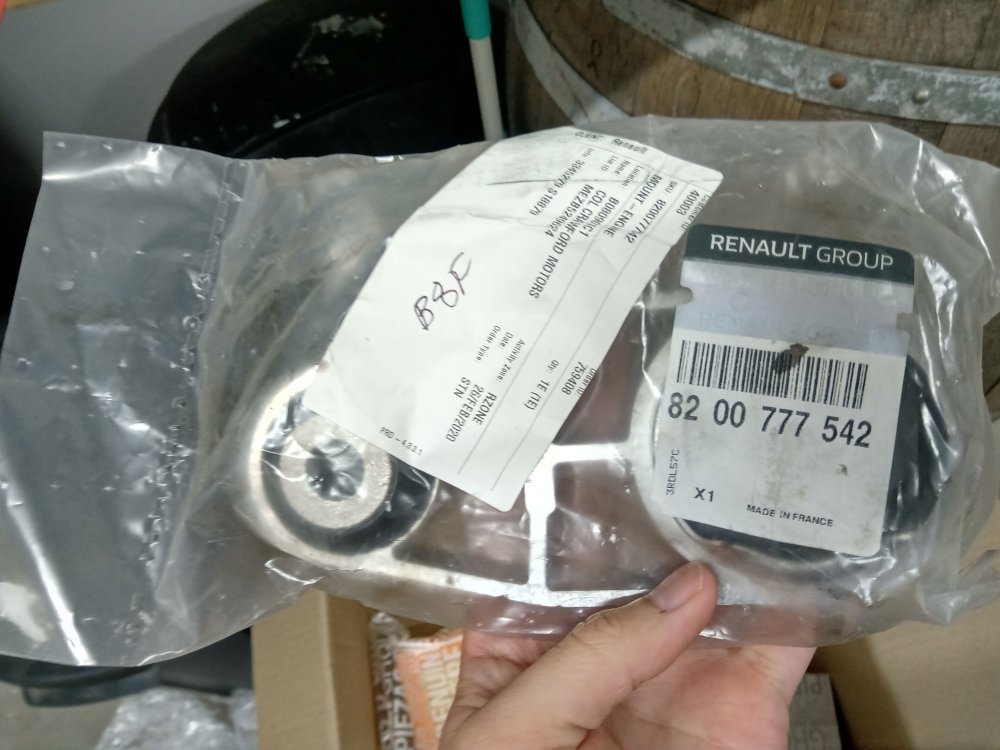
I ordered air filter, oil filter, sump plug washers for gearbox also and the Megane 225 lower engine mount as i felt mine would be old and probably on the way out.

IMG_20200617_164215.thumb.jpg.4d38dbaab6bf52903b6ae09c54ef1a6c.jpg

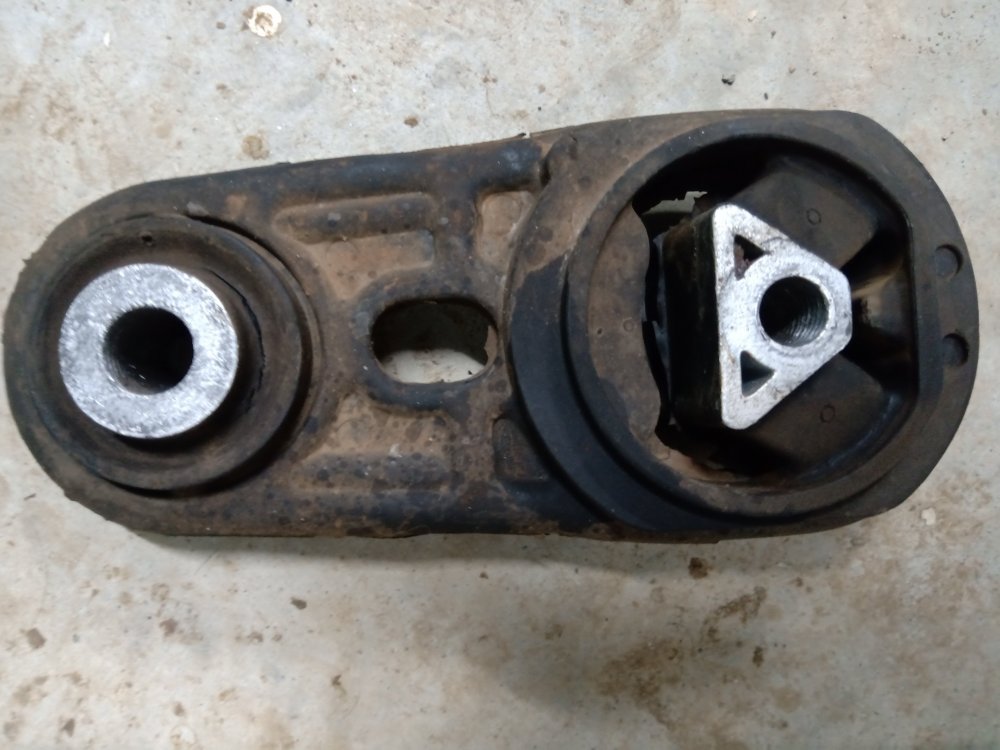
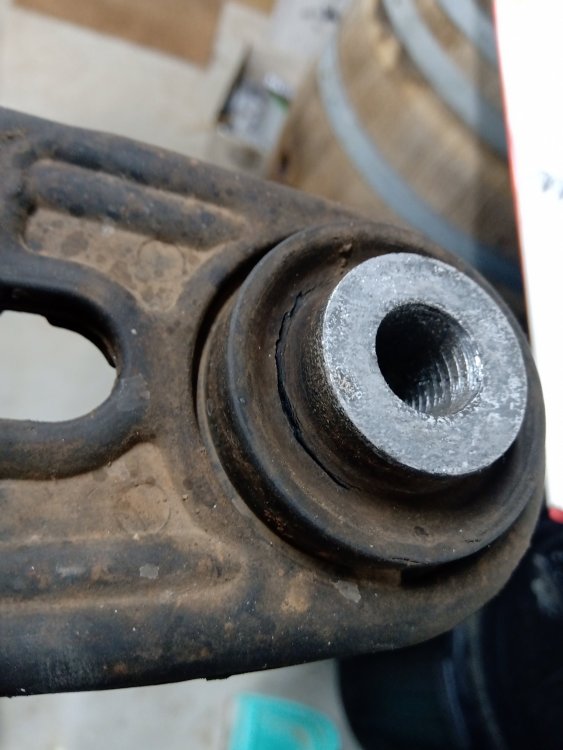
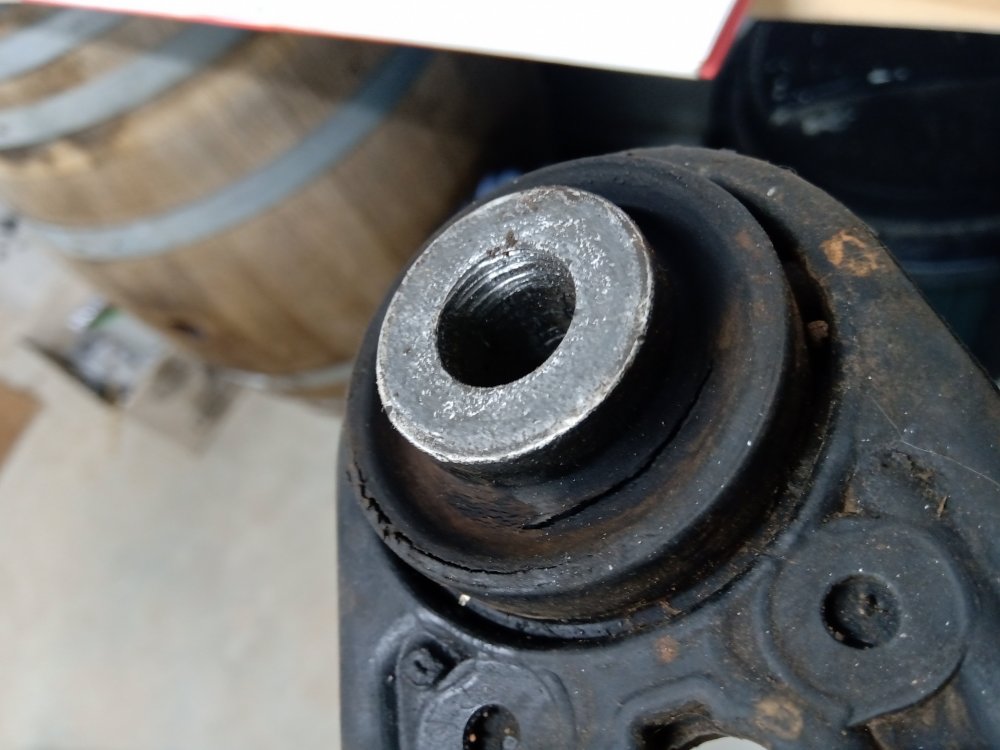
Ohh it was cracked and not in great shape

IMG_20200617_171654.thumb.jpg.335f426e556a82bf11e4f4a3a2a8def0.jpg

IMG_20200617_171659.thumb.jpg.1ce1b172a01686ee33585227556c29a4.jpg

I put the new one in which has made driving smoother and the gearchange nicer again

IMG_20200617_165554.thumb.jpg.02d2689e7d61323c5b2b2ecffeb71909.jpg
 
Performance mod update

Did go for a good thrash around in the rain Friday night and Saturday morning.


I really enjoy the front end sliding around a little bit and then gripping while wheel spinning on full power. Had so much fun

IMG_20200703_105109.jpg
 
guess its lots of minor update time.

I have been neglecting the car little for the past few months as I try to get things done around the house with Covid meaning we work from home for the most part and being able to see tradies when they say they will arrive at 8am then show up at 11am instead.

Since getting the ball joints and super pro bushes put in earlier in Feb the car always pulled to the left slightly, which shat me terribly.

I started eliminating the reasons, such as wheel alignment or possibly just having aggressive tires made it feel like that.

What really got me thinking was how it handled bumps when turning, it almost felt like it was fighting itself and would feel like it skipped a tiny bit, then would settle into its slightly left direction of movement.

When i changed the rear engine mount a few months back i noticed that the original mount was rattle gunned on by the workshop, which led me to believe the poly bushes and ball joints were also.

For anyone that that ever gets poly bushes on suspension parts, just a heads up, they need to be done up loosely until the car is loaded up with weight on the ground and then fully tightened up.

If not it will cause the bushes to have stored up energy and make things shit. Hence why i went over bumps the car released this and felt weird.

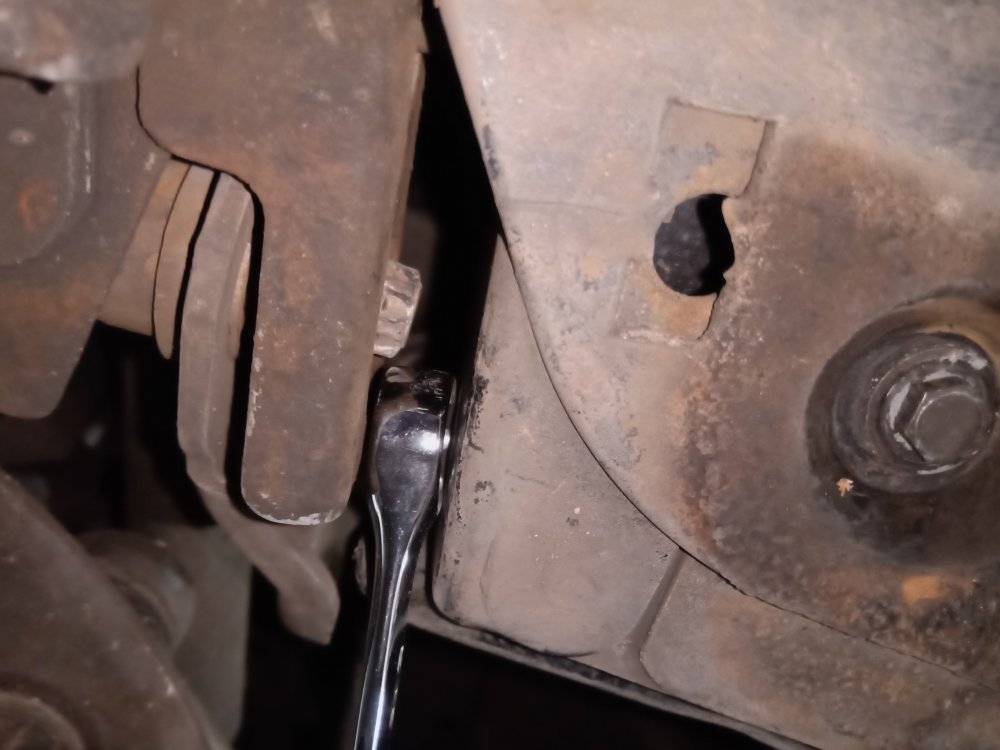
So under the car i went and i loosed the control arm bushes front and rear.

When doing this i did not take any pictures but the rear bush is 18mm top and bottom and the front bolt is a lovely TORX PEICE OF SHIT!!!!!

To top it off see that a torx E spanner does not even fit.....

IMG_20200918_190932.thumb.jpg.0dc8d853d64f69606cd2fc73de8a3203.jpg

When i loosened the rear bush the arm moved slightly and hoped all was good with them. I did notice over bumps that the car felt more composed also which was great, but it was still pulling to the left.

I then took it for an alignment and i got it set to 1mm toe in on both sides at my local Bob jane and shit yes it now goes straight!!!!

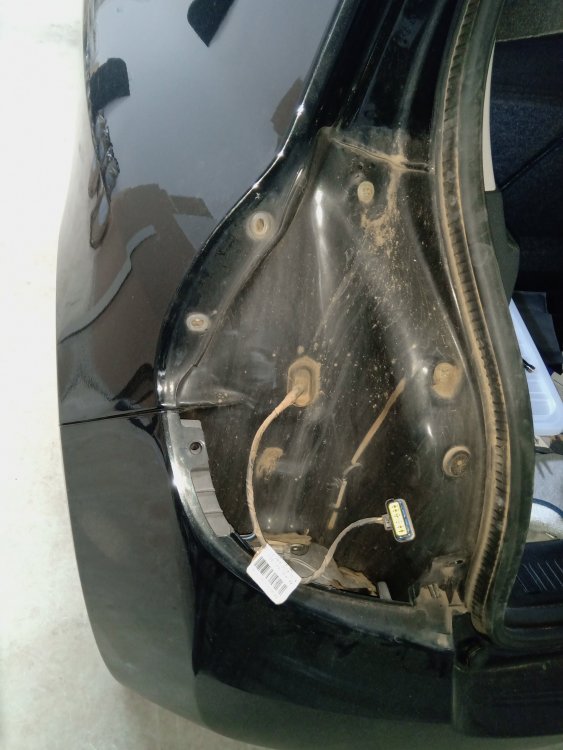
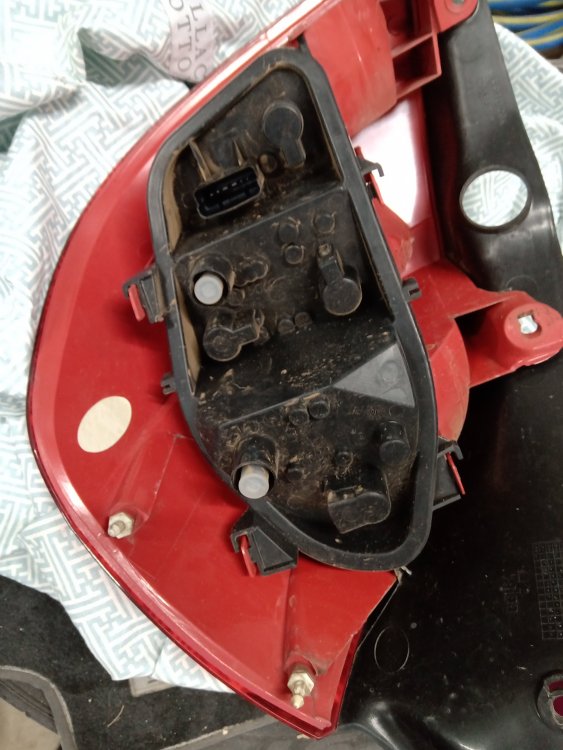
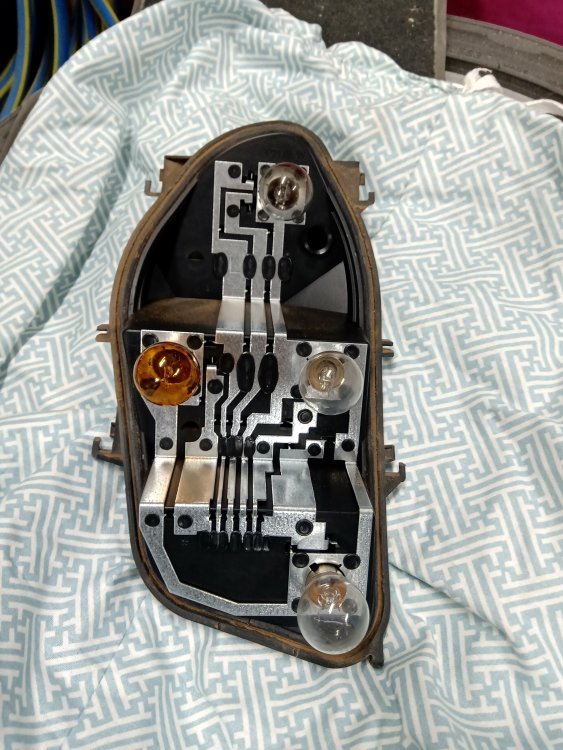
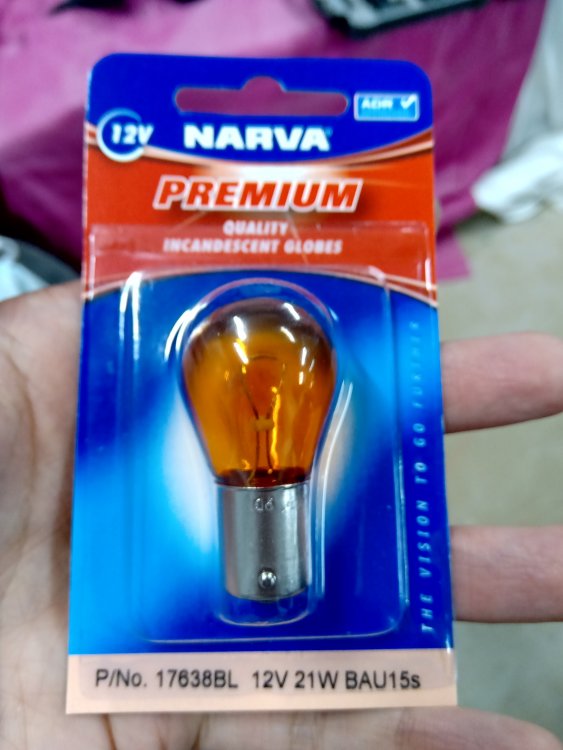
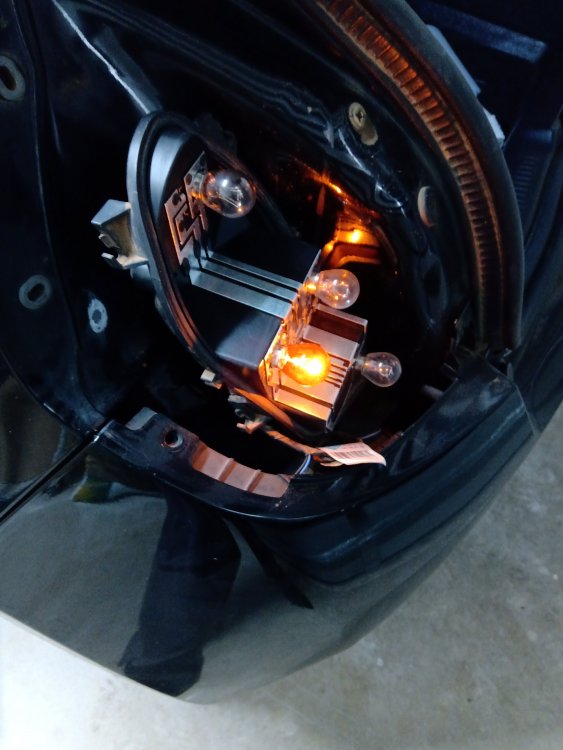
I also had a blown rear indicator bulb which i swapped out

IMG_20200918_182331.thumb.jpg.a2a1e89ac787b925b81194ffb86be4bb.jpg

IMG_20200918_182342.thumb.jpg.256ba2f4b3a1b476a37d13a2d6c29c52.jpg

IMG_20200918_182508.thumb.jpg.6b3873e812a24fbc2887a49fc5b59963.jpg

IMG_20200918_182516.thumb.jpg.cc61de73d1464874aa7b455b4be8661a.jpg

IMG_20200918_184447.thumb.jpg.ef4b484c47875ba651d61b84d6e7058b.jpg

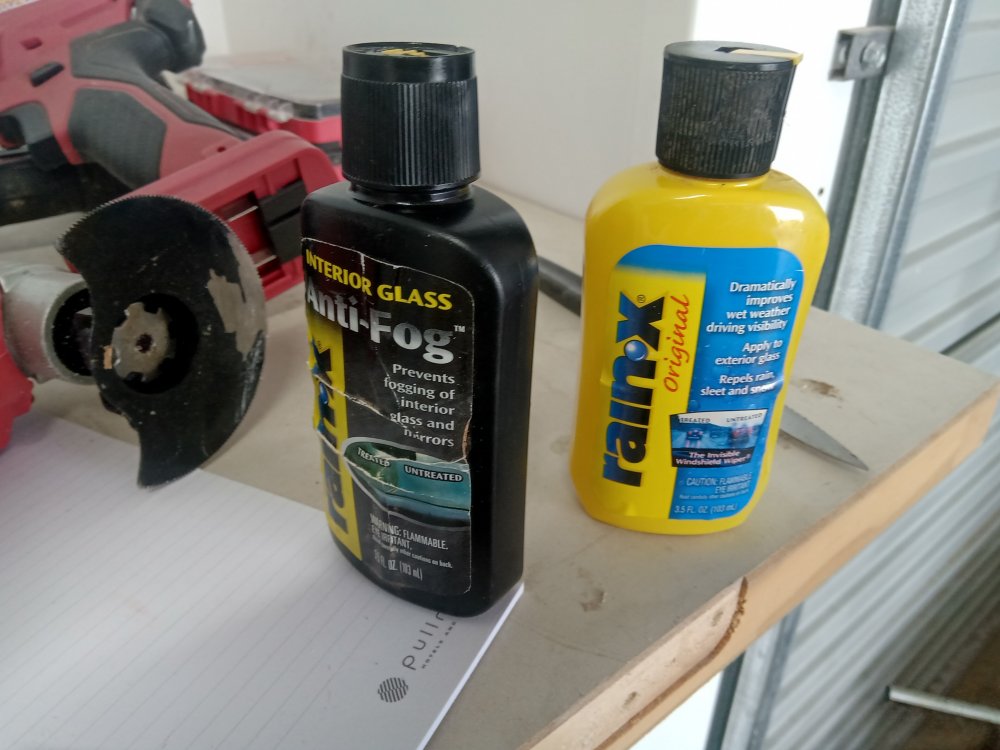
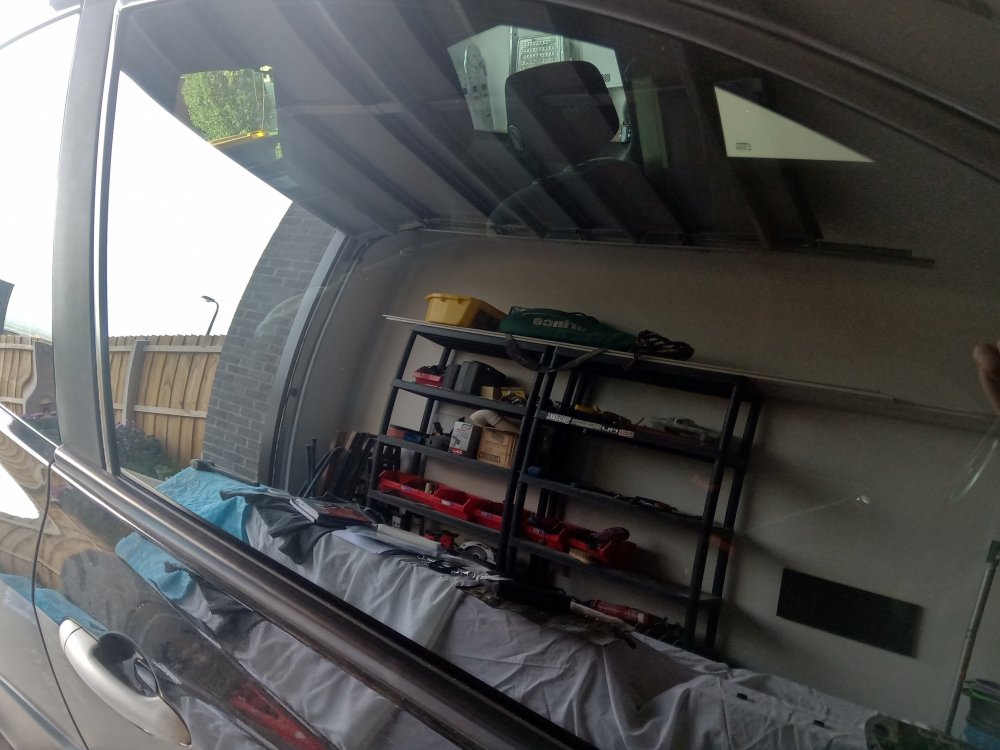
I then decided to clean the glass as i could not wash the car in my garage due to storing wood

IMG_20200919_170045.thumb.jpg.6c07c6d534a848f22f4b3da2624f93aa.jpg

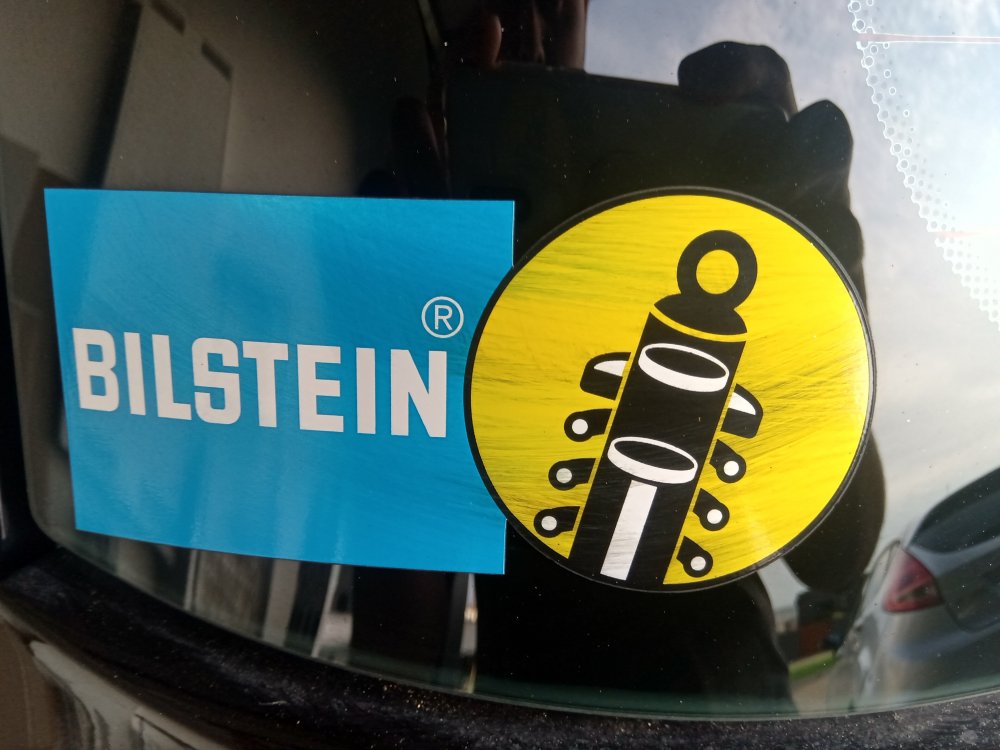
It did make the glass clean again but also ruined my sticker
:(


IMG_20200919_170051.thumb.jpg.d1dca810249da71c1bd38c8a29cdee6f.jpg

IMG_20200919_170103.thumb.jpg.8a7e4339676bf61114be4e43524b56cd.jpg

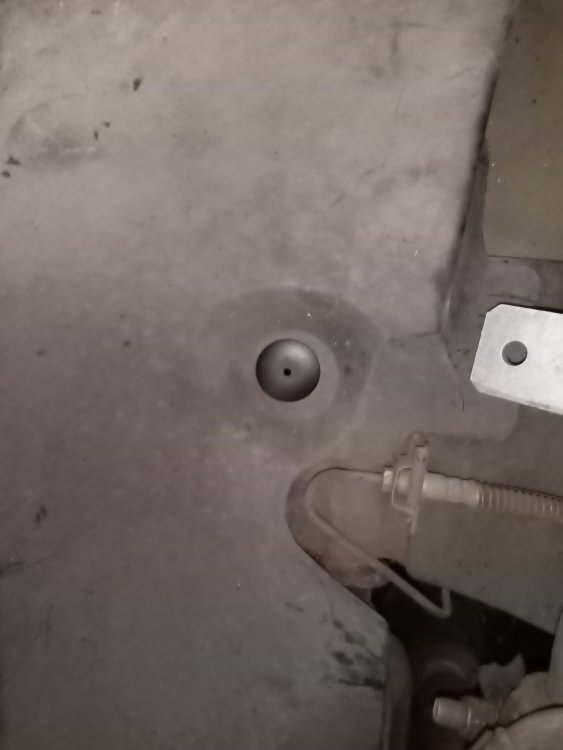
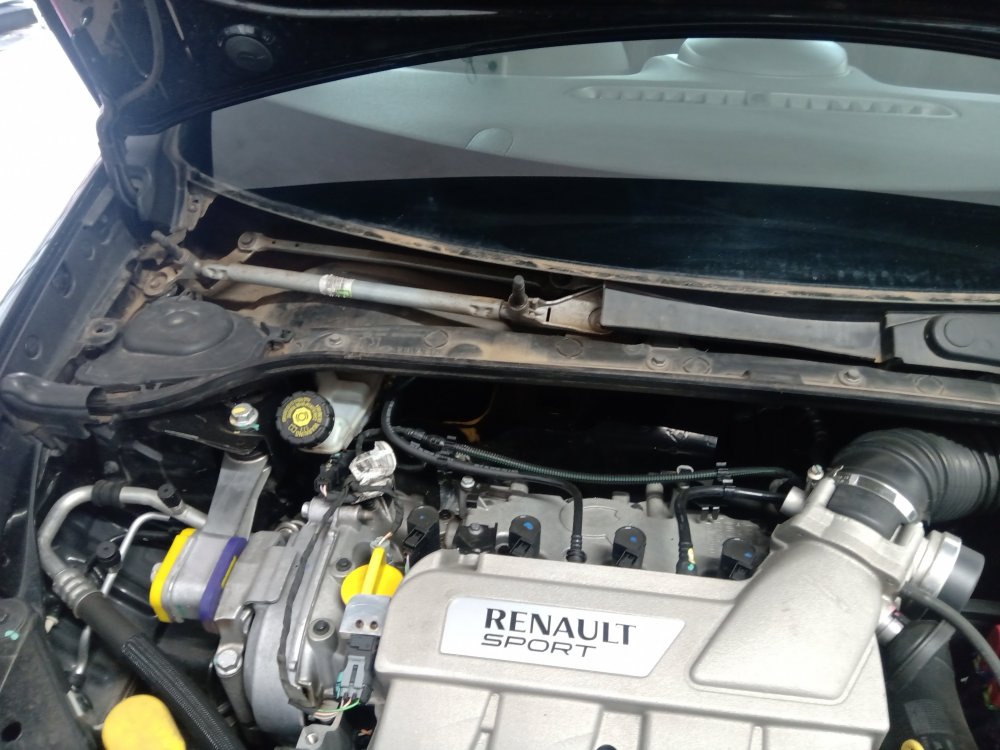
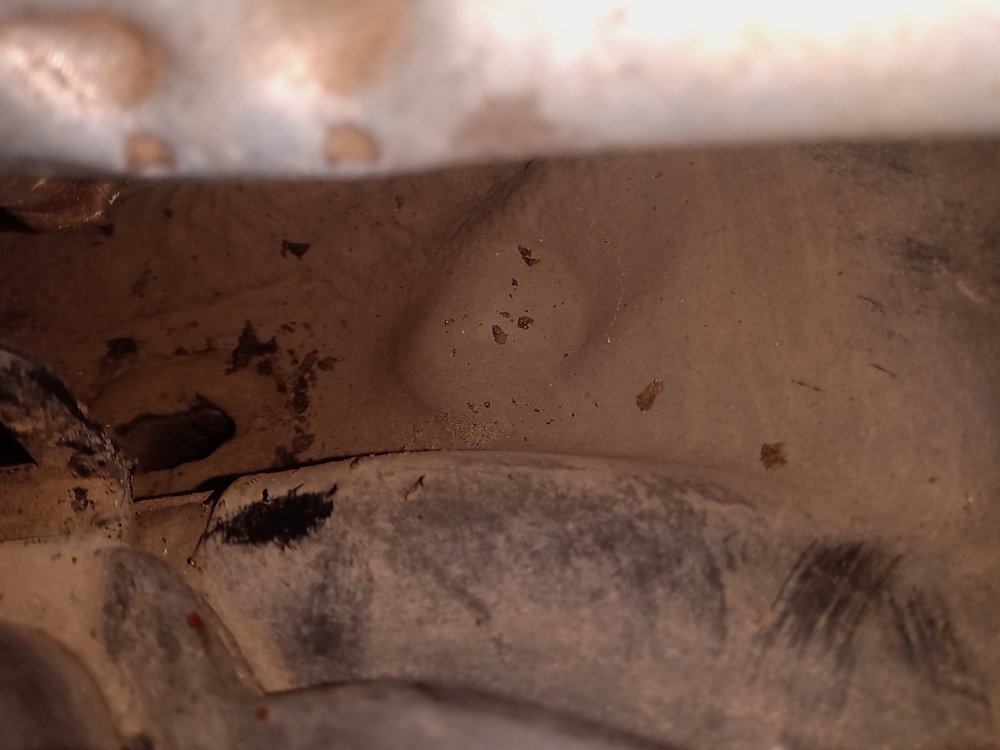
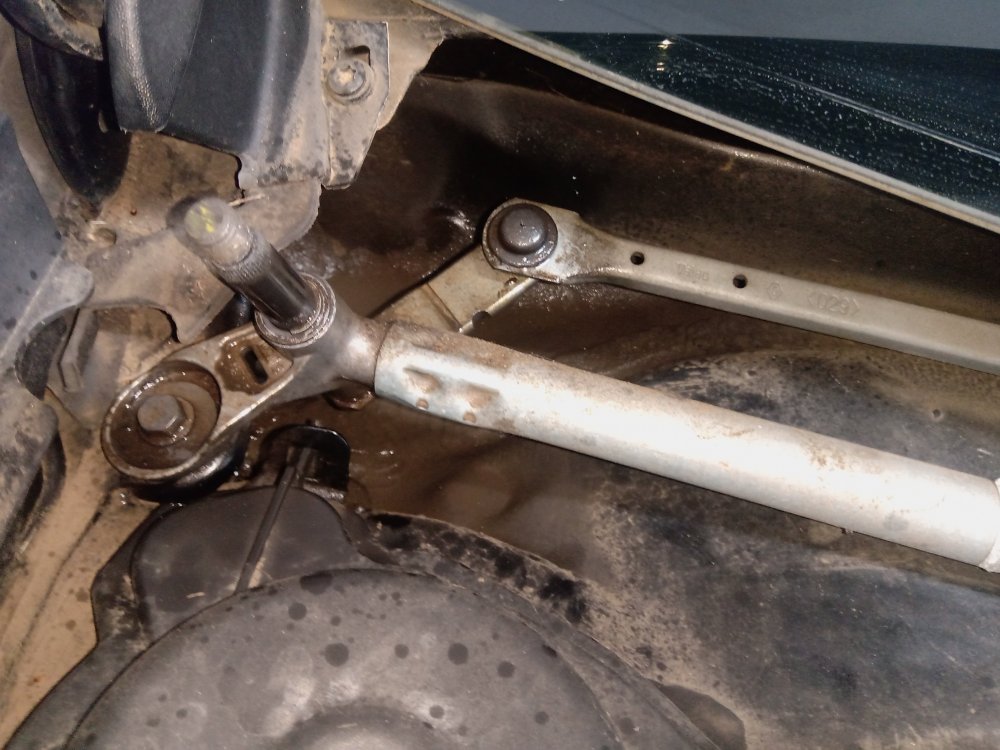
I also noticed that water was not draining out of the front drivers side again.

I have gotten pretty quick at this now and had it done in about 15 mins

IMG_20200919_170702.thumb.jpg.7b355168f2f8f8f8cbe0035583e02d7a.jpg

IMG_20200919_171750.thumb.jpg.9efc39ae10d67fe8be8ffc6a677d0672.jpg

Cleaned out the butthole looking thing with some wire

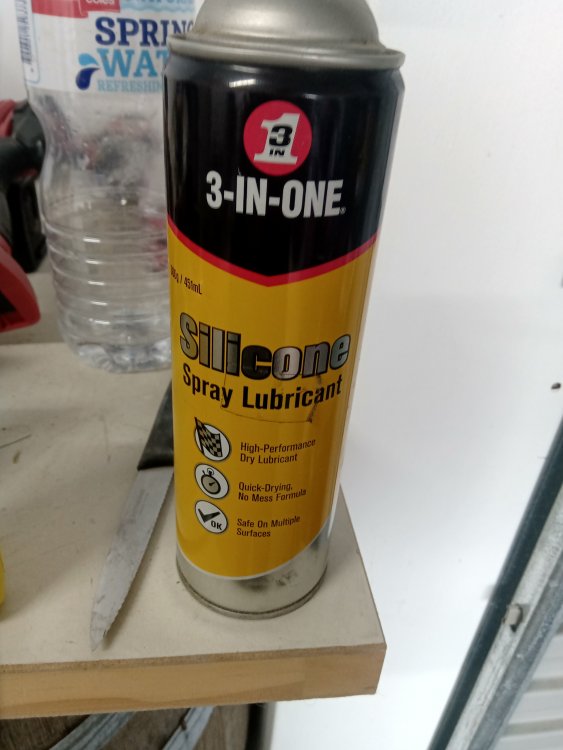
Then greased the wiper bits again

IMG_20200919_172729.thumb.jpg.9a8e3c8b1174f45b7c03664de06670ab.jpg

IMG_20200919_172734.thumb.jpg.d4d25bdec6802e5a804f8feccc7cb46c.jpg


Being regional in Vic meant i was finally able to go for a drive after almost 6 months. This was the first real drive of the front end with new alignment and boy does the front end feel sorted now.

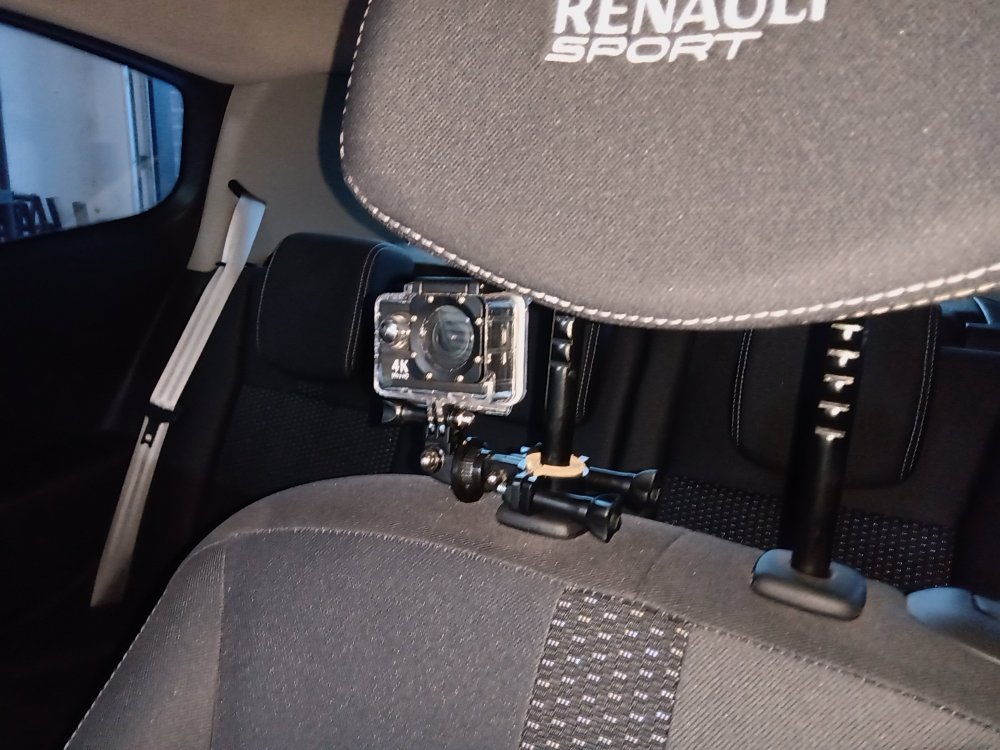
I did actually film this drive with my new camera, but i found it was mostly me screaming and driving like a cunt. So it stays with meIMG_20200919_181209.thumb.jpg.53593d8f596b6d1848a7593755a8d653.jpg

The road was wet and slippery, but it was a clear run which meant Akra at full noise bouncing off the cliff face. I sometimes dread its noise while commuting but shit it sounds proper when hammering it

IMG_20200920_072015.thumb.jpg.f01e51ceb3ba644dbb80a5bd12b0eaca.jpg

IMG_20200920_073723.thumb.jpg.3cf9a379a0e92976b09ff9d4d24f3a93.jpg

IMG_20200920_073727.thumb.jpg.3e32b9f85d8aae0aca59cb34f7a87942.jpg

IMG_20200920_073914.thumb.jpg.bd0e086ec4f8084bd40fd2ae6bb4b758.jpg

Then drove back and noticed heaps of bikes and people coming for a swim so just chilled and ate a pie in Lorne.

Thanks for looking
 
Dear diary,

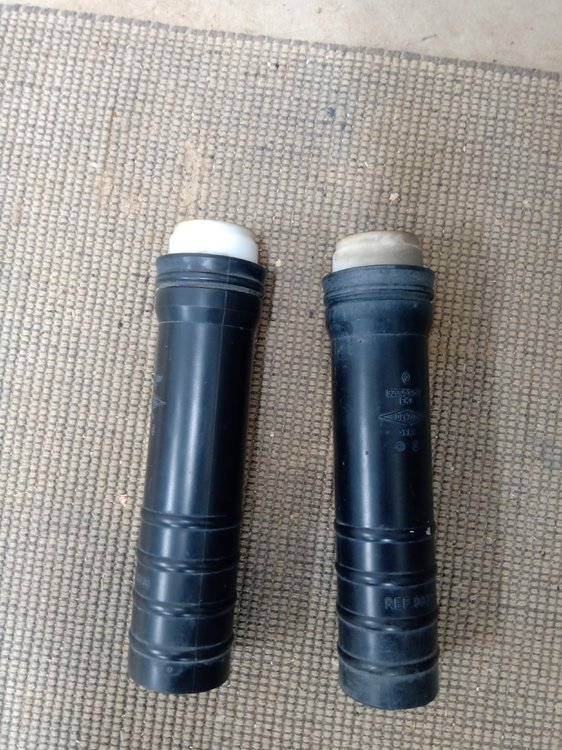
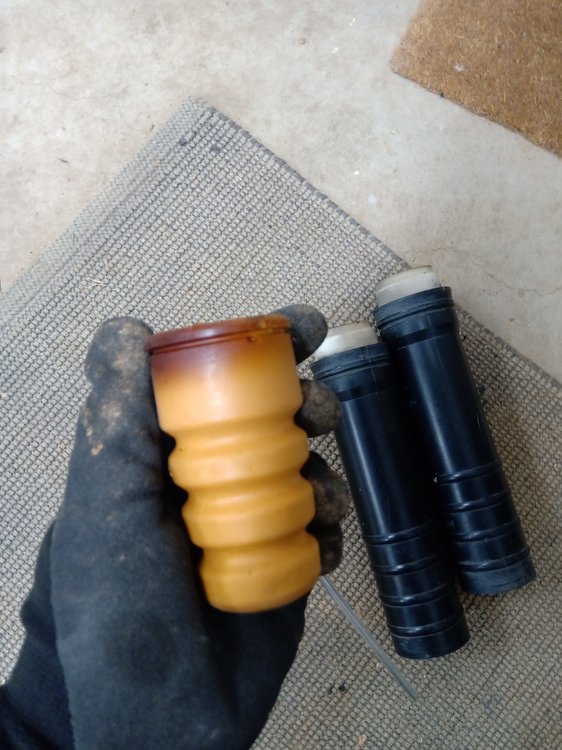
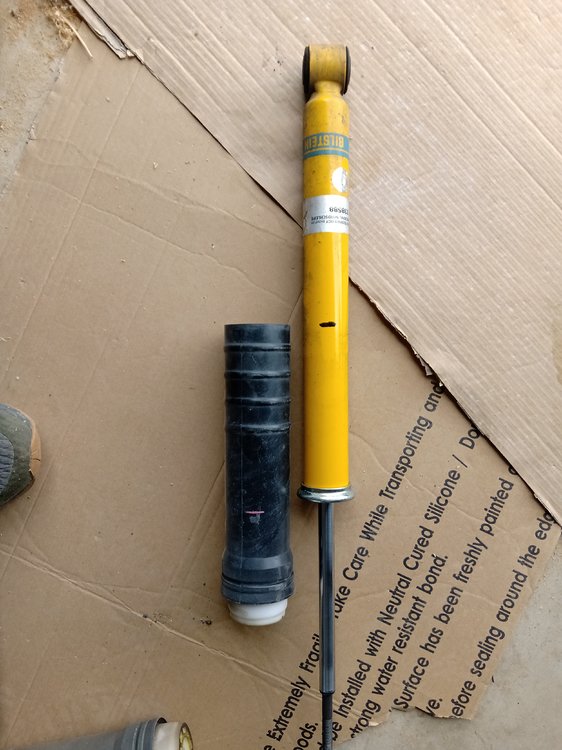
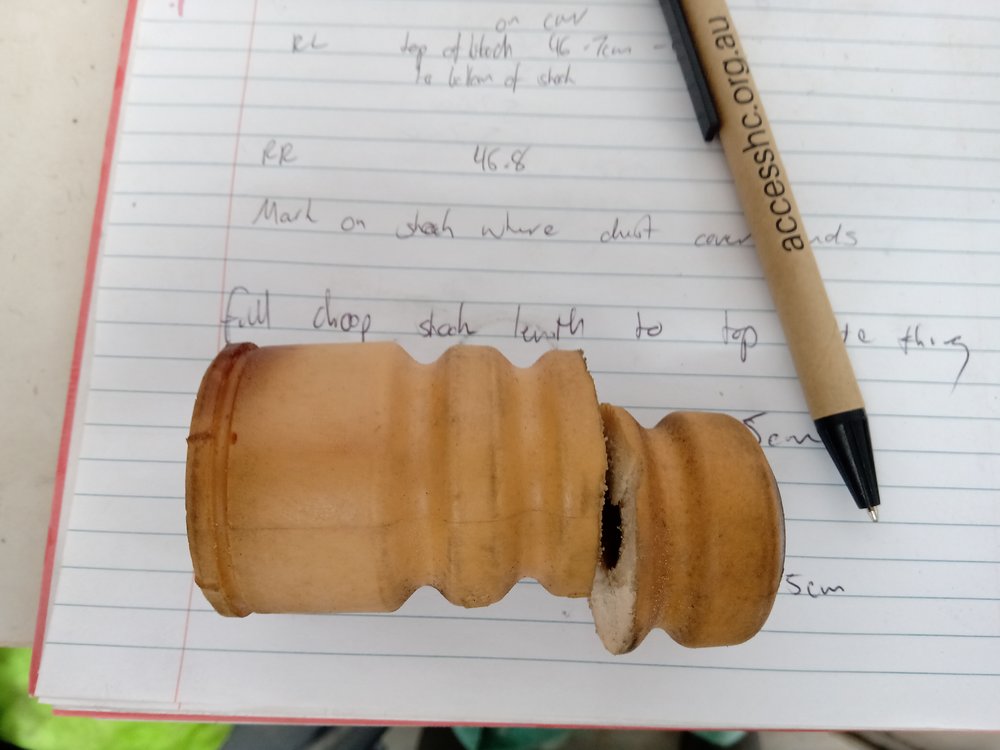
I was always a bit interested to see if the standard rear bump stops would need trimming when paired with the bilstein b14s. I bought some second hand rear dust boots and bump stops to butcher if needed in this experiment.


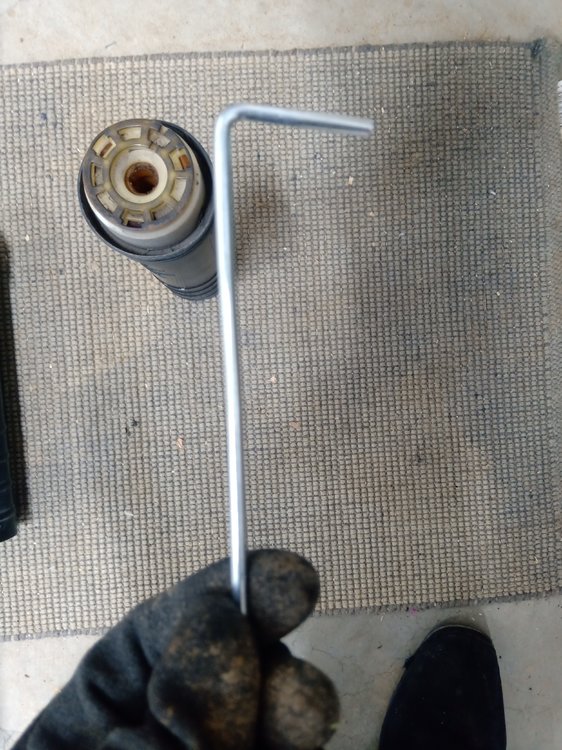
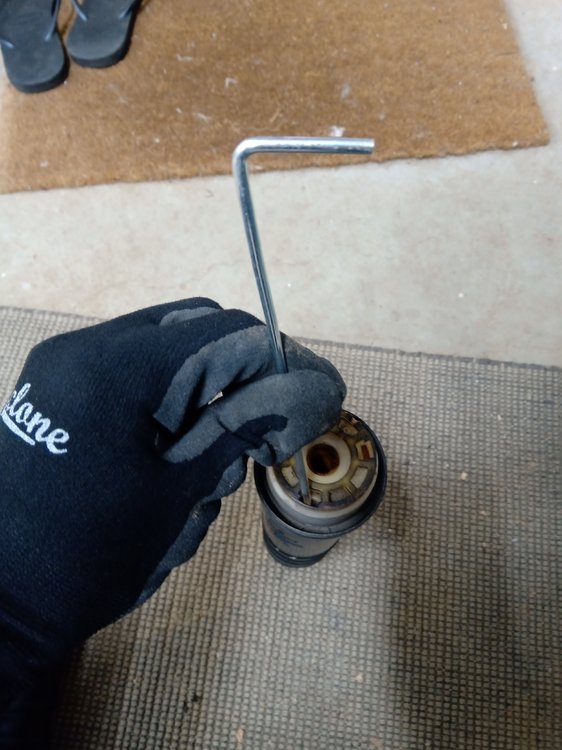
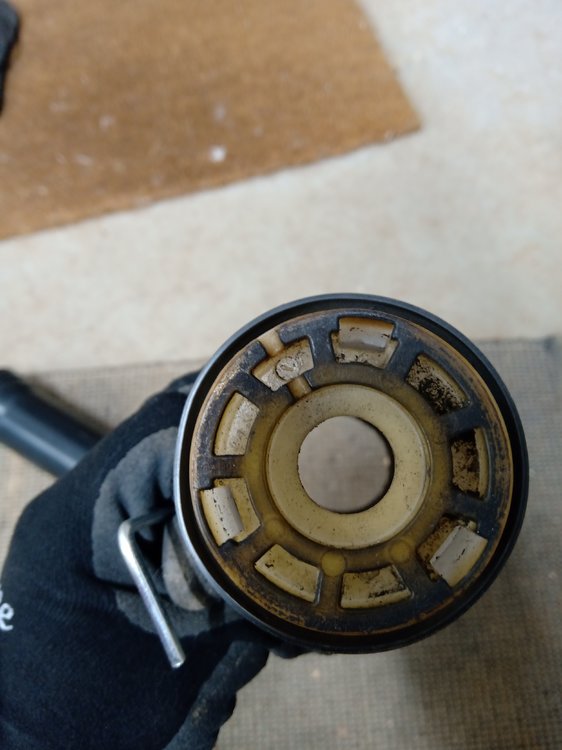
I first had to try and figure out how to remove the bump stop from the dust boot. It came out really easily, it just needed a love tap with a tent peg and hammer and it pops right out.

IMG_20200908_133757.thumb.jpg.f3cb4ed699d918a5798c61b2cb1b2f67.jpg

IMG_20200908_133818.thumb.jpg.7fdacb344d43697c5456f17c6406fe1f.jpg

IMG_20200908_133825.thumb.jpg.c65c920a99ea950887f7db1cc00393ae.jpg

IMG_20200908_133839.thumb.jpg.9035d14dc69af5a1605b8e3540c19ce4.jpg

IMG_20200908_133849.thumb.jpg.3c0b51448e0ca3ad6fc8a412db6b5558.jpg

IMG_20200908_133857.thumb.jpg.1513f0cd97949a886325d5ae9020d715.jpg

Came out easier than i thought it would
 
Measurements

Bumpstop total length 8.5cm

Dust cover from top to bottom 30cm

white bit on the top of dust cover to top of black bit on the dust cover 2cm

top of white bit to the top of the bump stop .94cm so the bottom of the bumpstop is 9.5cm from the top of the dust boot or 7.5cm down from the start of the black bit on the dust cover. (Pink mark on dust cover)

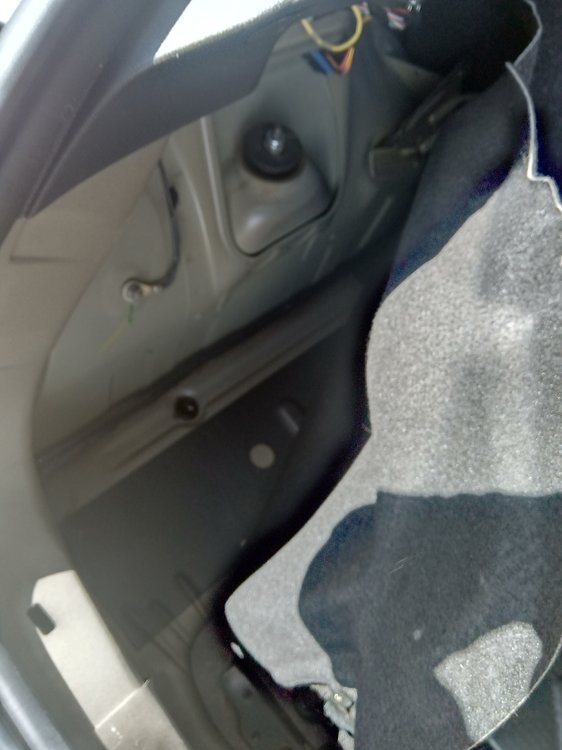
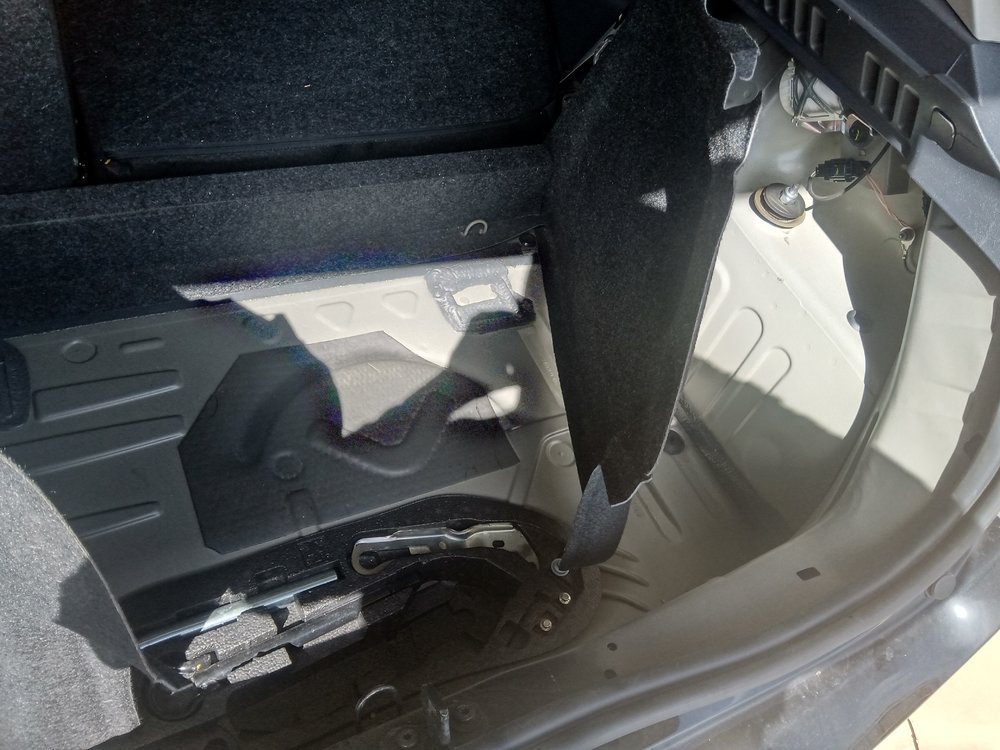
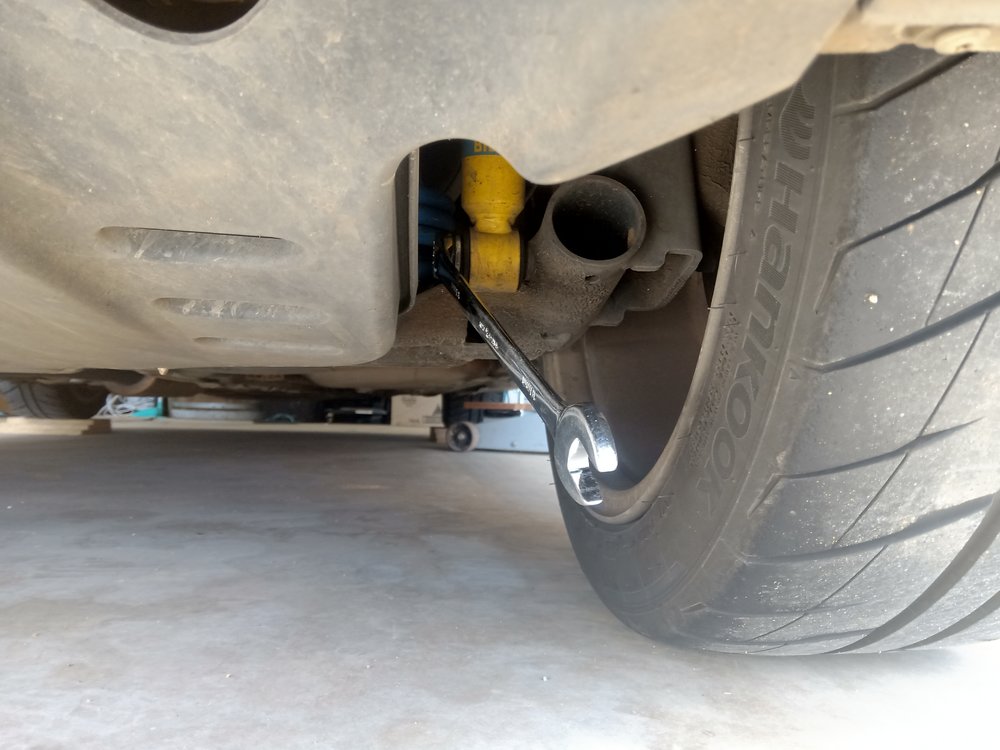
Out comes the rear shocks again, its not too bad to take them out.

IMG_20200927_102600.thumb.jpg.ef72f2a8e84f235f8706e62976c79f7c.jpg

IMG_20200927_102603.thumb.jpg.ceaded6637126f9aef89f6dffdab9f7b.jpg

IMG_20200927_102613.thumb.jpg.158132e4ca921b24a4ee2ba8bf469385.jpg

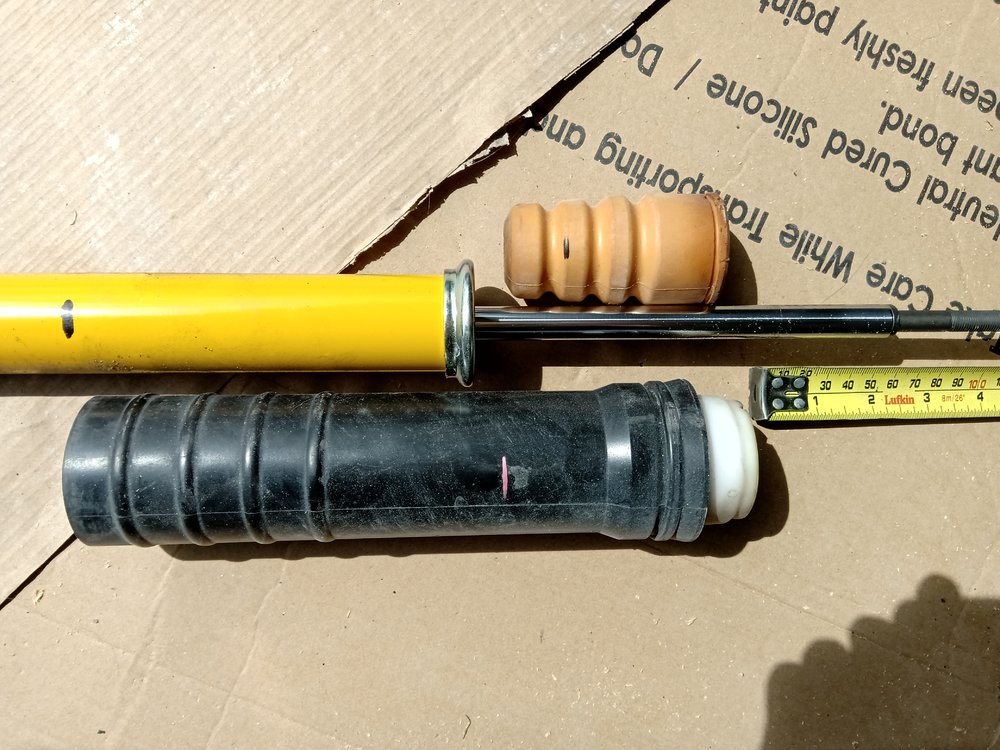
I did mark on the shock where the dust cover sits when stationary to compare when out of the car (black mark on shock)

I have the car on the highest setting on the spring perch, and in this picture you can see by the black and pink marks that the car almost sits on the bumpstops even at that height. This would mean almost any bump would cause the shock to hit the stop prematurely (i always thought the rear rode roughly compared to the front) and not allow the shock and spring to absorb more of the bump before hitting the end of its travel as its supposed to.

IMG_20200927_113929.thumb.jpg.c44a3e8c04a46acd9c924ac70bb8af3a.jpg

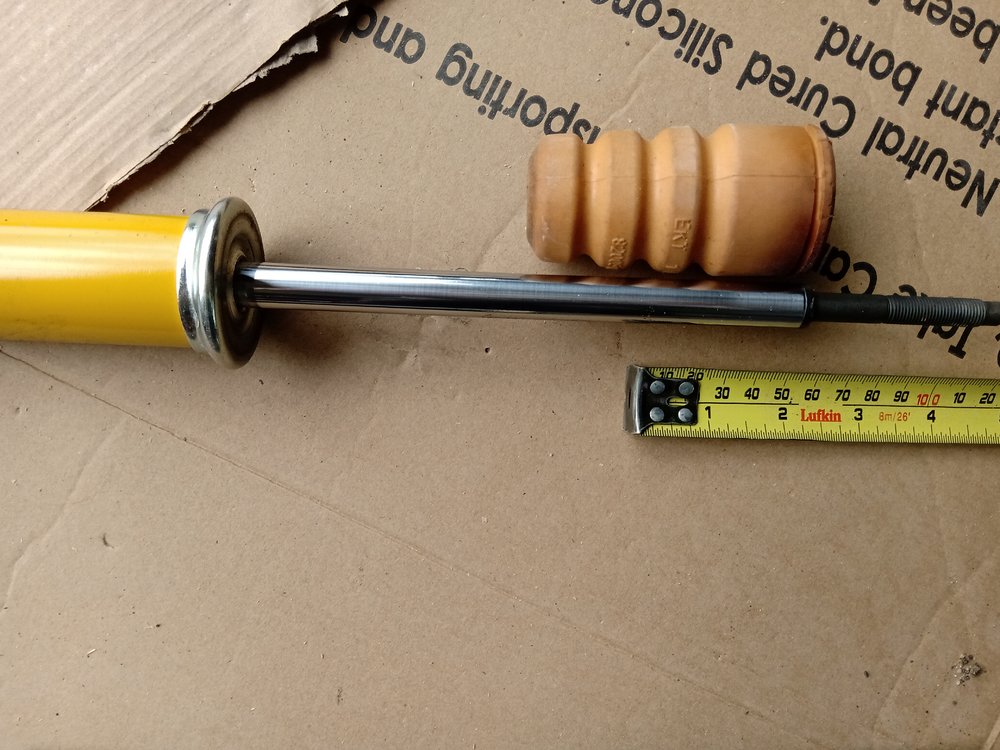
I pushed the shock down to the end of its travel (start of measuring tape) I wanted to cut up to the start of the second knub thingy. This will allow the shock to have a little bit more shock travel before hitting the stop. You need to make sure that the remaining bump stop will still take a big hit and absorb the force.

IMG_20200927_114509.thumb.jpg.7c95335669c864ab6dbb694c25e359d4.jpg

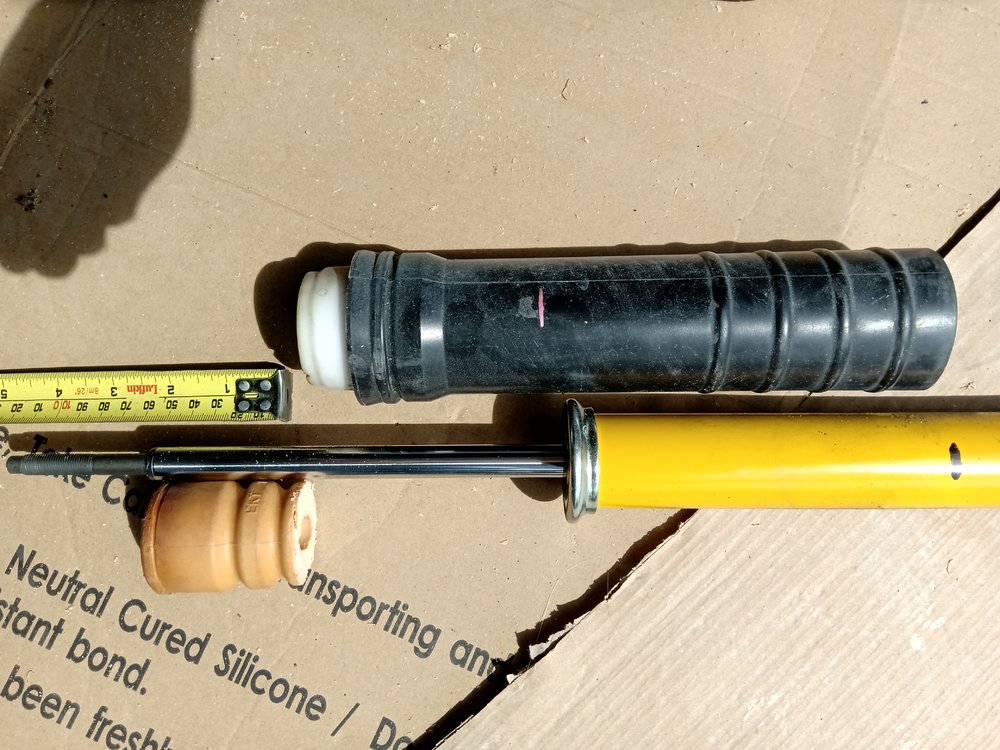
A rough comparison of how much travel it will gain when reassembled

Pink is the original size of the bump stop when in the dust cover, and the cover sits where the black mark on the shock is when on the ground.

The measuring tape marks the end of the shock travel when compressed

IMG_20200927_114722.thumb.jpg.d3cbfa12d76c4fd4a5c904b171a8c81b.jpg

IMG_20200927_115245.thumb.jpg.186b991d7a6f2b2eae9622955e91e022.jpg

IMG_20200927_120355.thumb.jpg.d47458f05beb84ca7b30e1ba1fcbee86.jpg

Yes i could not cut it straight hahah. Its a lot tougher than it looks hahah

It has been a month since i did this an i have to admit the ride is still the same over regular smooth roads, but when hitting big bumps or speed bumps the car is noticeable softer and more compliant in the rear. It actually feels the same stiffness as the front now.

I am pretty happy with this change.
 
Cleaned the car for the third time this year.

The ceramic coating has completely wore off, but to be fair I did not keep the car clean at all, and only did one coat of coating.

I just used regular autoglym this time.


IMG_20201025_143913.jpg

IMG_20201025_144028.jpg

IMG_20201025_143958.jpg
 
So i finally got around to installing the head unit I purchased a while ago as I had a bit of free time.

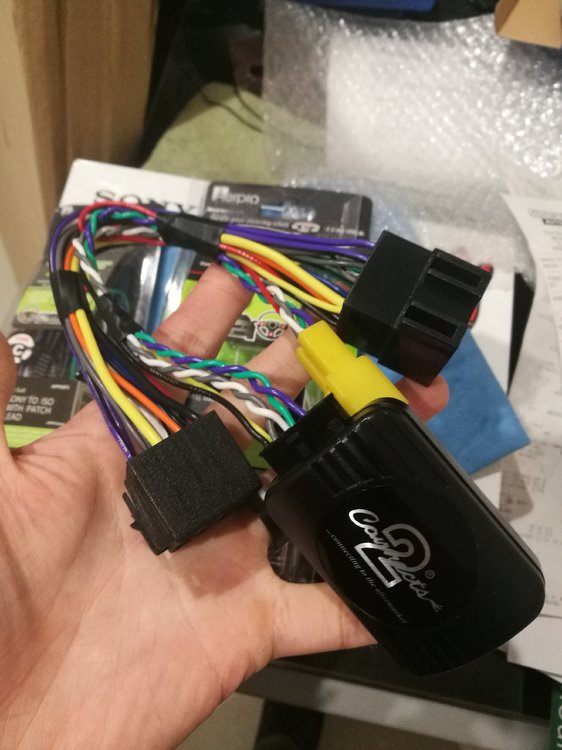
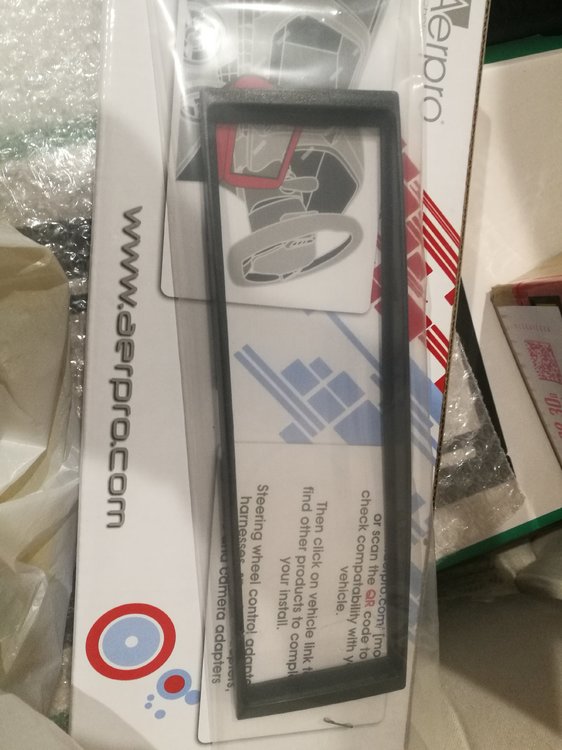
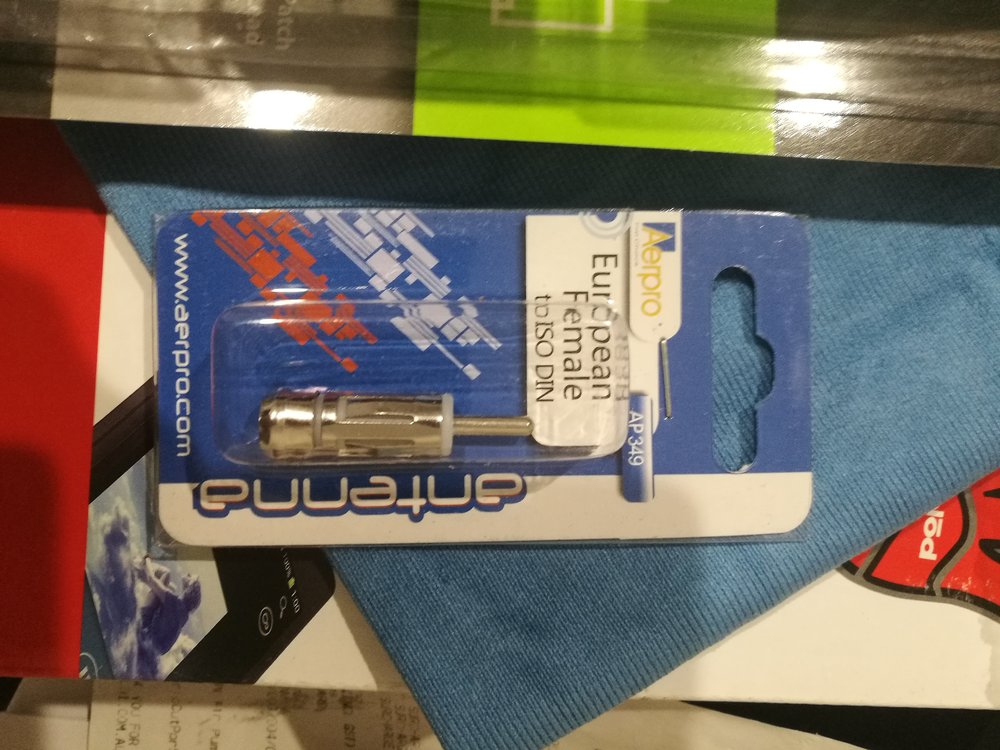
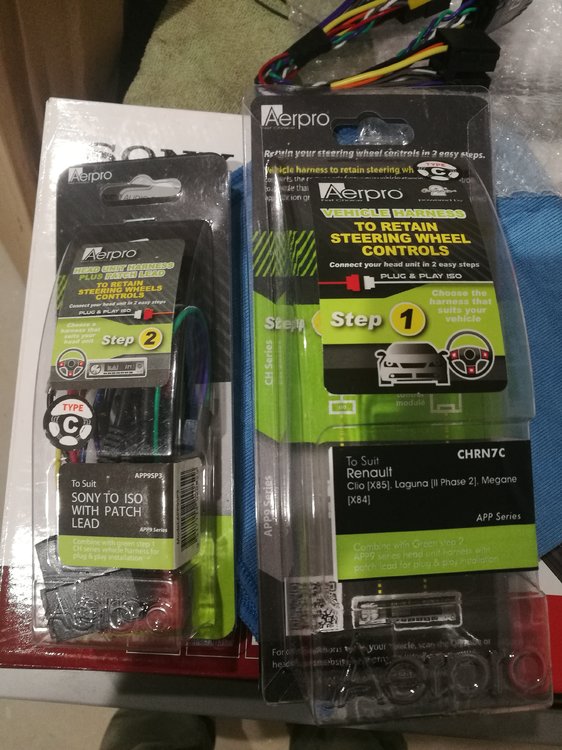
I had got all the connectors needed to make this a simple plug and play install and still retain the factory steering wheel controls.

The items are form Aerpro if anyone wanted to get them also.
IMG_20190802_181717.thumb.jpg.cc12d4749df7a5b46720acb998b2e224.jpg

IMG_20190802_181733.thumb.jpg.e8acfc5e451909c4abcb2f35f089ace2.jpg

IMG_20190802_181747.thumb.jpg.0b505b7d291c09c4bcb197a2b1ffaaa4.jpg

IMG_20190802_181758.thumb.jpg.1ac803496f23e55e932ef9cdc1a1b784.jpg

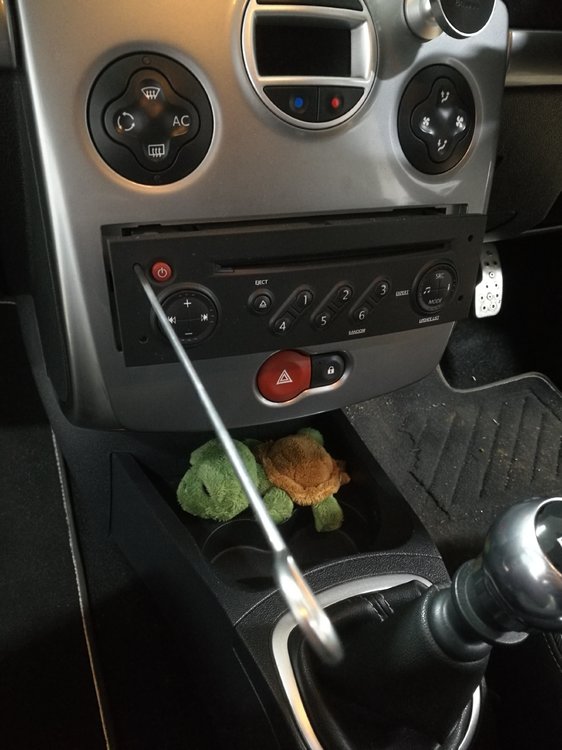
I had watched a few videos on the internet on how to remove the standard head unit, and easily enough put some BBQ skewers in all four holes, push outwards on both sides and it slides out easily enough.
IMG_20190804_121041.thumb.jpg.8750ed3c7abbf869f530ea4d71192cf3.jpg

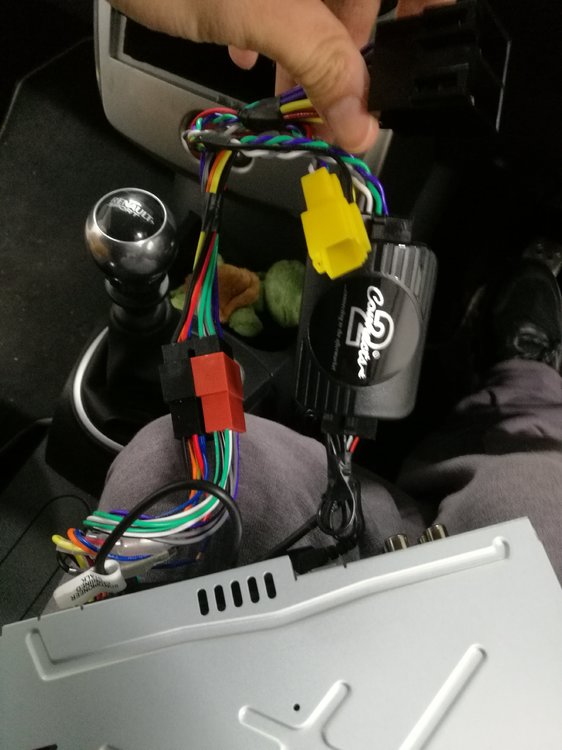
The hard part was disconnecting the plugs at the back which were really stuck in place.
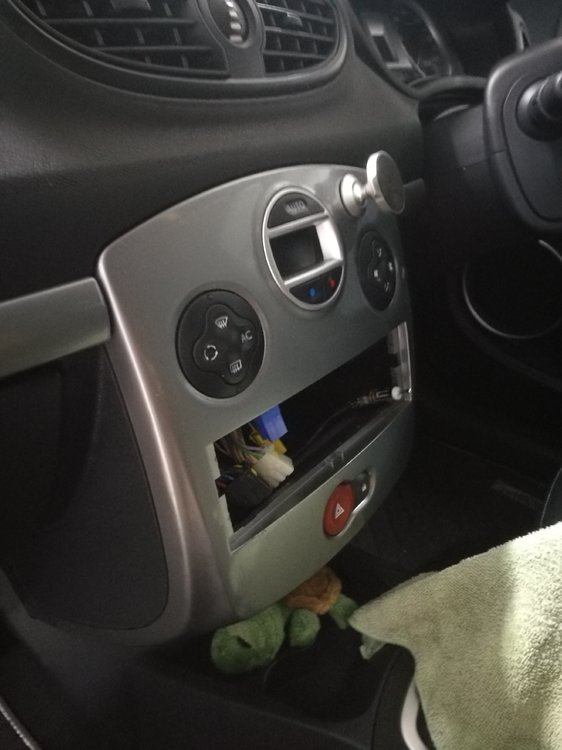


IMG_20190804_123609.thumb.jpg.b25eaf260428bb7131c32619e8cc7ae2.jpgIMG_20190804_155432.thumb.jpg.c4be895efee22a1079595fad24d41517.jpg

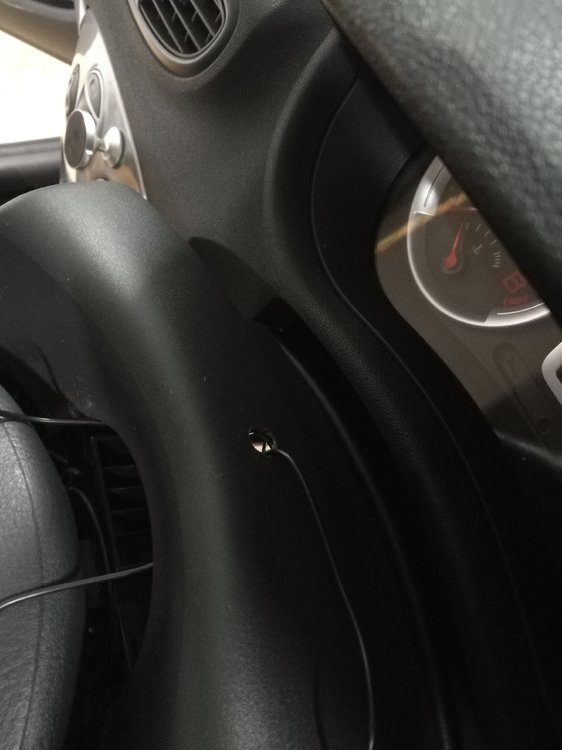
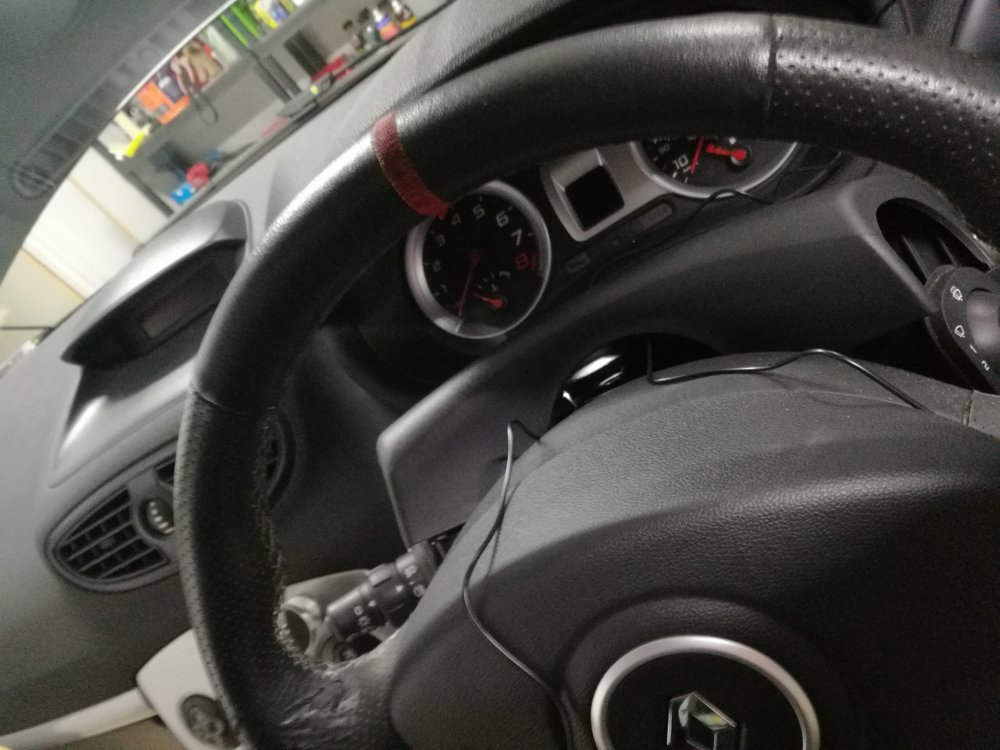
all ready to go back in and also this head unit has microphone for phone calls, (not that anyone calls me........ so lonely........

I routed it to run up the steering column and drilled a hole into the surround and double sided taped it into place. Seems to work well
IMG_20190804_145649.thumb.jpg.05fc88eb16ca476d6c8b731b5c0c59a2.jpg

IMG_20190804_145653.thumb.jpg.cdd56125d97d33f010e5e468a4aeb07b.jpg

After this, I thought everything would be a super easy install...............IT WASN'T

Trying to push the head unit back into place with all those new cables behind it, was something that i could not explain the difficulty of. It just would not go back all the way in.

After maybe 25 mins of swearing i got it super close and then BAM it clicked into place. Hooray!!!!! Then realised the plastic surround needed to go on before pushing it into place....BOoooooooooo


Out it came and the struggle continued on for another hour or so. I finally got it into place again, and downloaded the sony app which is pretty useless if i must be honest. But you can change colors of the stereo through it, so YAY??


This is when the new drama started. The steering wheel controls worked, but they were weird and i wanted to manually program them myself which the head unit can do. Except it couldn't and i was stuck not really being able to swap between sources, and one button turned to unit off completely. So annoying.


After asking Sony Australia, Xplod, Sony UK, and getting shit all support or any info besides making a warranty claim, which was stupid because it was not broken, just did stoopit things.


I came across a post from the Uk Clio group 182 or something, and he had the same problem. He solved it by opening up the Connect2 box that allows the steering controls to work with aftermarket head units (Sony) and changed the dip set switch setting.

With zero support from Sony Australia i went on to try this and hoped it would solve the issue.
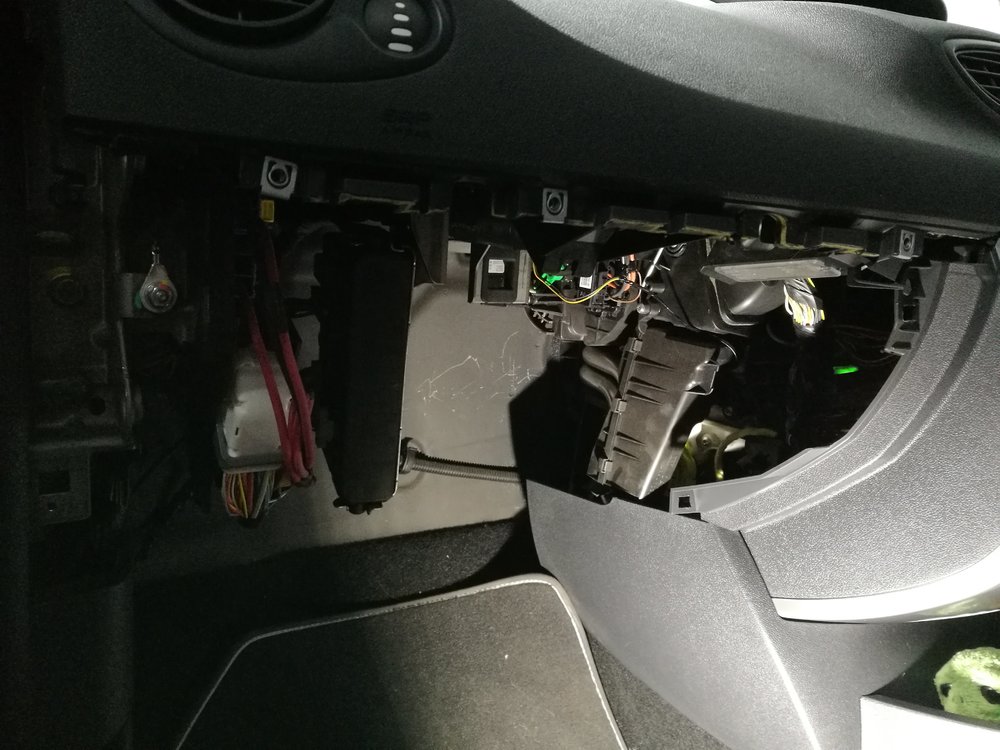
IMG_20190809_163154.thumb.jpg.60e892066df690dab5d9141cac3b89d3.jpg

Glove box off this time, made life so much easier putting the head unit back in and shoving all the cables upwards, it was still a bit of a struggle but only took 5 mins after adjusting.
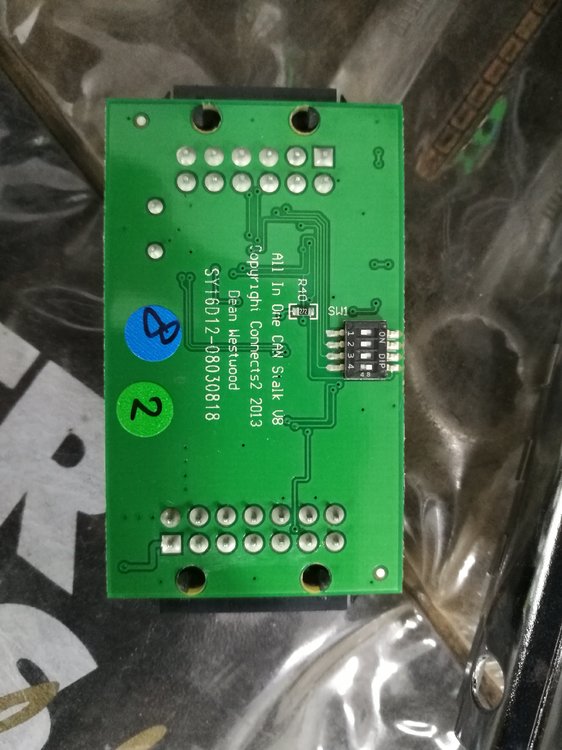
IMG_20190809_163456.thumb.jpg.9994878c574a363bc087a25796bbcc52.jpg

So with Sony and Pioneer head units, you will need to toggle dip set 4 down. This will allow it to work properly with Sony or Pioneer head units.

So it all when back together and shit me after a week, it was all working as it should. I was pretty happy with the result.

The sound has improved and the talk back radio stations are a lot more clearer for me to hear people complain about stuff. I should call the radio station and complain about Sony's fark all support. It was crap to say the least, and luckily i found the one post on the internet that had to answer to my problem.
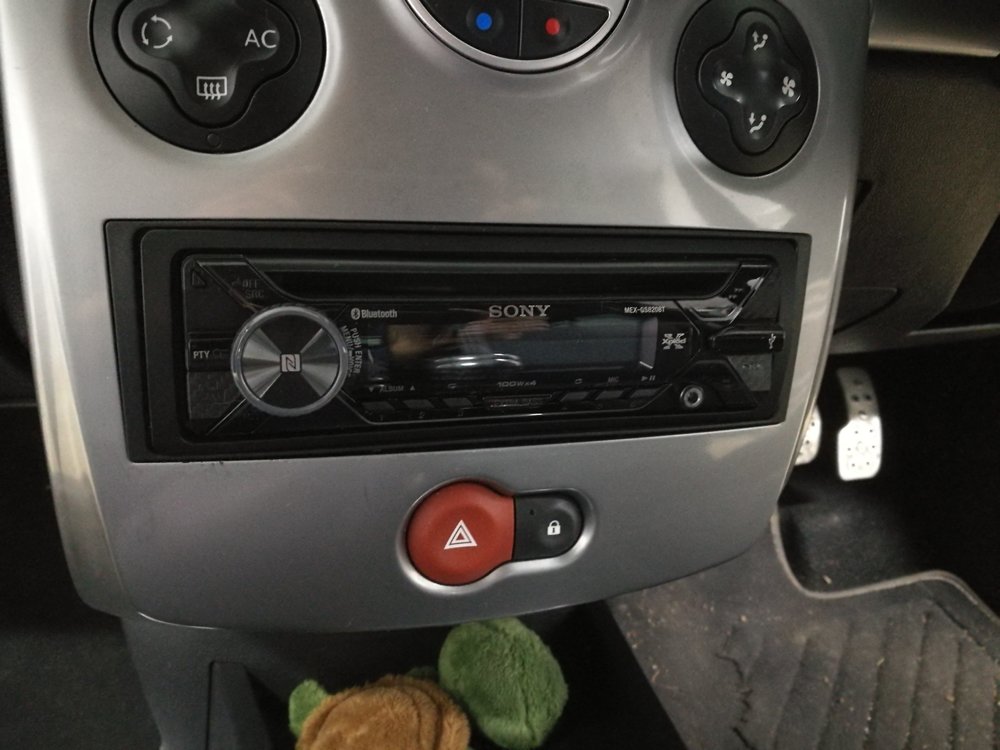
IMG_20190804_185307.thumb.jpg.74f9ec1cdb3c1e2f9964ca3e7c783b1a.jpg


Thanks for reading


Great Read
perhaps you can help me
doing exactly the same job with connects2
Sony head unit too
Not as lucky as you though as cant even get to work at all with steering wheel controls
am i doing something wrong that you can see maybe
took video but cant seem to upload
could possibly email to you
Using ISO connectors and supplied Patch lead jack into remote input on head unit

  1. 12 way molex from patch lead into connects2 interface
  2. Patch lead jack into head unit
  3. 14 way molex to connects2 interface
  4. connects2 interface iso’s and head unit mated
  5. connects2 interface iso’s and car mated
  6. No control
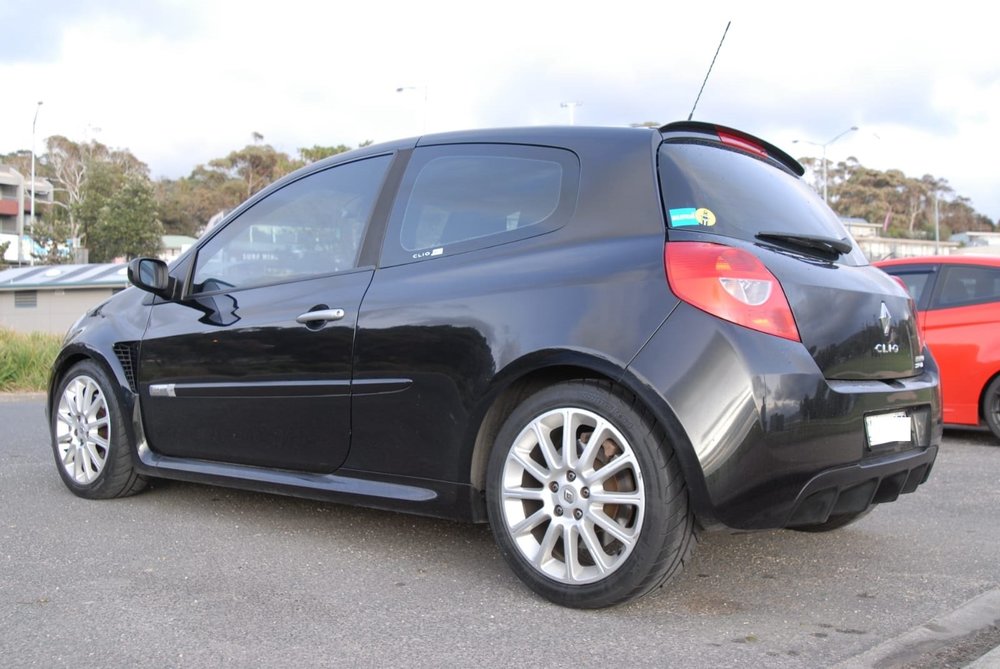
 
Does the controls work before with the OEM head unit.
If thats the case I would expect some wire is loose or the something with the wiring loom.
Maybe pop the video on YouTube and link it here?
 
Does the controls work before with the OEM head unit.
If thats the case I would expect some wire is loose or the something with the wiring loom.
Maybe pop the video on YouTube and link it here?


thanks for reply
the oem unit was never in the car
it came with aftermarket Alpine so couldn't tell if they worked form the outset

 
by the way
meant to add
post reading your post and looking at the photos i popped the connects2 open
the switches were as per yours
 
by the way
meant to add
post reading your post and looking at the photos i popped the connects2 open
the switches were as per yours

I would still say something has come loose if it's not working. The yellow connector is the one that controls the steering wheel controls. Maybe check nothing has come loose on that part.
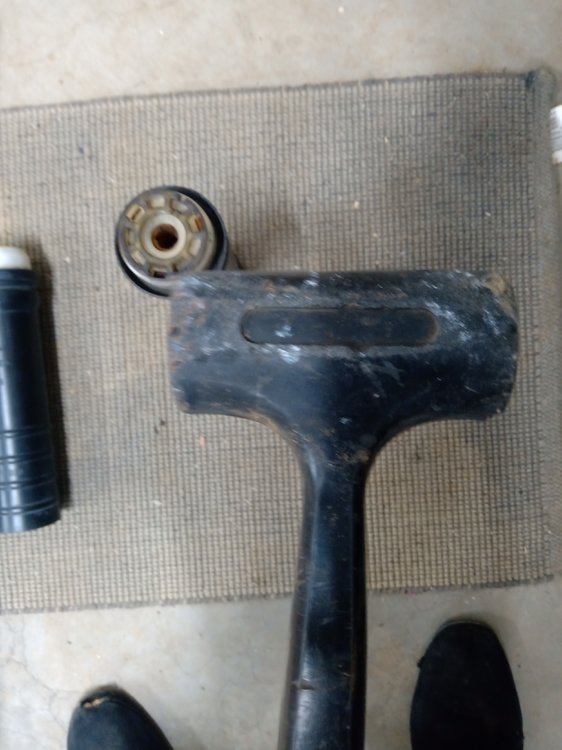
Is the steering wheel controls registering any type of function?
 
I would still say something has come loose if it's not working. The yellow connector is the one that controls the steering wheel controls. Maybe check nothing has come loose on that part.

Is the steering wheel controls registering any type of function?


Right
I think you’ve nailed it
I didn’t hook up the yellow connector
As I was unable to see anything to plug into it coming from the car
Might be hiding
I do know the car originally had the cabasse system with 6 disc and amp under seat etc
Might start at steering wheel controls and see if I can trace a cable
Thanks again for helping
Your car is great by the way
 
  • Like
Reactions: wootwoot