tombate911
Paid Member
Progress to finish off the last few jobs...
Waiting for it to stop raining between storms has meant for slow progress but slow progress is better than no progress.
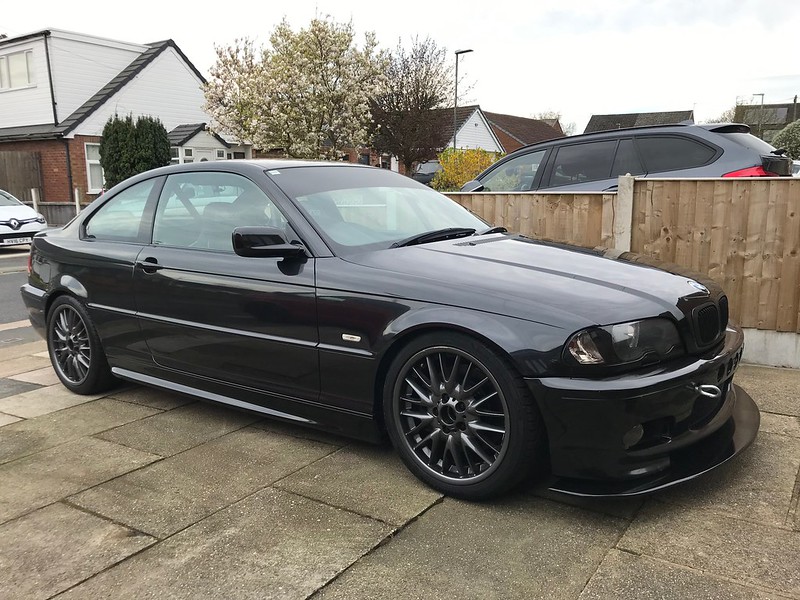
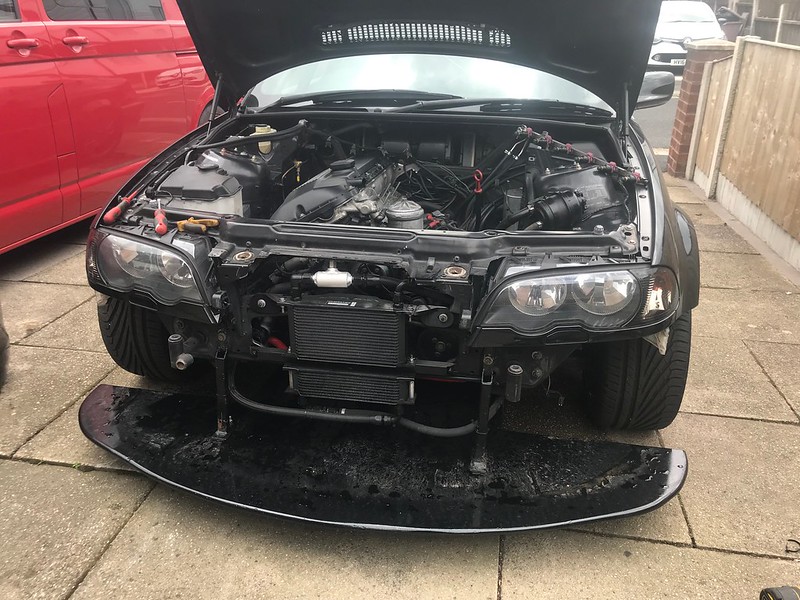
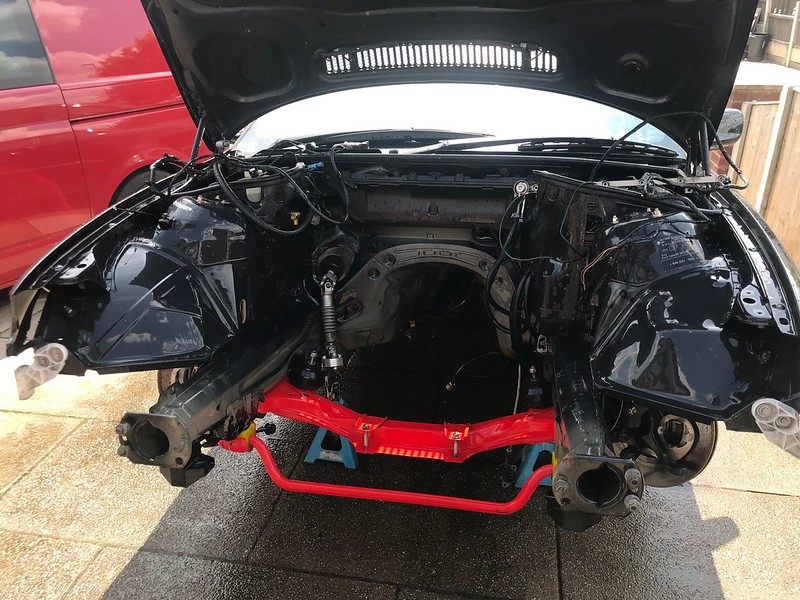
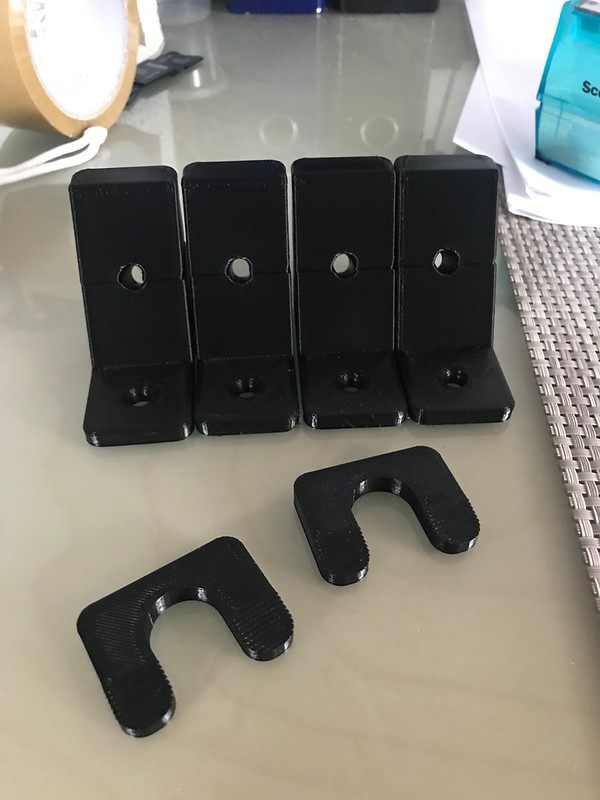
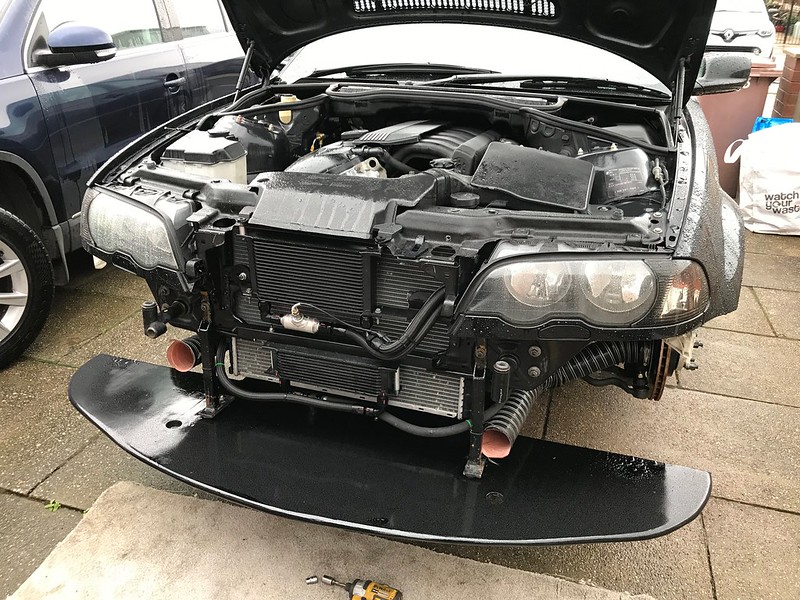
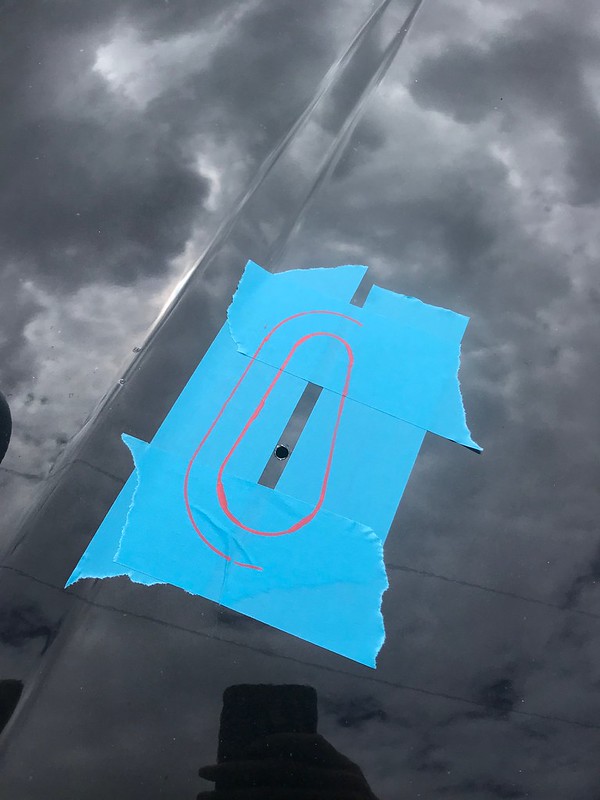
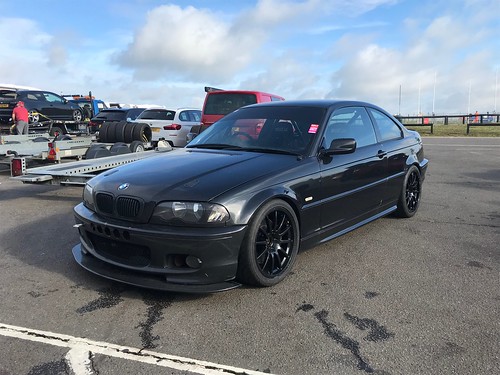
Got the splitter mounted up to the chassis mounts and bolted to the subframe.

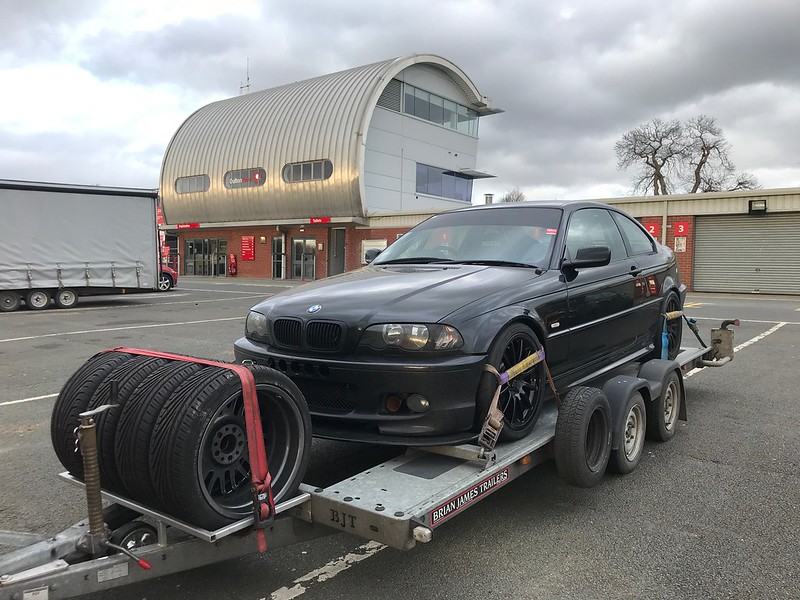
Little bit bigger than the previous version, should just be enough clearance to pop it on a trailer with the XL ramps and low Brian James trailer

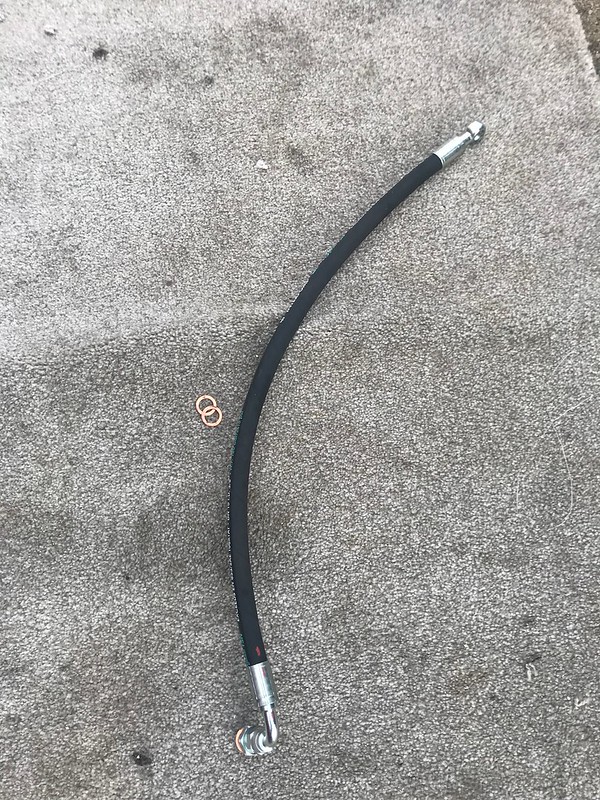
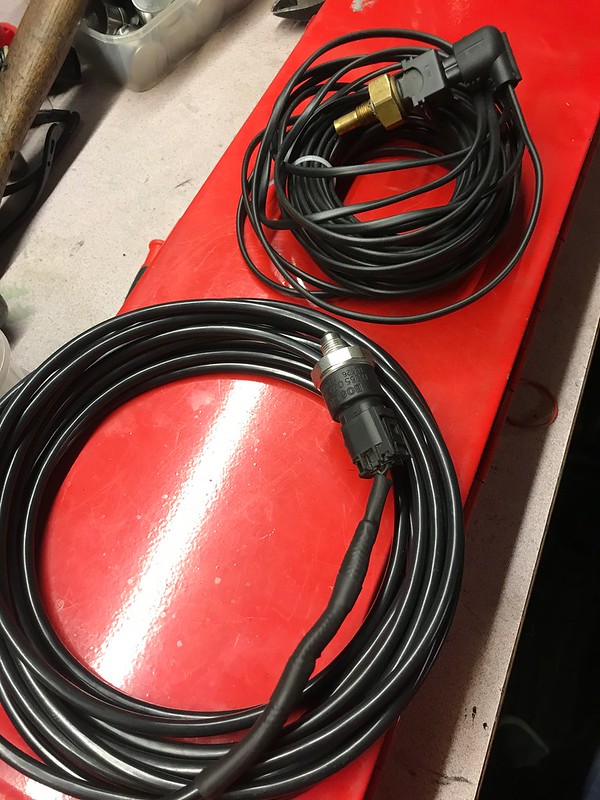
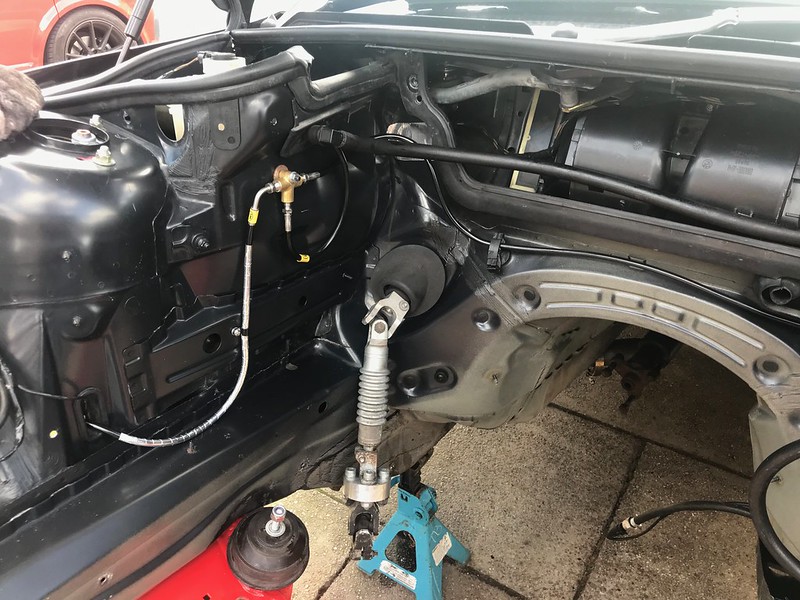
Fitted a set of replacement front lines I picked up in the sales in the new year. Every line was replaced when the car was built except the front lines as these were already braided lines, but over the last 6 months I've had the niggling feeling I should replace these for peace of mind as their age and previous use it a bit of an unknown

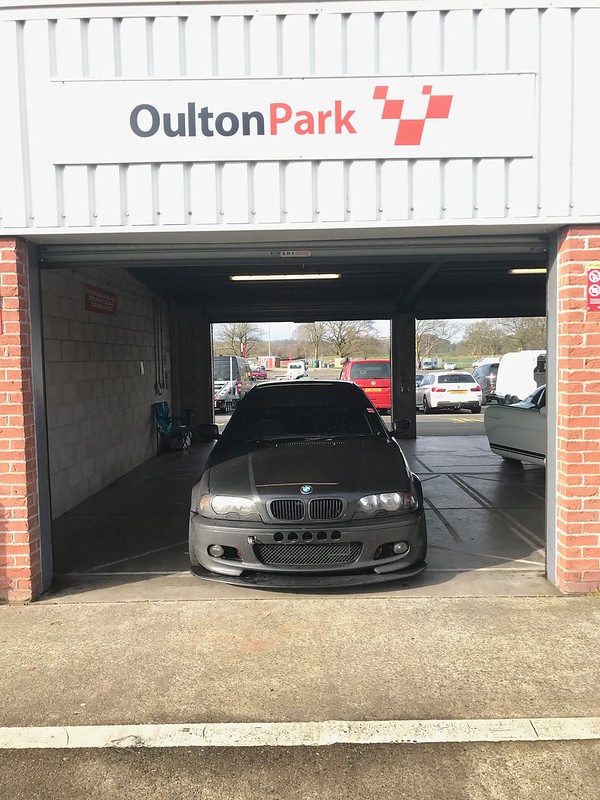
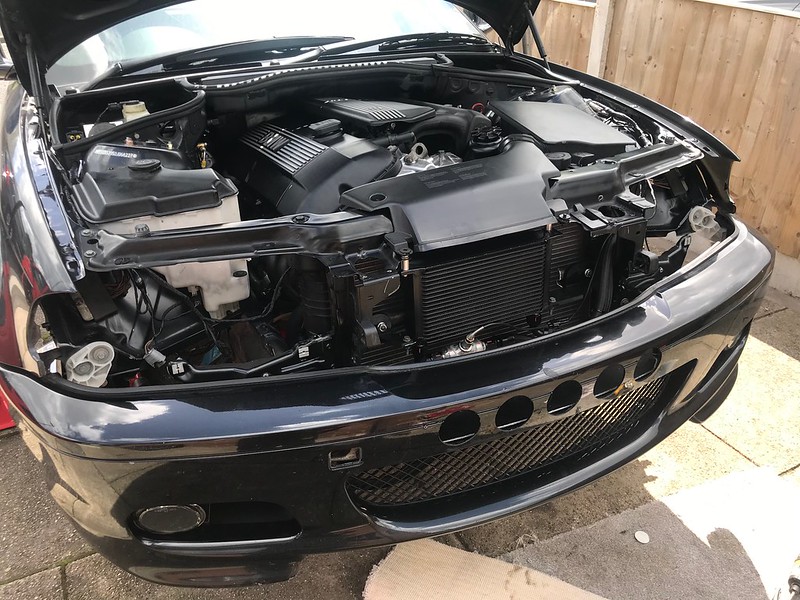
Also replaced the air cooling ducts. This ducting is dual layer, making it a bit thicker and more durable. Ripped both of the front ducts off when I came off at Oulton in December. They ripped cleanly off so I've fitted these in the same way in case the same happens again at some point.
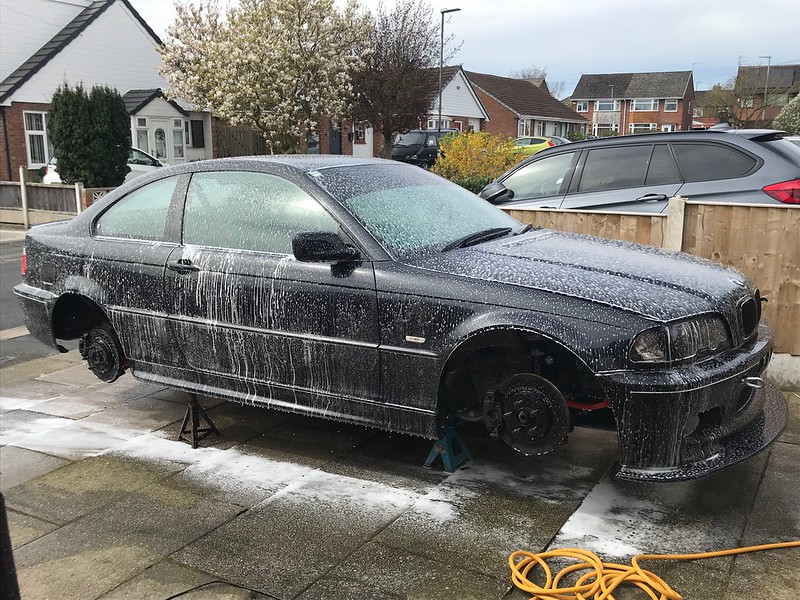
Still a few bits of mud lurking on the car. Will get another wash before it goes out again to remove a couple of bits I've spotted while working on it.

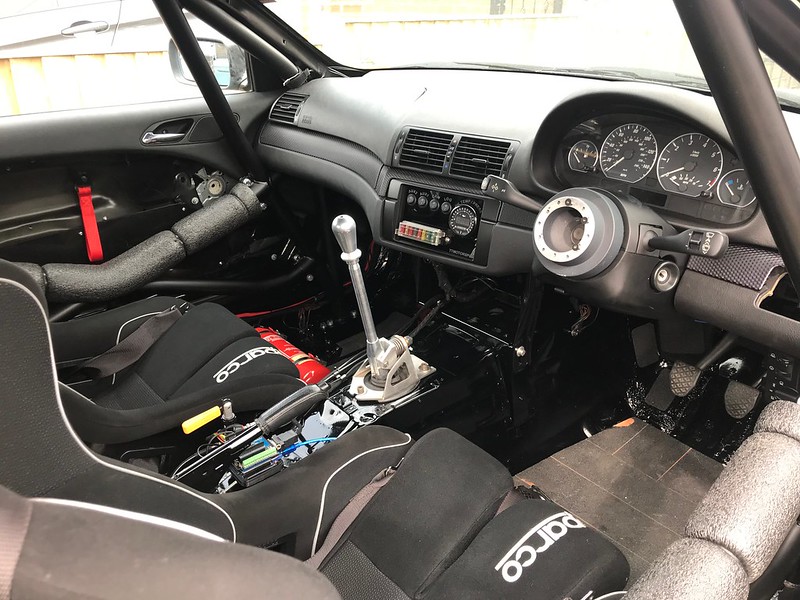
Gave the brakes a bleed before putting the car back on it's wheels and a quick hoover to remove some of the dust off the seats from getting in and out.
Need to get out and test the car somewhere soon. Going to have a look if there is any cheap or weekend days at Anglesey during March. With the aim to get the car reliable again, confident in the new diff and then continue to use it this year.
Not the most exciting of updates but brings the thread up to date.
Waiting for it to stop raining between storms has meant for slow progress but slow progress is better than no progress.
Got the splitter mounted up to the chassis mounts and bolted to the subframe.
Little bit bigger than the previous version, should just be enough clearance to pop it on a trailer with the XL ramps and low Brian James trailer
Fitted a set of replacement front lines I picked up in the sales in the new year. Every line was replaced when the car was built except the front lines as these were already braided lines, but over the last 6 months I've had the niggling feeling I should replace these for peace of mind as their age and previous use it a bit of an unknown
Also replaced the air cooling ducts. This ducting is dual layer, making it a bit thicker and more durable. Ripped both of the front ducts off when I came off at Oulton in December. They ripped cleanly off so I've fitted these in the same way in case the same happens again at some point.
Still a few bits of mud lurking on the car. Will get another wash before it goes out again to remove a couple of bits I've spotted while working on it.
Gave the brakes a bleed before putting the car back on it's wheels and a quick hoover to remove some of the dust off the seats from getting in and out.
Need to get out and test the car somewhere soon. Going to have a look if there is any cheap or weekend days at Anglesey during March. With the aim to get the car reliable again, confident in the new diff and then continue to use it this year.
Not the most exciting of updates but brings the thread up to date.