Im back!
Thought I would update my post considering I still have the Clio and Im pretty bored in this lock down. Hopefully my thread may be a good read for some to pass the time :lol:
Ill try and start where I left off a few years back, anyway in March of 2019 the car was taken off the road to complete some needed jobs and to further refine some points about the car I wasn't happy with. Unfortunately due to personal reasons the car still is off the road, but this does mean I can undertake some more jobs on the car and provide more content.
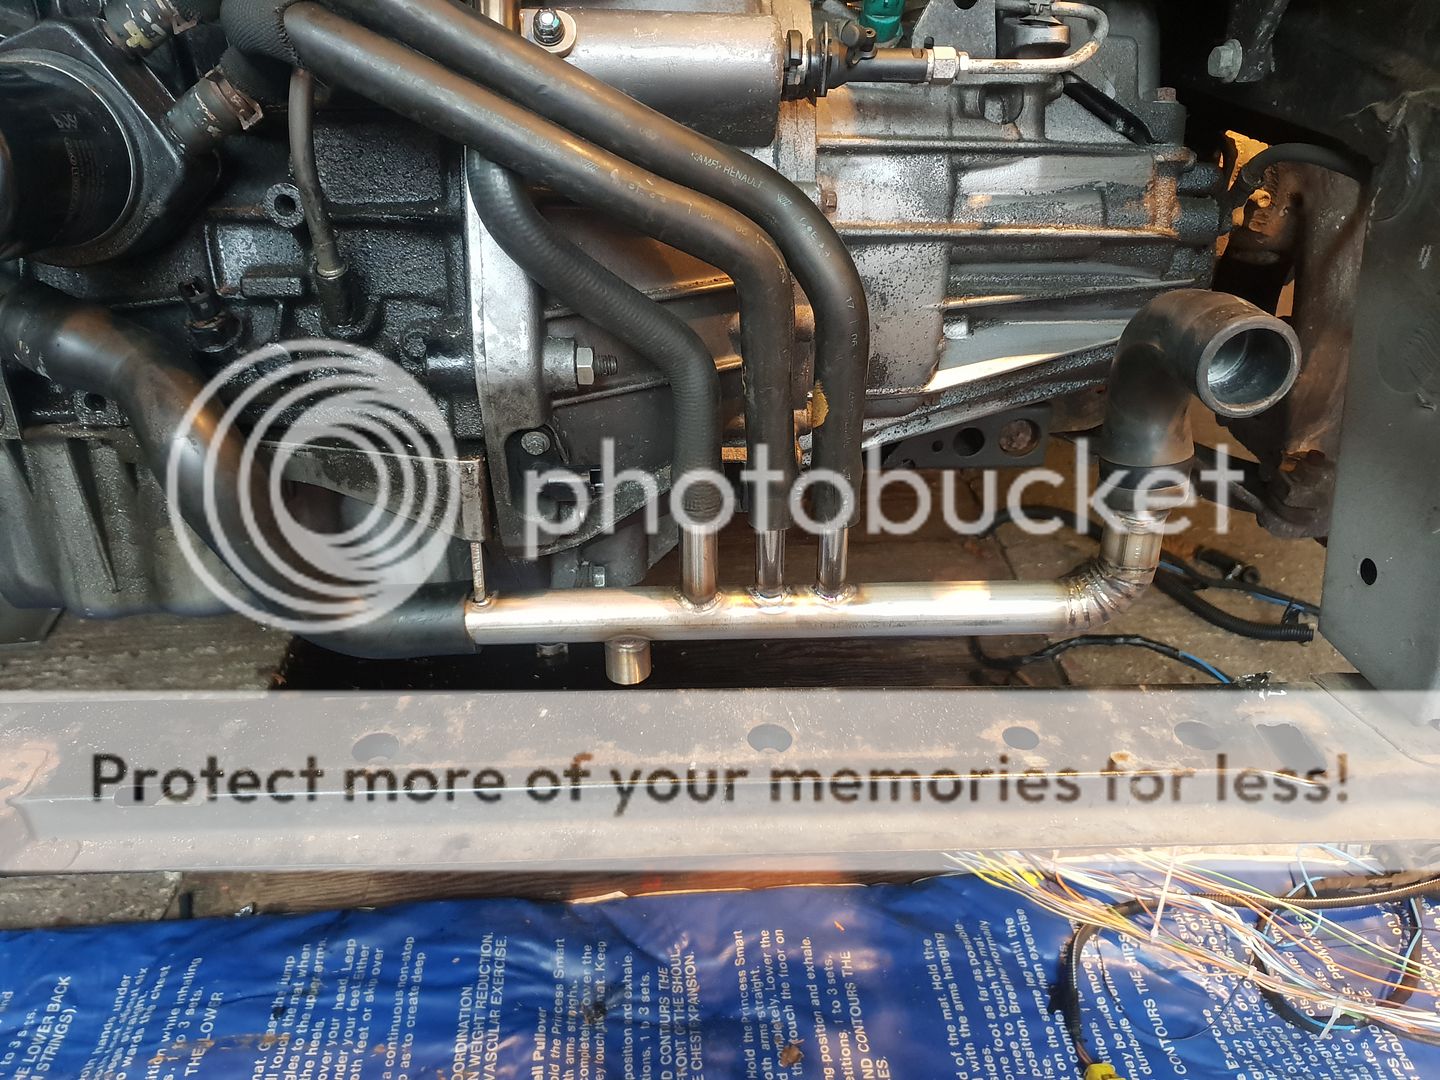
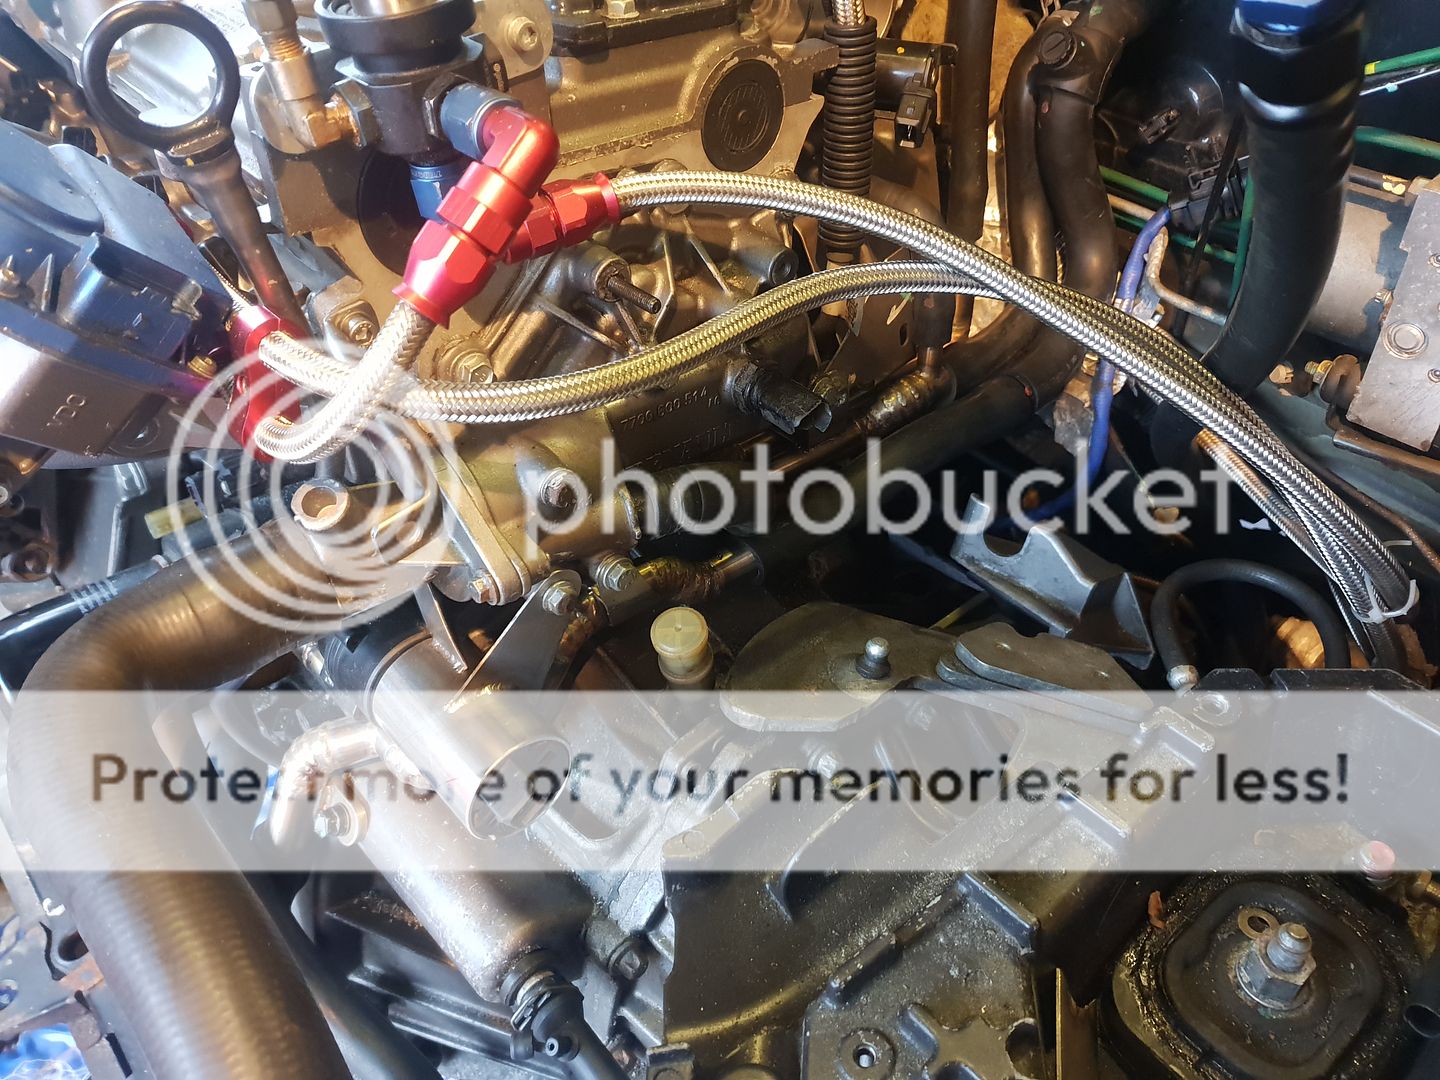
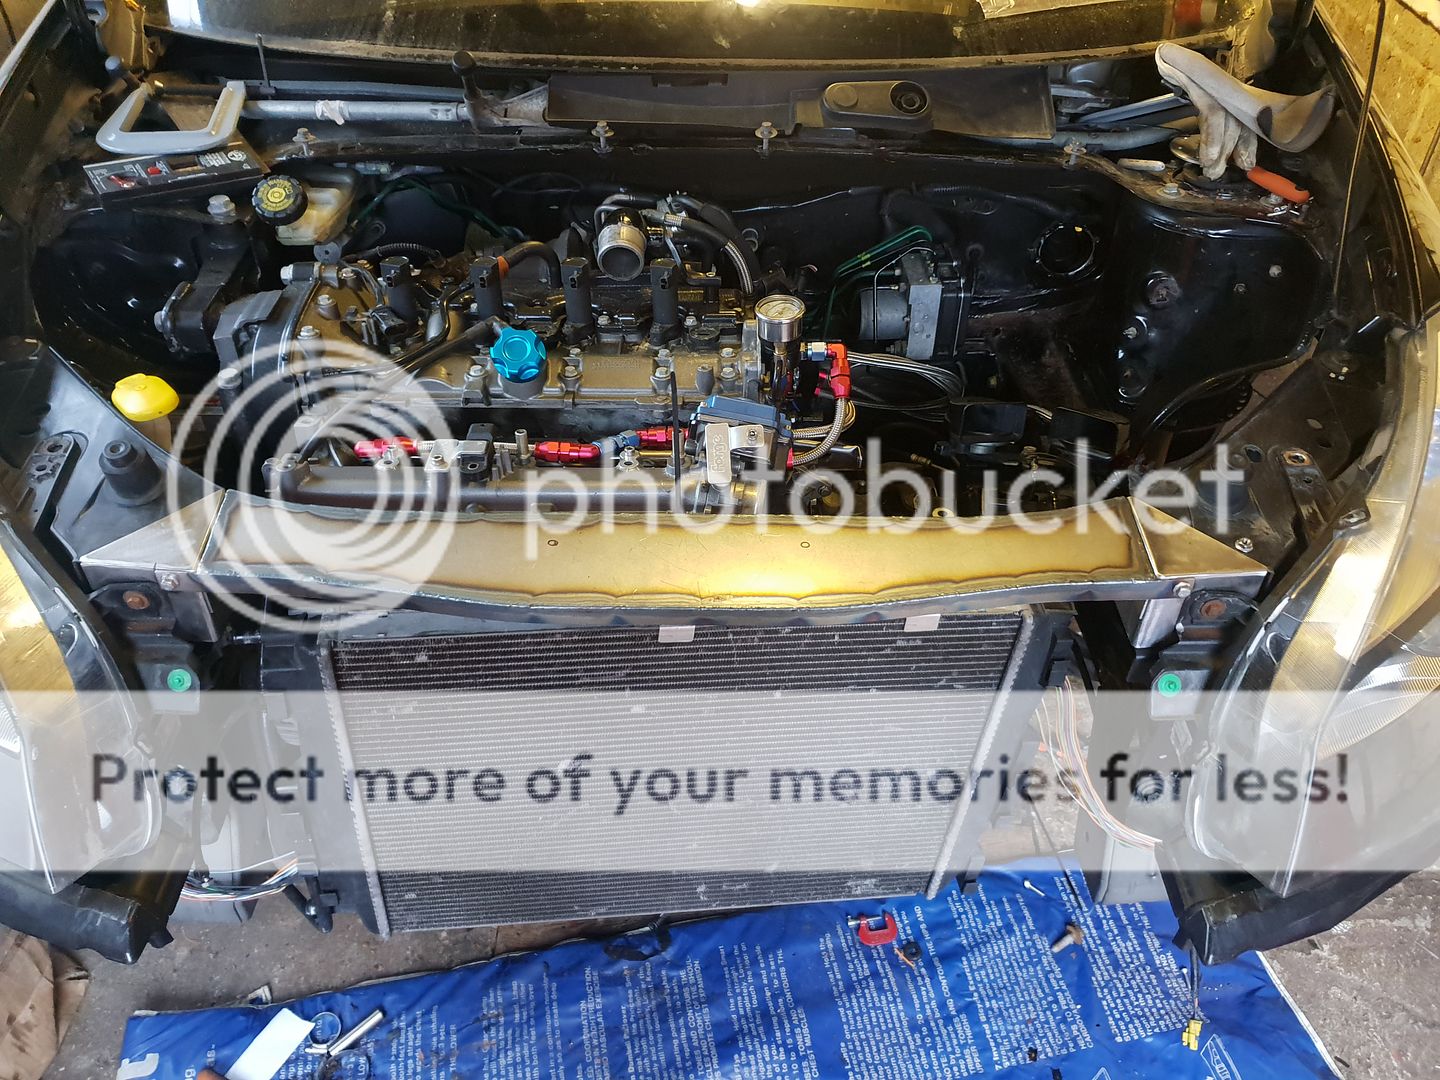
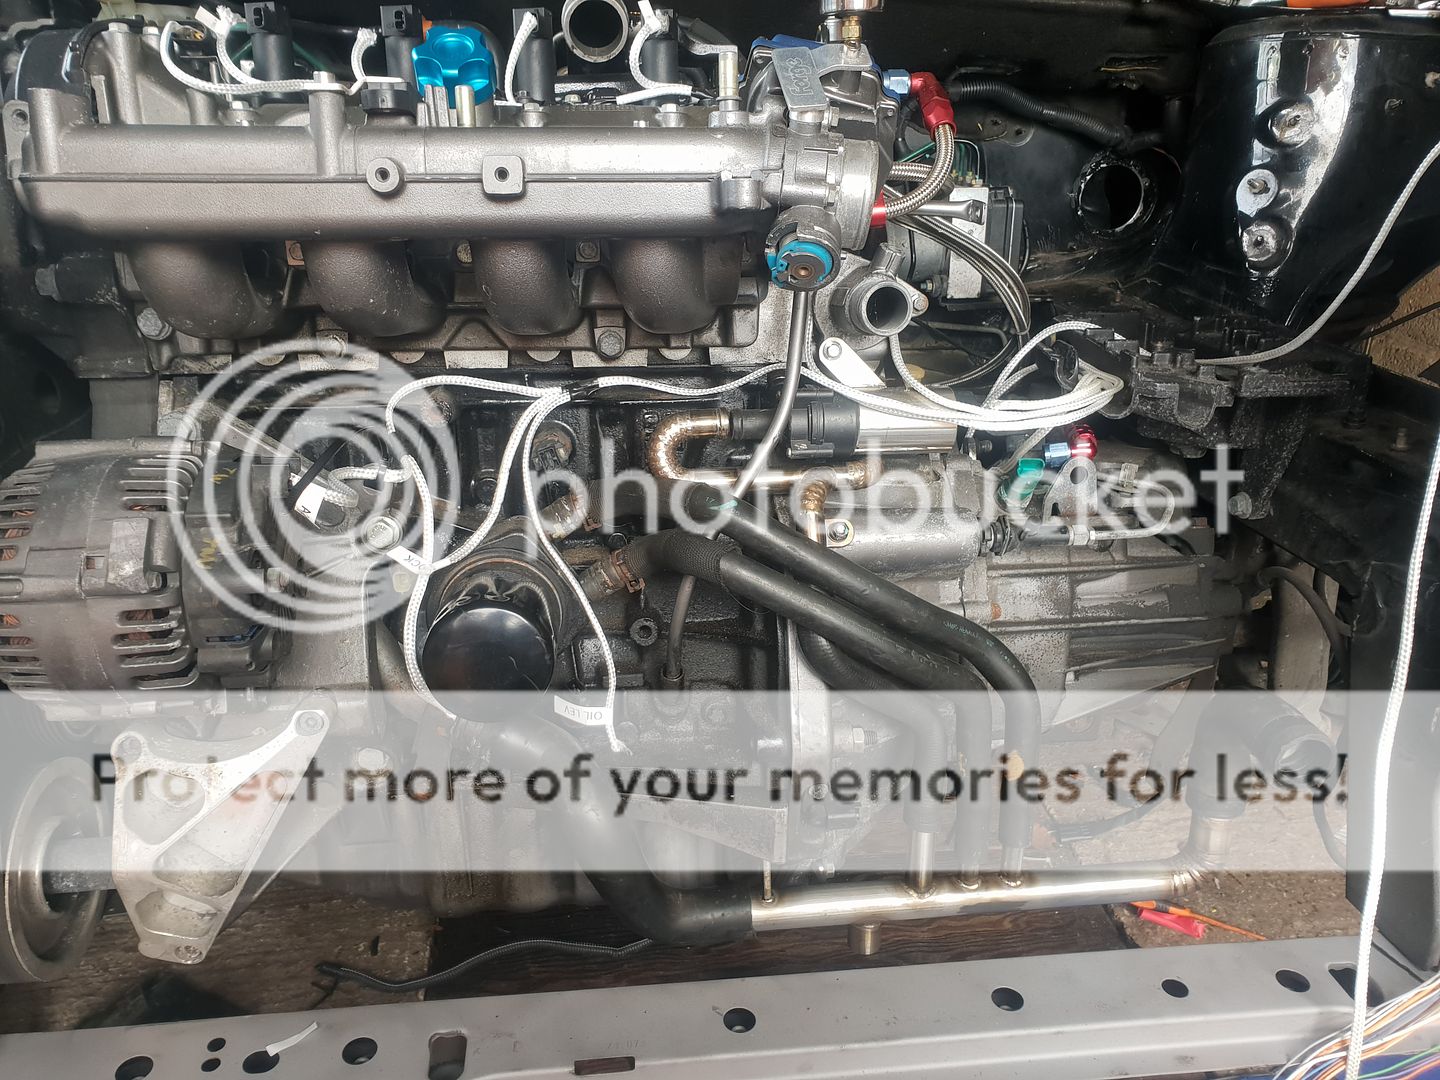
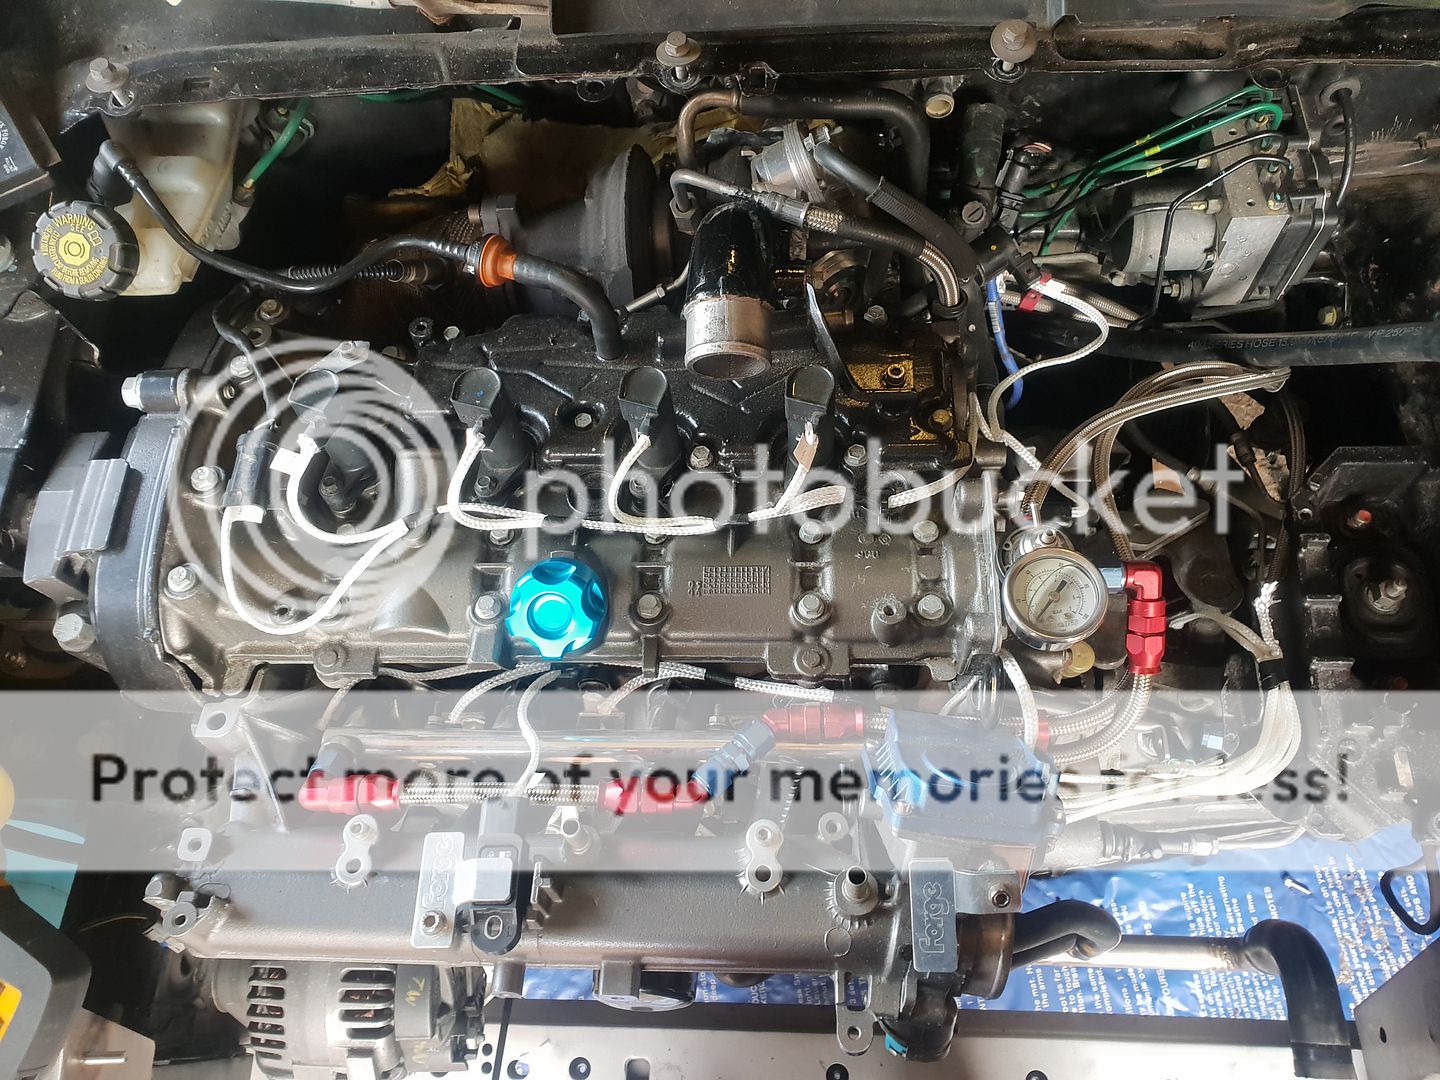
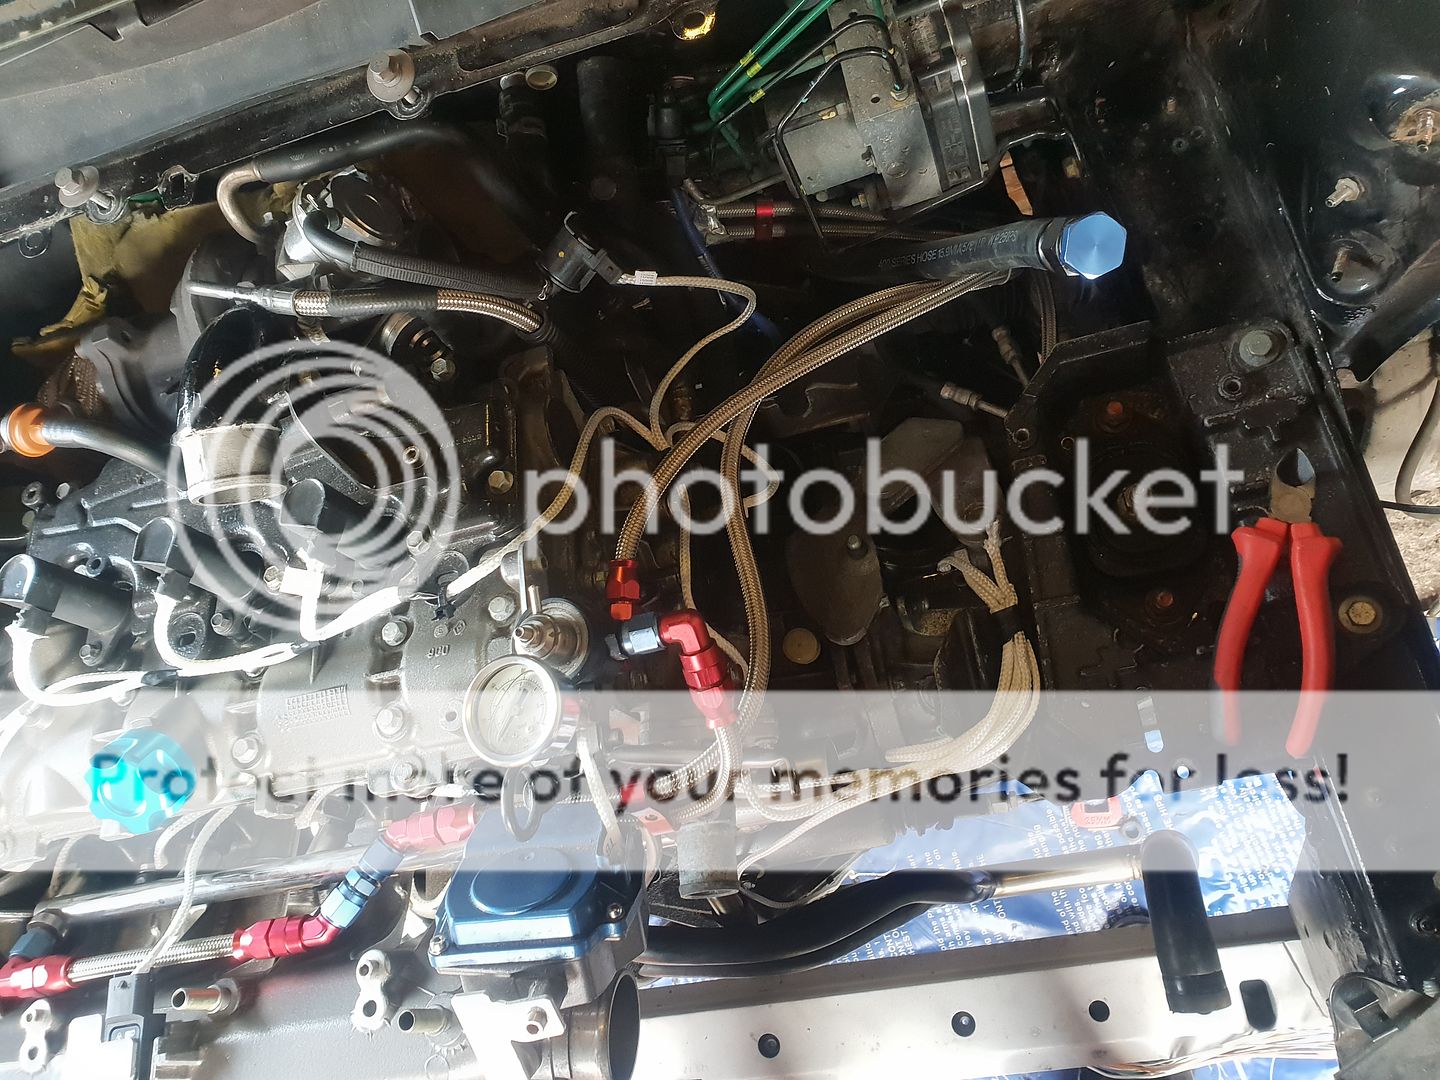
I never liked how the coolant pipes sat on the megane conversions, they take up a lot of unwanted space as well as causing an issue when using a Clio gearbox like I am. Because the coolant pump normally bolts to the megane gearbox, when using the clio box it has nowhere to bolt too so it just kinda sits there, this can cause issues with jamming up on the gearbox linkage bracket which can lock you out of gears. This only happened a handful of times but it was clearly an issue that needed rectifying. My solution was too make all the coolant pipes out of stainless and try and tuck them in the recess between the gearbox and thermostat housing. In order to fit in the tight gaps I use a method called "Pie" cutting. This is where sections of pipe are cut into slices at a set angle, you can then piece them together to create some very complex shapes. I cut mine at 15 degrees, therefore 6 would make a 90 degree bend. It was very time consuming and there was a lot of welding involved but I'm very happy with the results. All the welds were back purged to prevent sugaring on the inside of the joint. I also made up a bracket to mount the coolant pump properly.
I think anyone who has changed the coolant on a 197/200 will tell you how much of a pain in the arse it is as there is no drain plug. Therefore when making all the coolant lines I also wanted to make a stainless manifold with a drain plug incorporated into it. This was made in much the same way as the piping. The manifold is mounted onto the bell housing bolts. Some bushings are used allow the manifold to move otherwise if it was hard mounted to the engine it would put a lot of strain on the radiator when the engine moves around when driving.
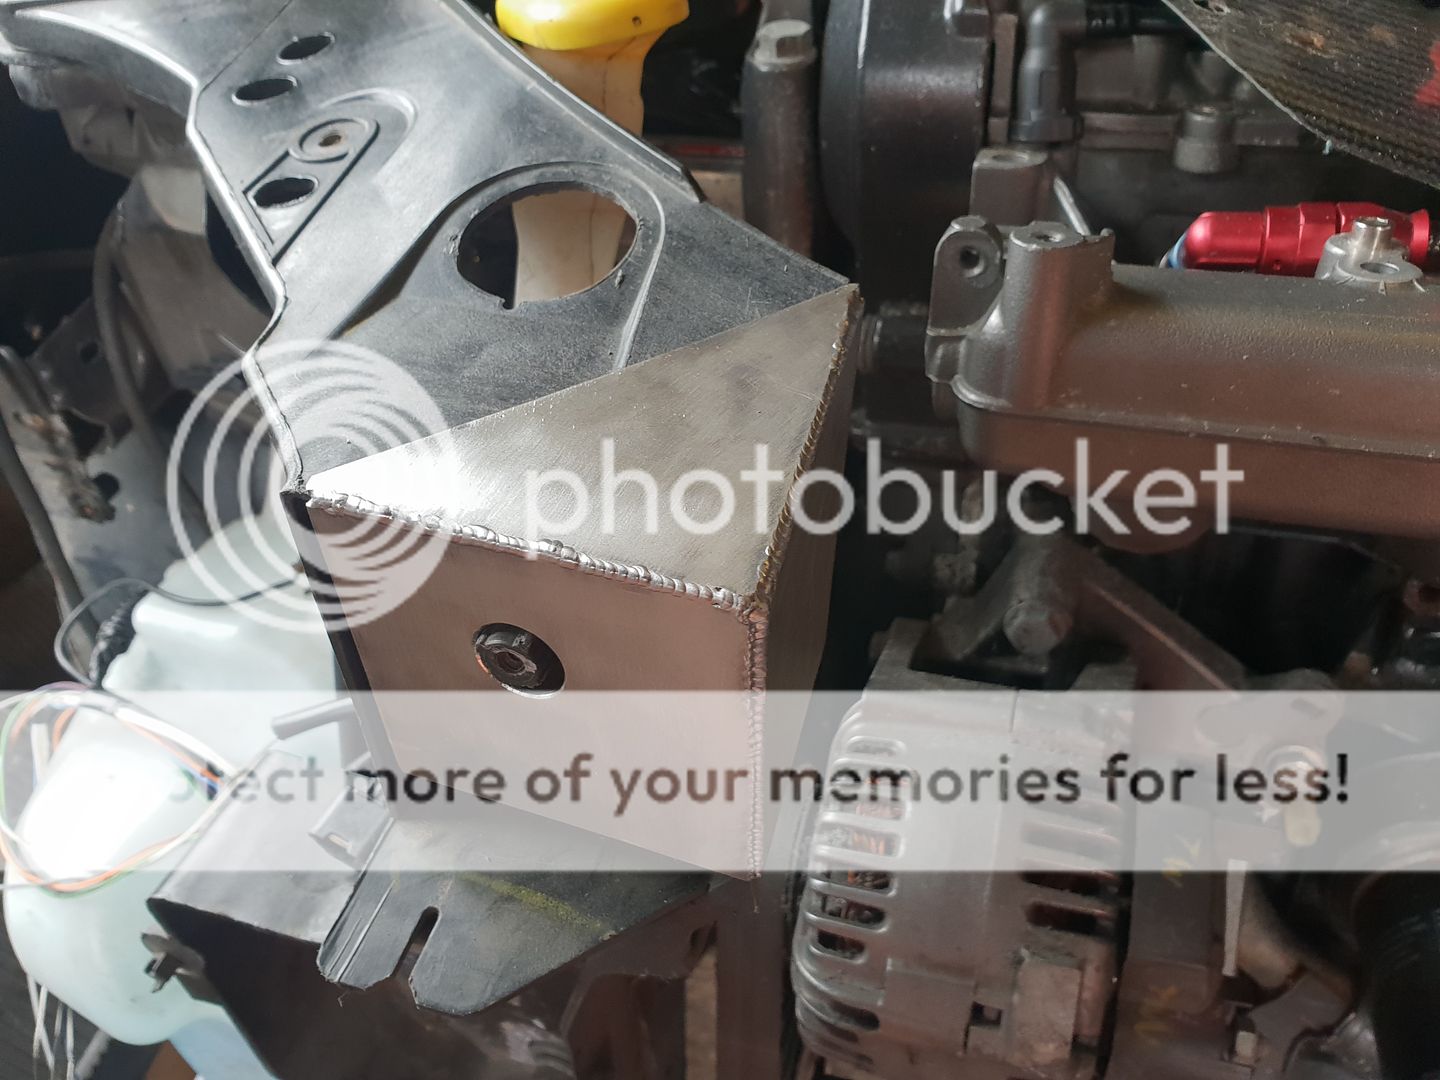
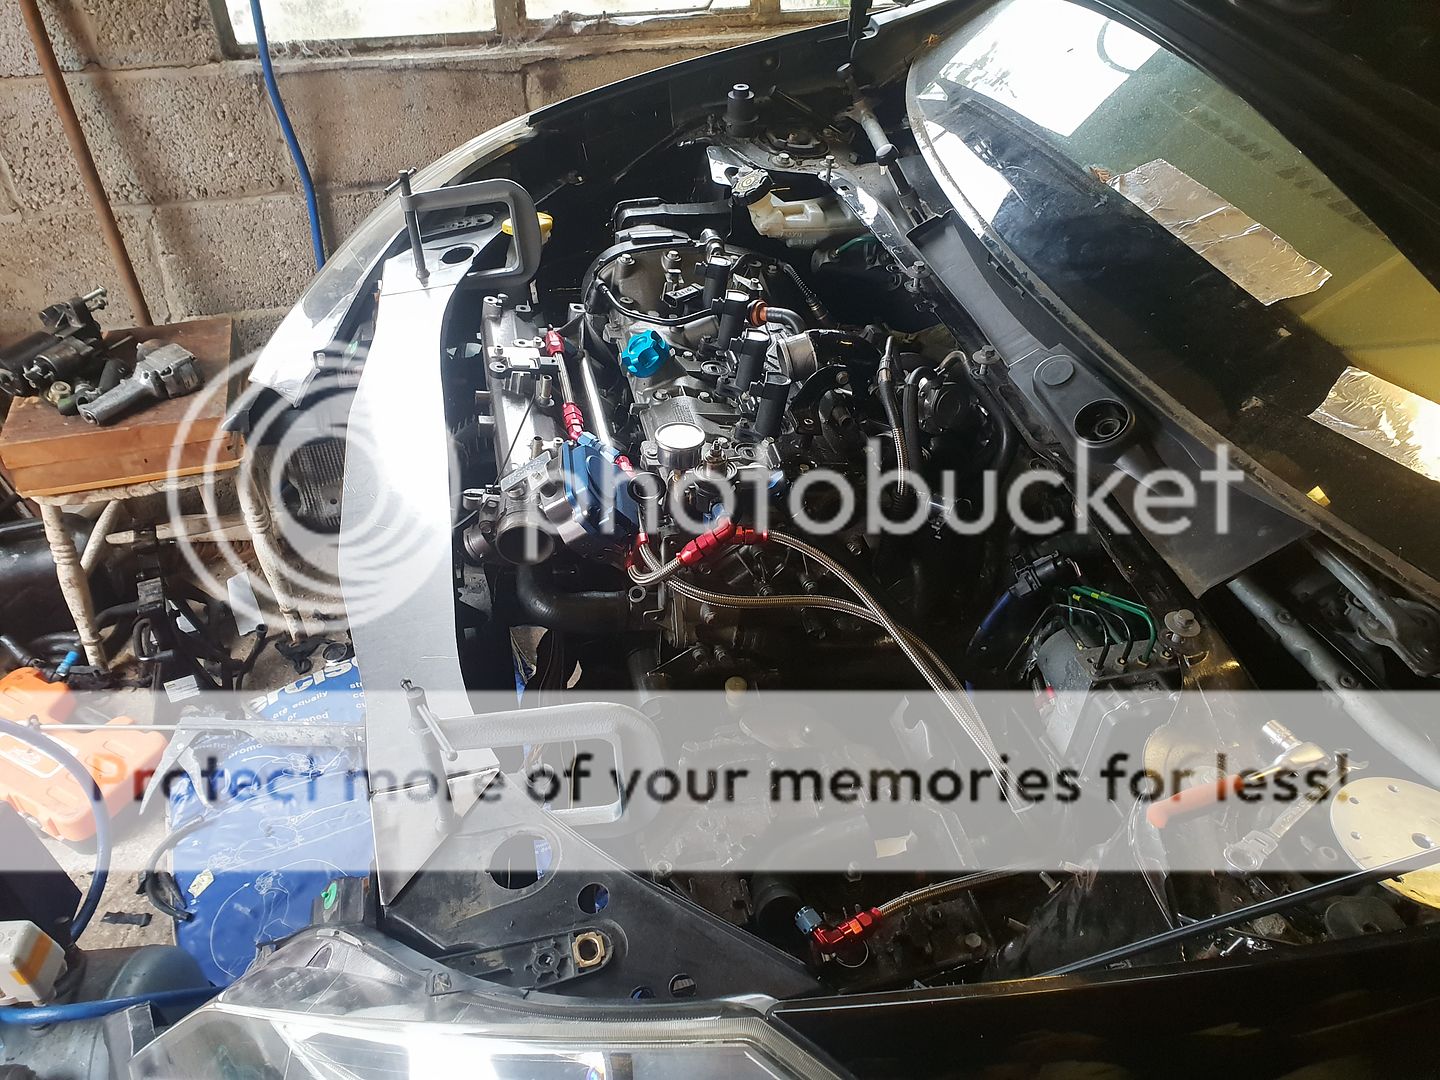
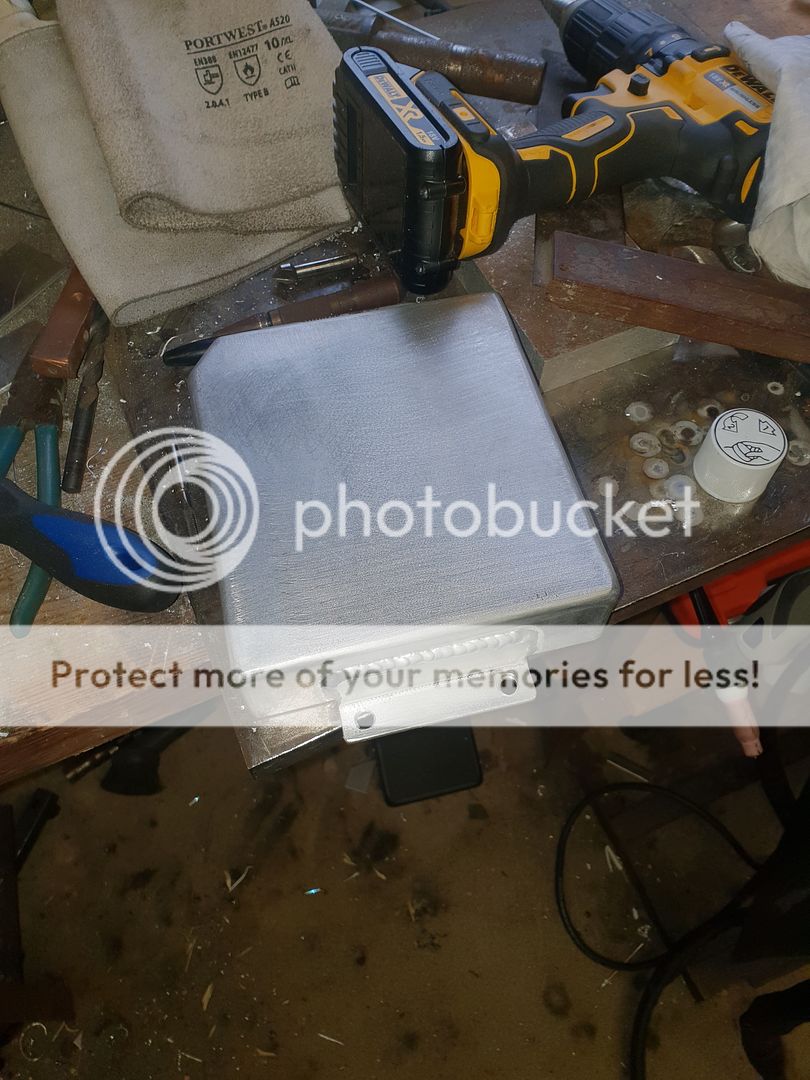
When changing the oil filter access is always very limited due to its close proximity to the radiator. Sometimes I just take the whole front of the car apart to be able to access the filter from the top by pulling the radiator forward, this is a pain though. Therefore I created a removable slam panel, this enables me to gain access to the oil filter from the top without having to take everything apart. Basically I made up some brackets which will be glued to the existing parts of the old slam panel, this then gives me a mounting point for the new slam panel. Its all been made out of 2mm mild steel sheet and TIG welded together. This will also enable me to mount the radiator and associated ducting more effectively than with the old plastic slam panel. Because the new slam panel is also thinner it gives me more room, therefore I don't need to space the radiator support downward in order to fit a megane radiator.
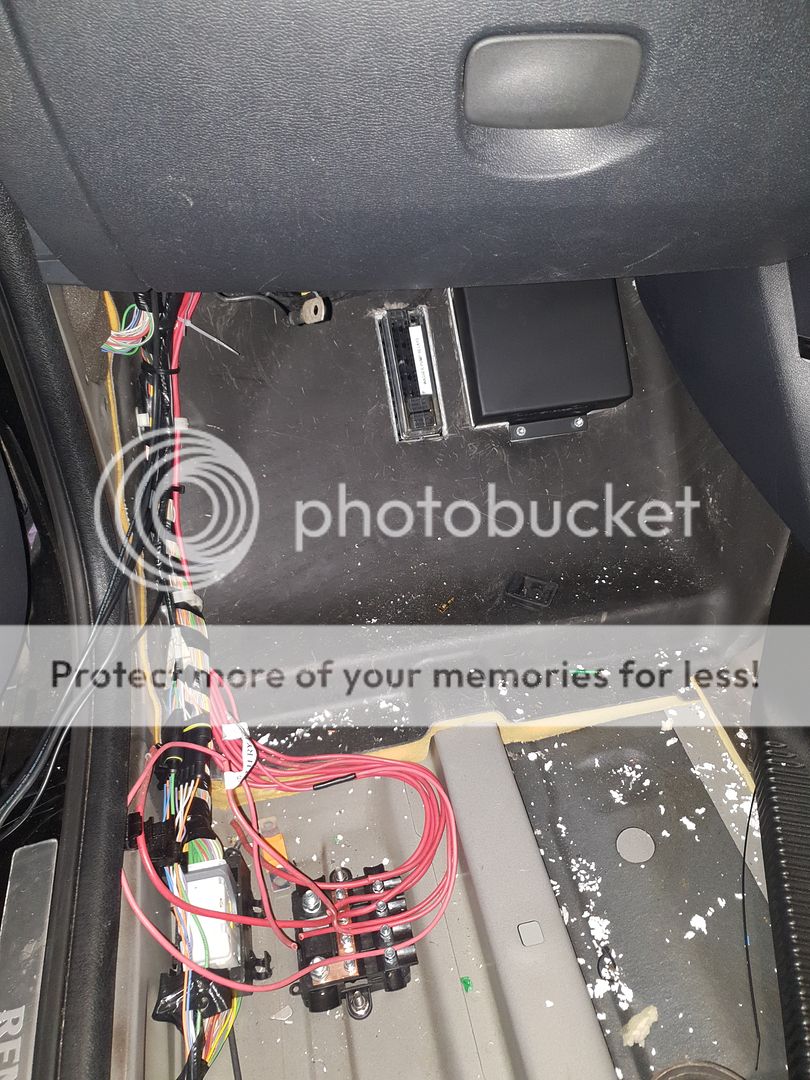
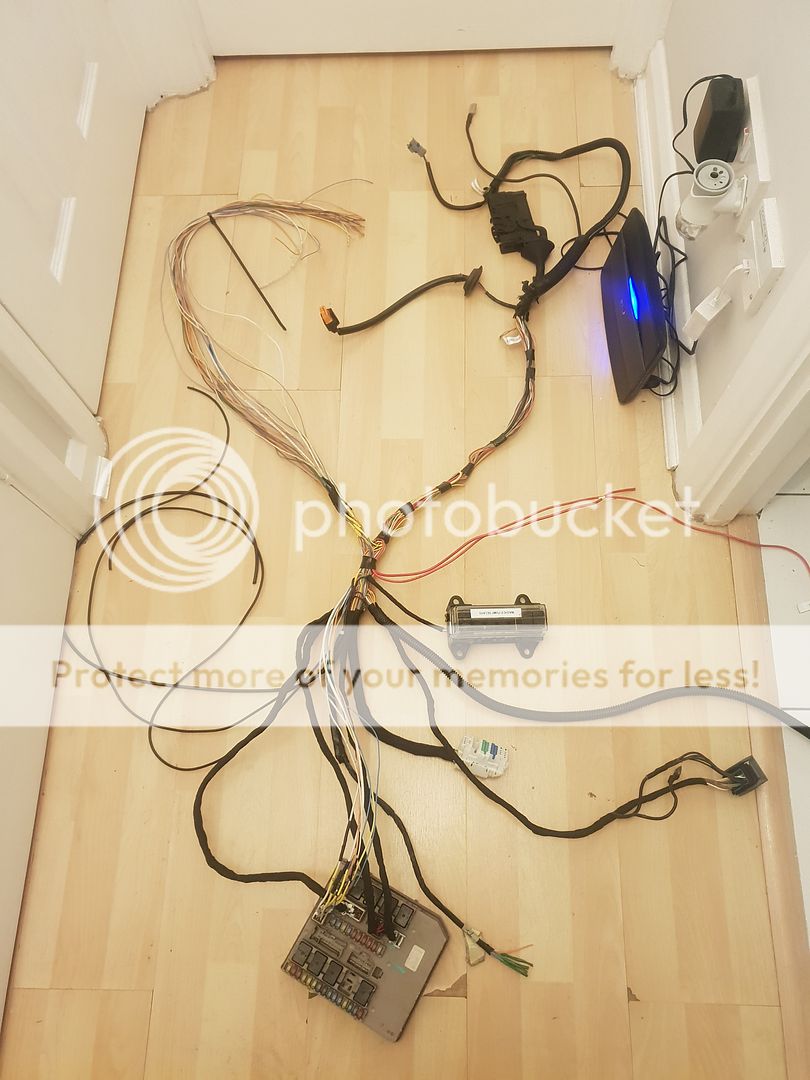
With everything mounted where I wanted it to be this enabled me to start work on the electrics. First up was the fact I have always wanted to mount the fuse box and ECU inside the cabin, to first create more room in the engine bay and also to protect the items from moisture. The fuse box and ECU are now mounted into the passenger footwell. The standard loom was then extended and adapted accordingly. I've also got rid of the standard power distribution box and I'm now using a aftermarket one which uses MIDI fuses, this is mounted under the carpet in the passenger footwell. The car has been powered up and all the functions work as they should.
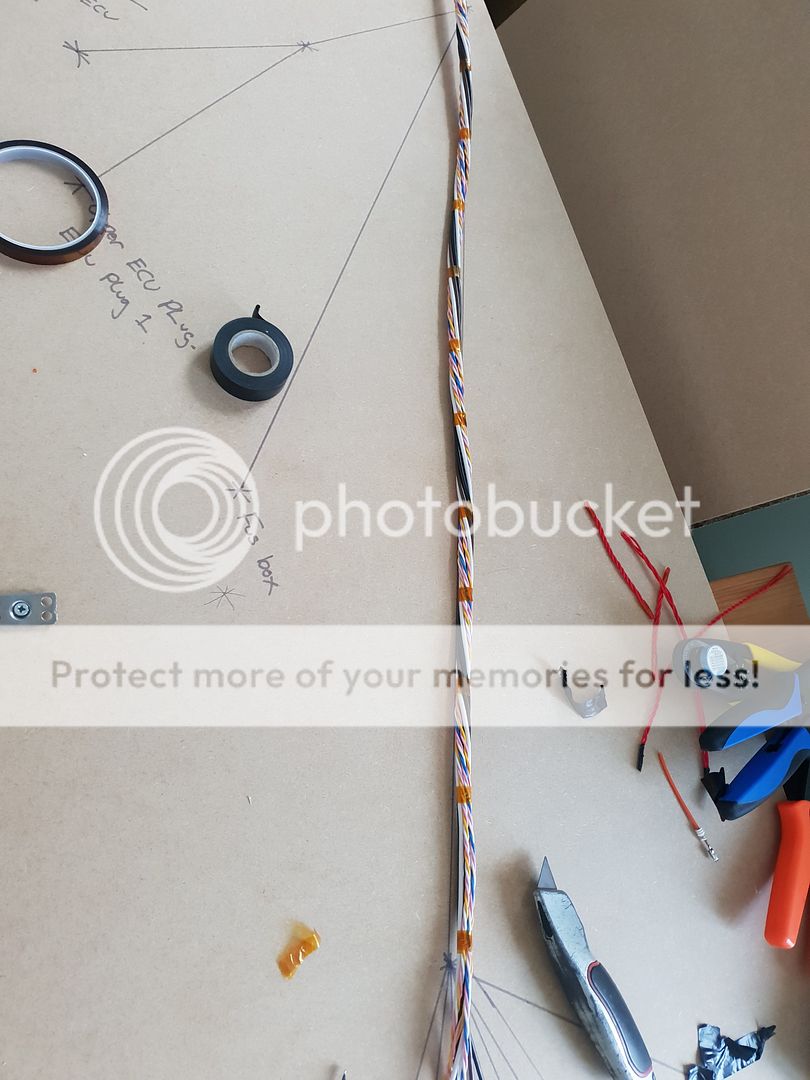
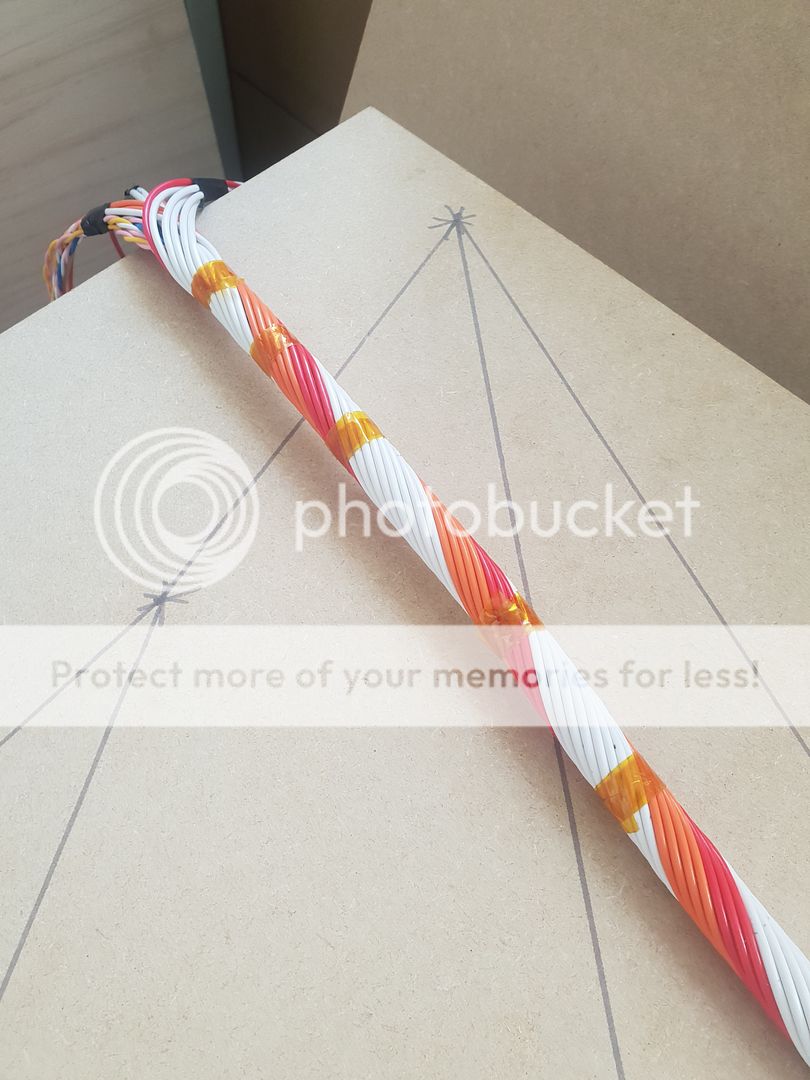
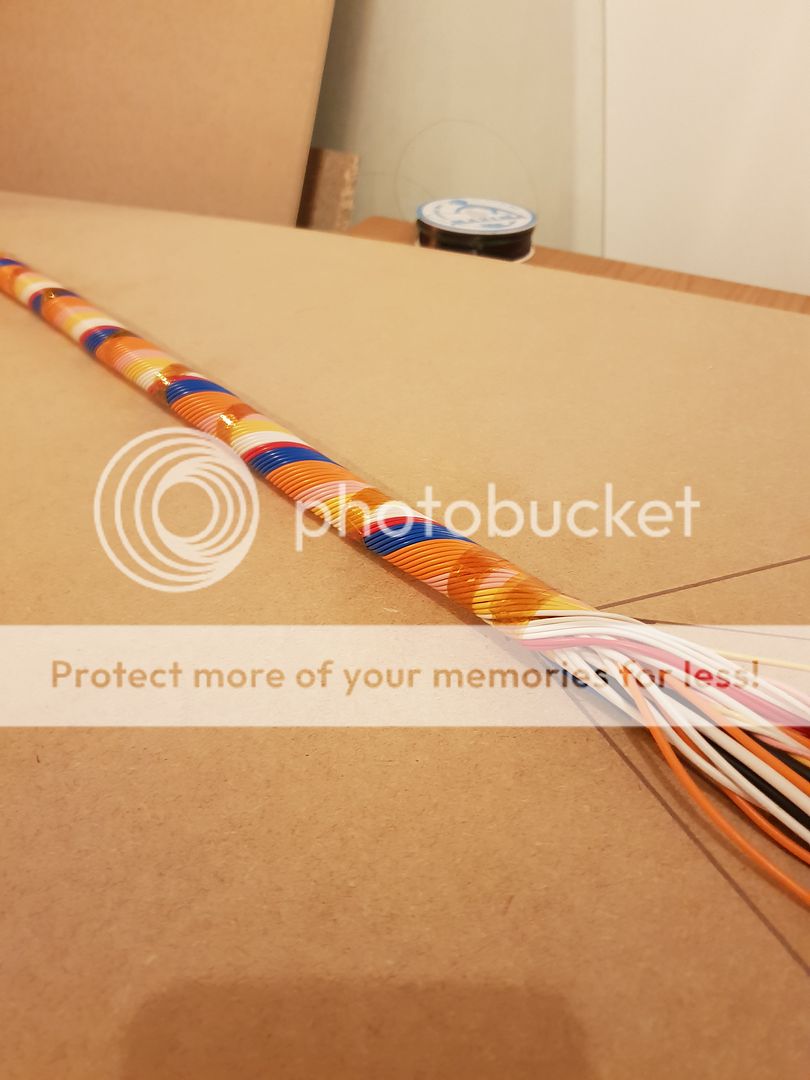
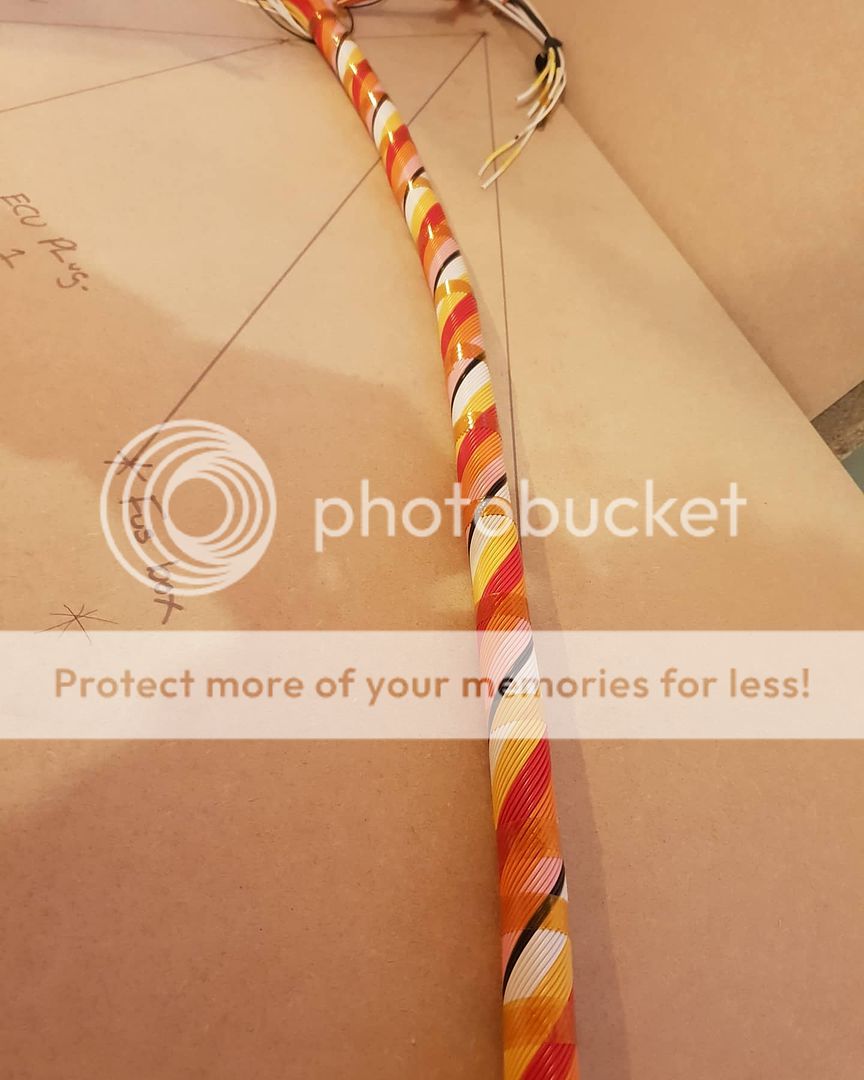
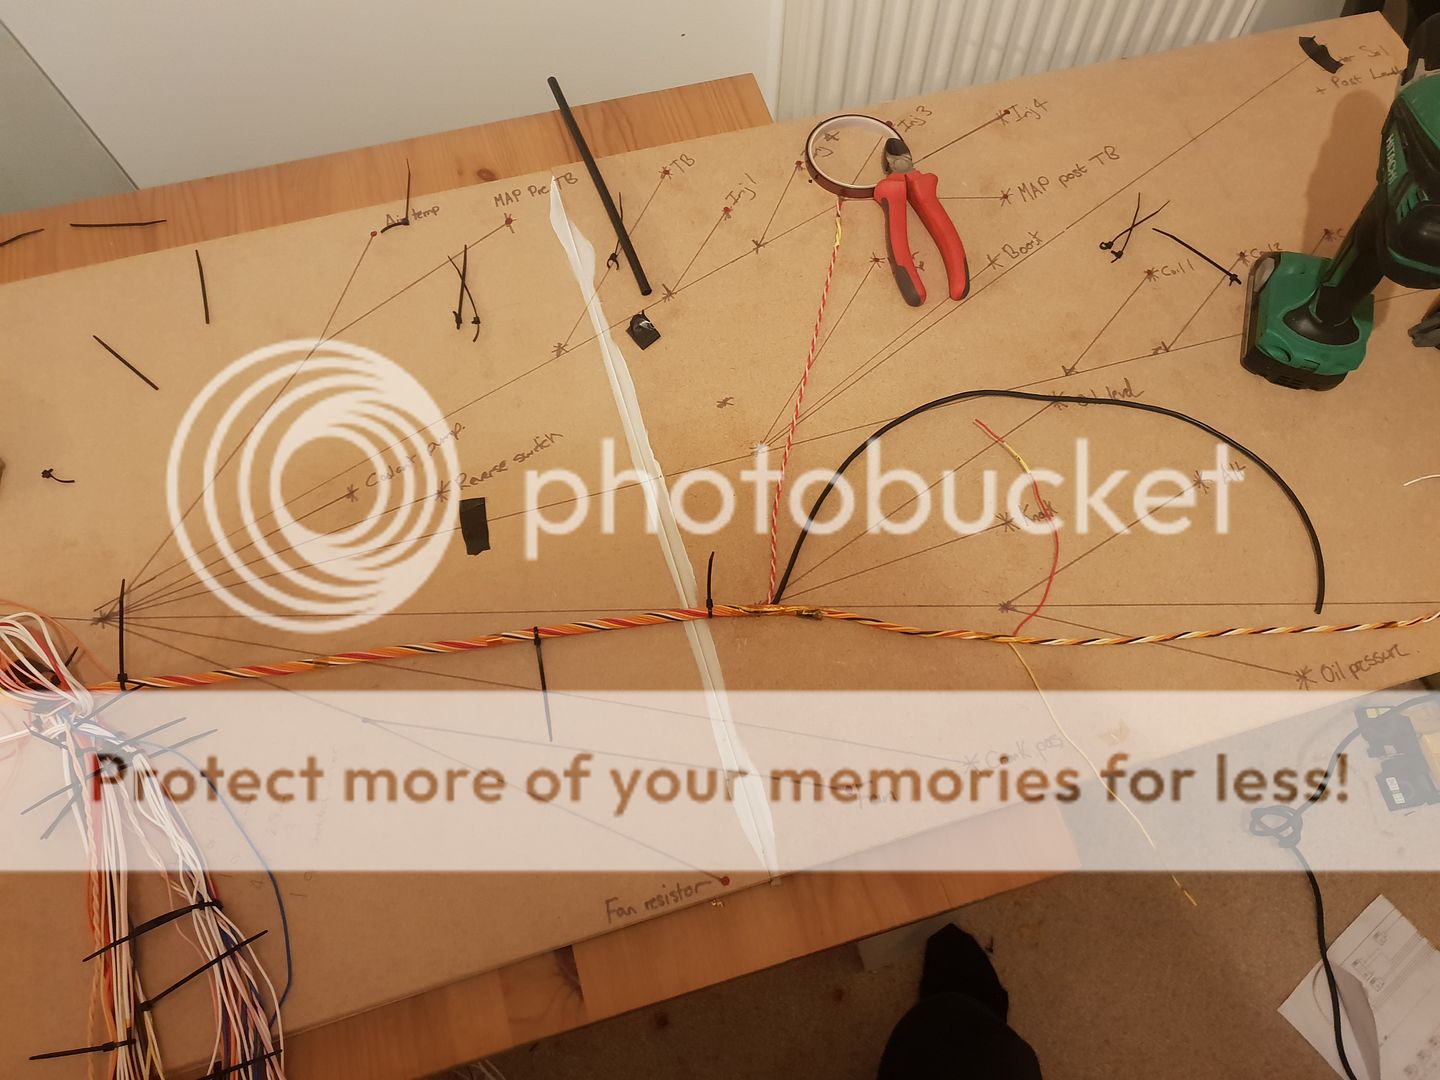
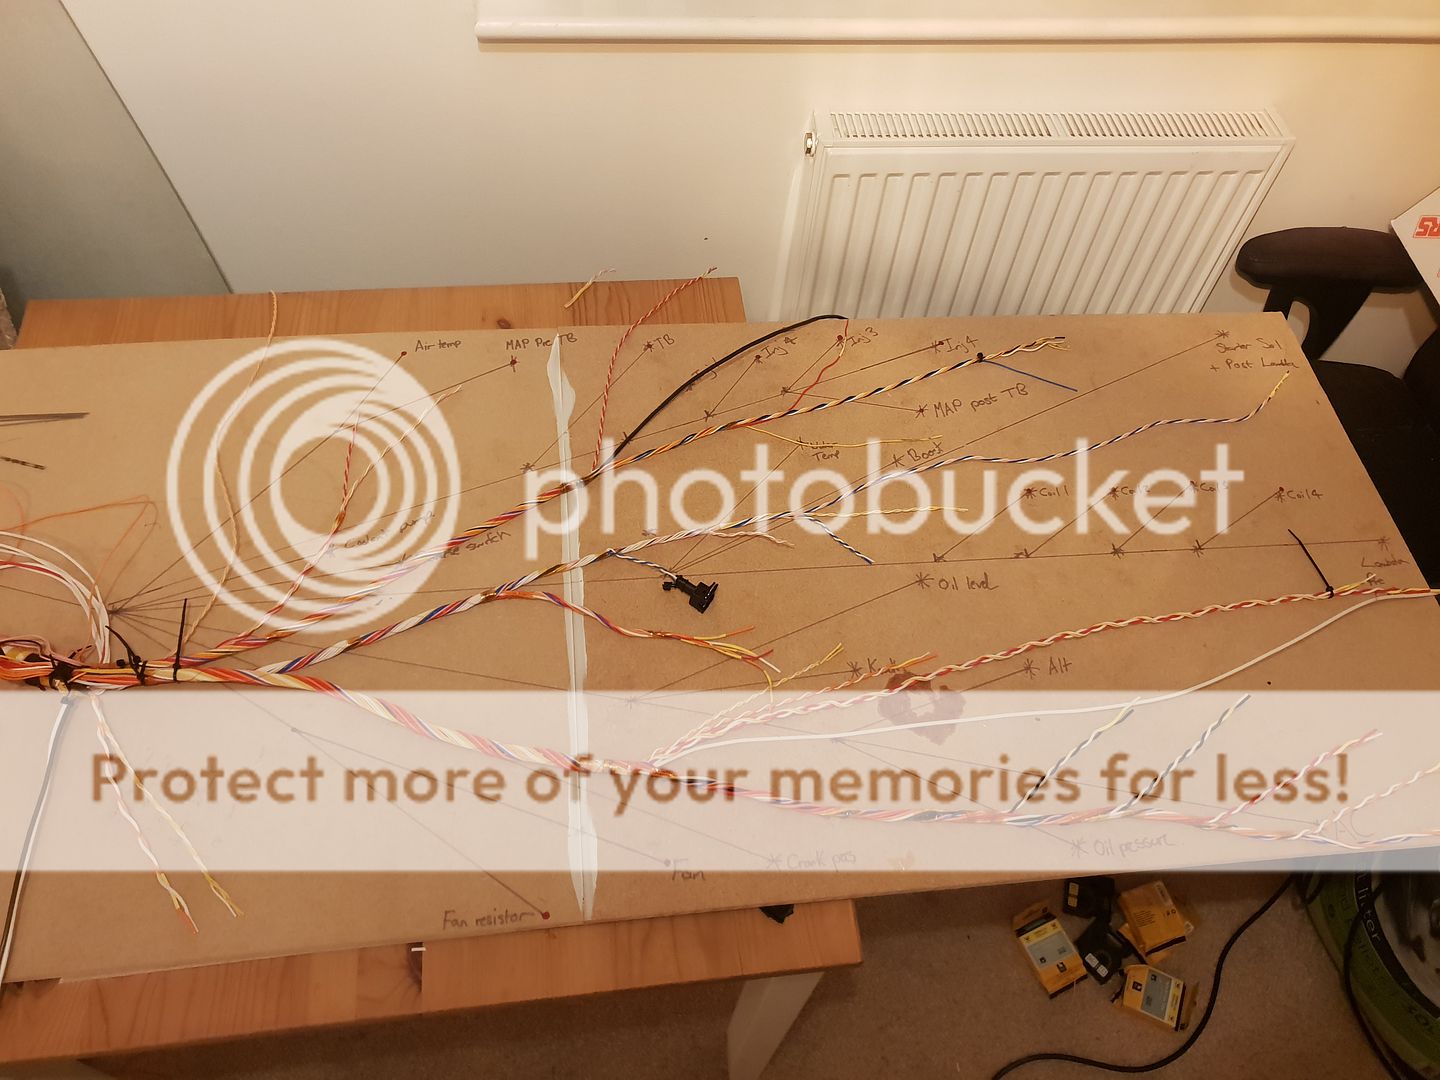
I have now started work on making a brand new engine loom as I've been having intermittent problems with the OEM loom. I have always loved the look of a proper motorsport loom, so therefore why not make my own right? I started work by using rope to make a mock loom, this enables me to get a pattern for the loom and create a "loom board". In conjunction with an excel spreadsheet I was now ready to start mapping out the wires. Once all the wires were run to the their destinations on the board I put labels on all the wires. I was now able to start to lay up all the wires in a method called "concentric twisting", this is where wires are laid up in layers, each layer the wires twist in the opposite direction to the last layer, this in turn creates a very neat loom which is also very flexible. To get each layer complete you may have to add "filler" wires, I used around 20 0.5mm filler wires which will be used to incorporate various gauges and sensors into the engine loom. At this stage I have sleeved all the engine side of the loom and its ready for a test fit on the car in the next week. The sleeving I've used is Raychem DR-25 and is very flexible and resistant to the environmental factors, the breakouts have been sealed using a combination of Raychem boots and SCL. I still have to source a few more plugs and terminals, the ones in the fuse box have been the biggest pain to find but I am making progress.