Making my 197 great again

bejzbi

Paid Member
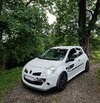
Hi! Last summer i bought my 197. This forum helped me to learn a lot about the car, especially the progress/project threads. So i decided to open my own. I will be posting what modifications/fixes i did or still plan to do, hopefully someone will find it helpful.

The car is bit over 110 000km mileage (68 000 miles for imperial units enjoyers :smile: ), running well. Many things to be done to make it according my expectation. My target is to have it as weekend car, occasional track visits but mainly as country roads warrior

More updates coming soon
IMG_20240702_101641.jpg
 
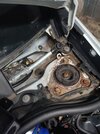
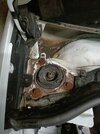
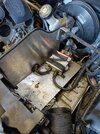
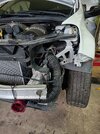
I started to disassemble some bodywork parts like front bumper, wheel arches, side skirts... I inspected the car and i was happy to see that there is no rust at all, everything looks in good shape. Until i disassembled the scuttle panel area :fearscream:

IMG20241215143924.jpg
IMG20241215143921.jpg

There was even water pond :smile: Car was in garage for more than month, it had to be full of water since last wash

IMG20241215141948.jpg

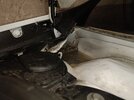
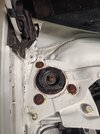
Later on i understood its common issue on these cars. I cleaned everything including drainage holes which were obviously stuck. In the end it didnt look so bad, just the bolts were rusty, bodyshell seems ok

IMG20241221105907.jpg

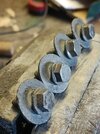
I was not able to get just the bolts without buying complete top-mounts (which were fine) , i didnt want to put some different bolts. So i put the bolts to rust remover for 1 day:

IMG20241226105217.jpg

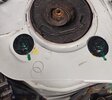
Painted them black and put back on the car. Not perfect, but much better than it was:


IMG20241226125907.jpg
 
I did some basic service tasks in the meantime:
- Engine oil
- Gearbox oil
- Cleaned throttle body
- Cleaned PCV

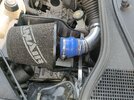
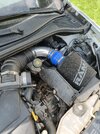
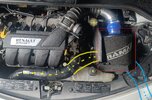
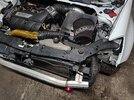
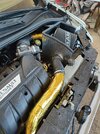
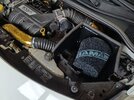
Car is fitted with Ramair intake from previous owner. Visually not really nice job, most likely sucking all the hot air from the engine bay:

IMG20240724151057.jpg

IMG20240724151055.jpg

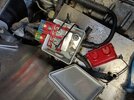
To fit the intake, battery was relocated behind the seats - main fuse housing unde stayex under the intake. Its housing is more then questionable and visual disaster :expressionless:

IMG20241122134040 (2).jpgIMG20241122135452.jpgIMG20241122153409.jpg

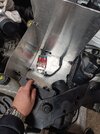
Removed all, threw it to trash and started to prepare my own design. Target is to put original air inlet back on the car to provide enough cold air and create proper heatshield around the intake:

IMG20240914115202 (1).jpg

The blue "hose" was already fitted to the car, so why not to use it:

IMG20241114115117.jpg


Next step -> CAD = Cardboard aided designing :grinning:
 
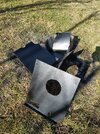
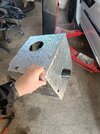
I bought 2x1m ALU sheet, thickness 1mm. Very easy to cut, bend, grind... Started with cardboard, then cut the walls of my new heatshield from Alu

IMG20250103183611.jpg

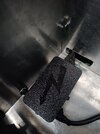
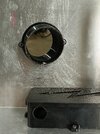
I bought 3D printer recently - perfect opportunity to design and print my own main fuse box and some other parts:

IMG20250112100725.jpg

IMG20250118170011.jpg

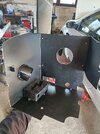
After a lot of sheetmetal playing, most of the assembly was ready:

IMG20250131114656.jpg

Next step - painting:

IMG20250306131218.jpg

Riveting the assembly together:

IMG20250306143445.jpg

Heat reflective foil applied from the outside:

IMG20250306143452.jpg

Assembling everything, adding some gold heat reflective tape because NASA!

IMG20250306151310.jpg

As a last step i properly cleaned and reoiled the Ramair filter and job done - satisfied with the result, quite an upgrade in comparison to what i bought the car with :sunglasses:

IMG20250330134118.jpg